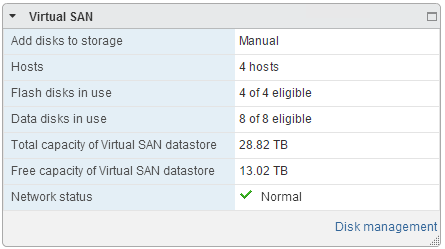
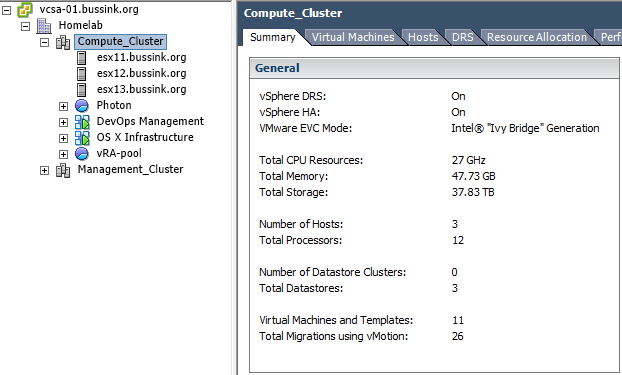
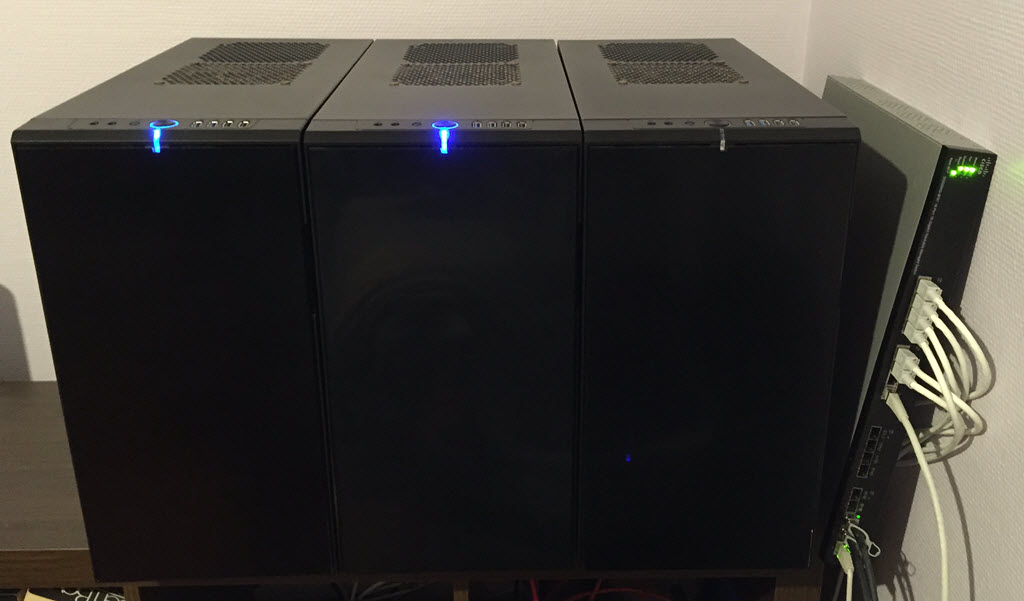
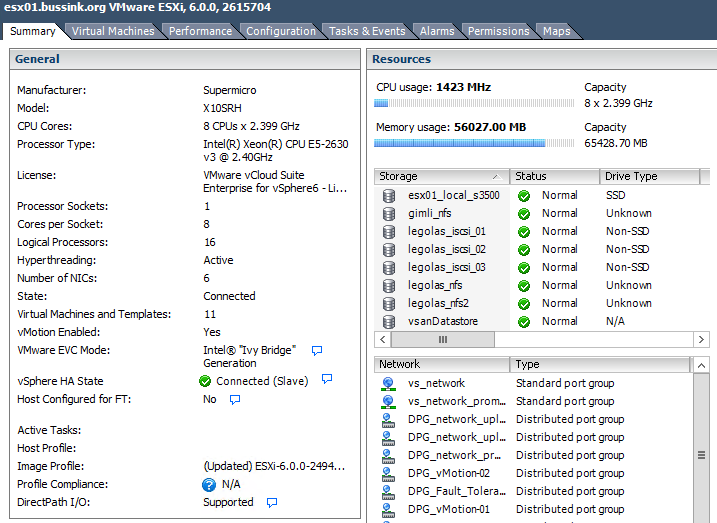
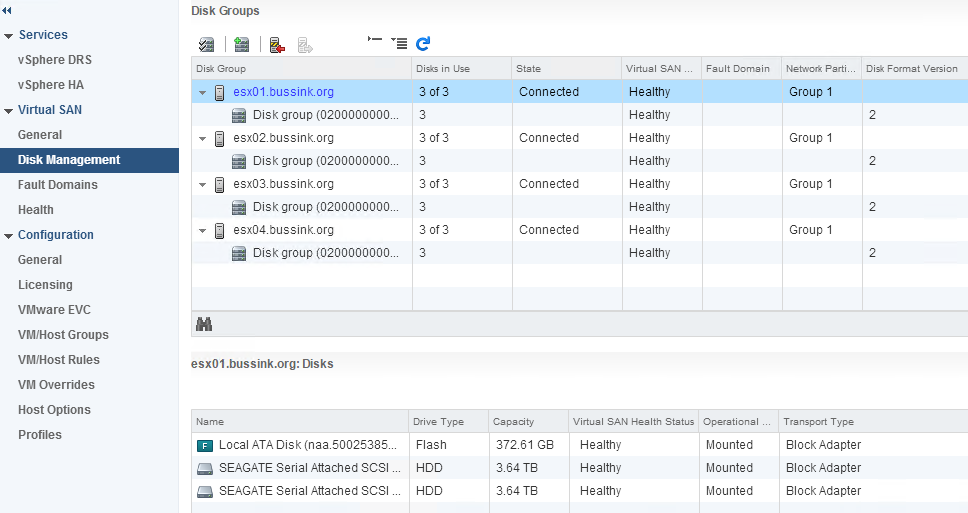
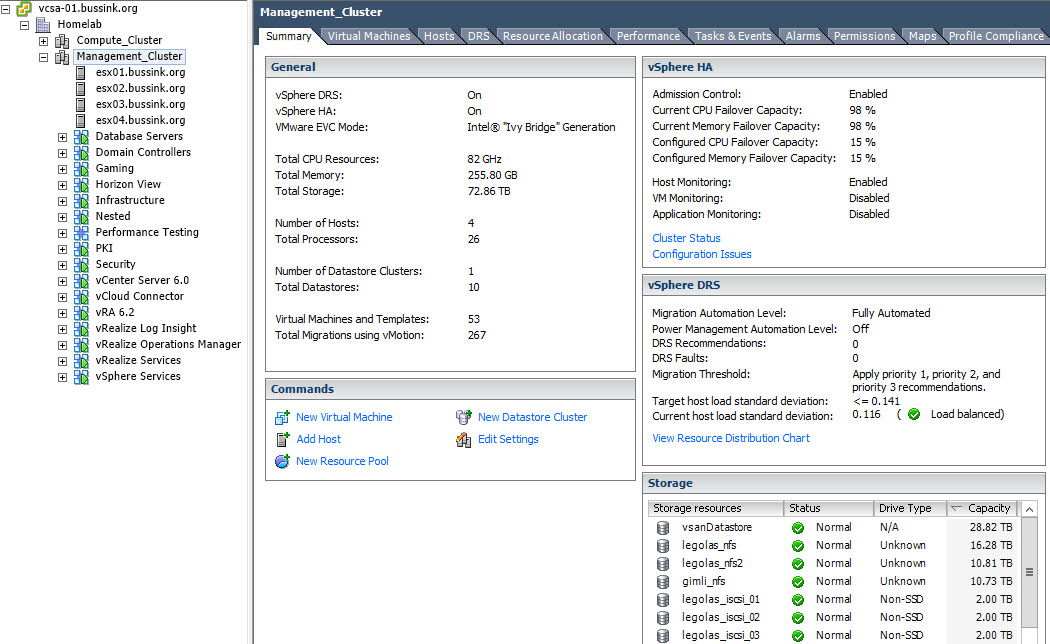
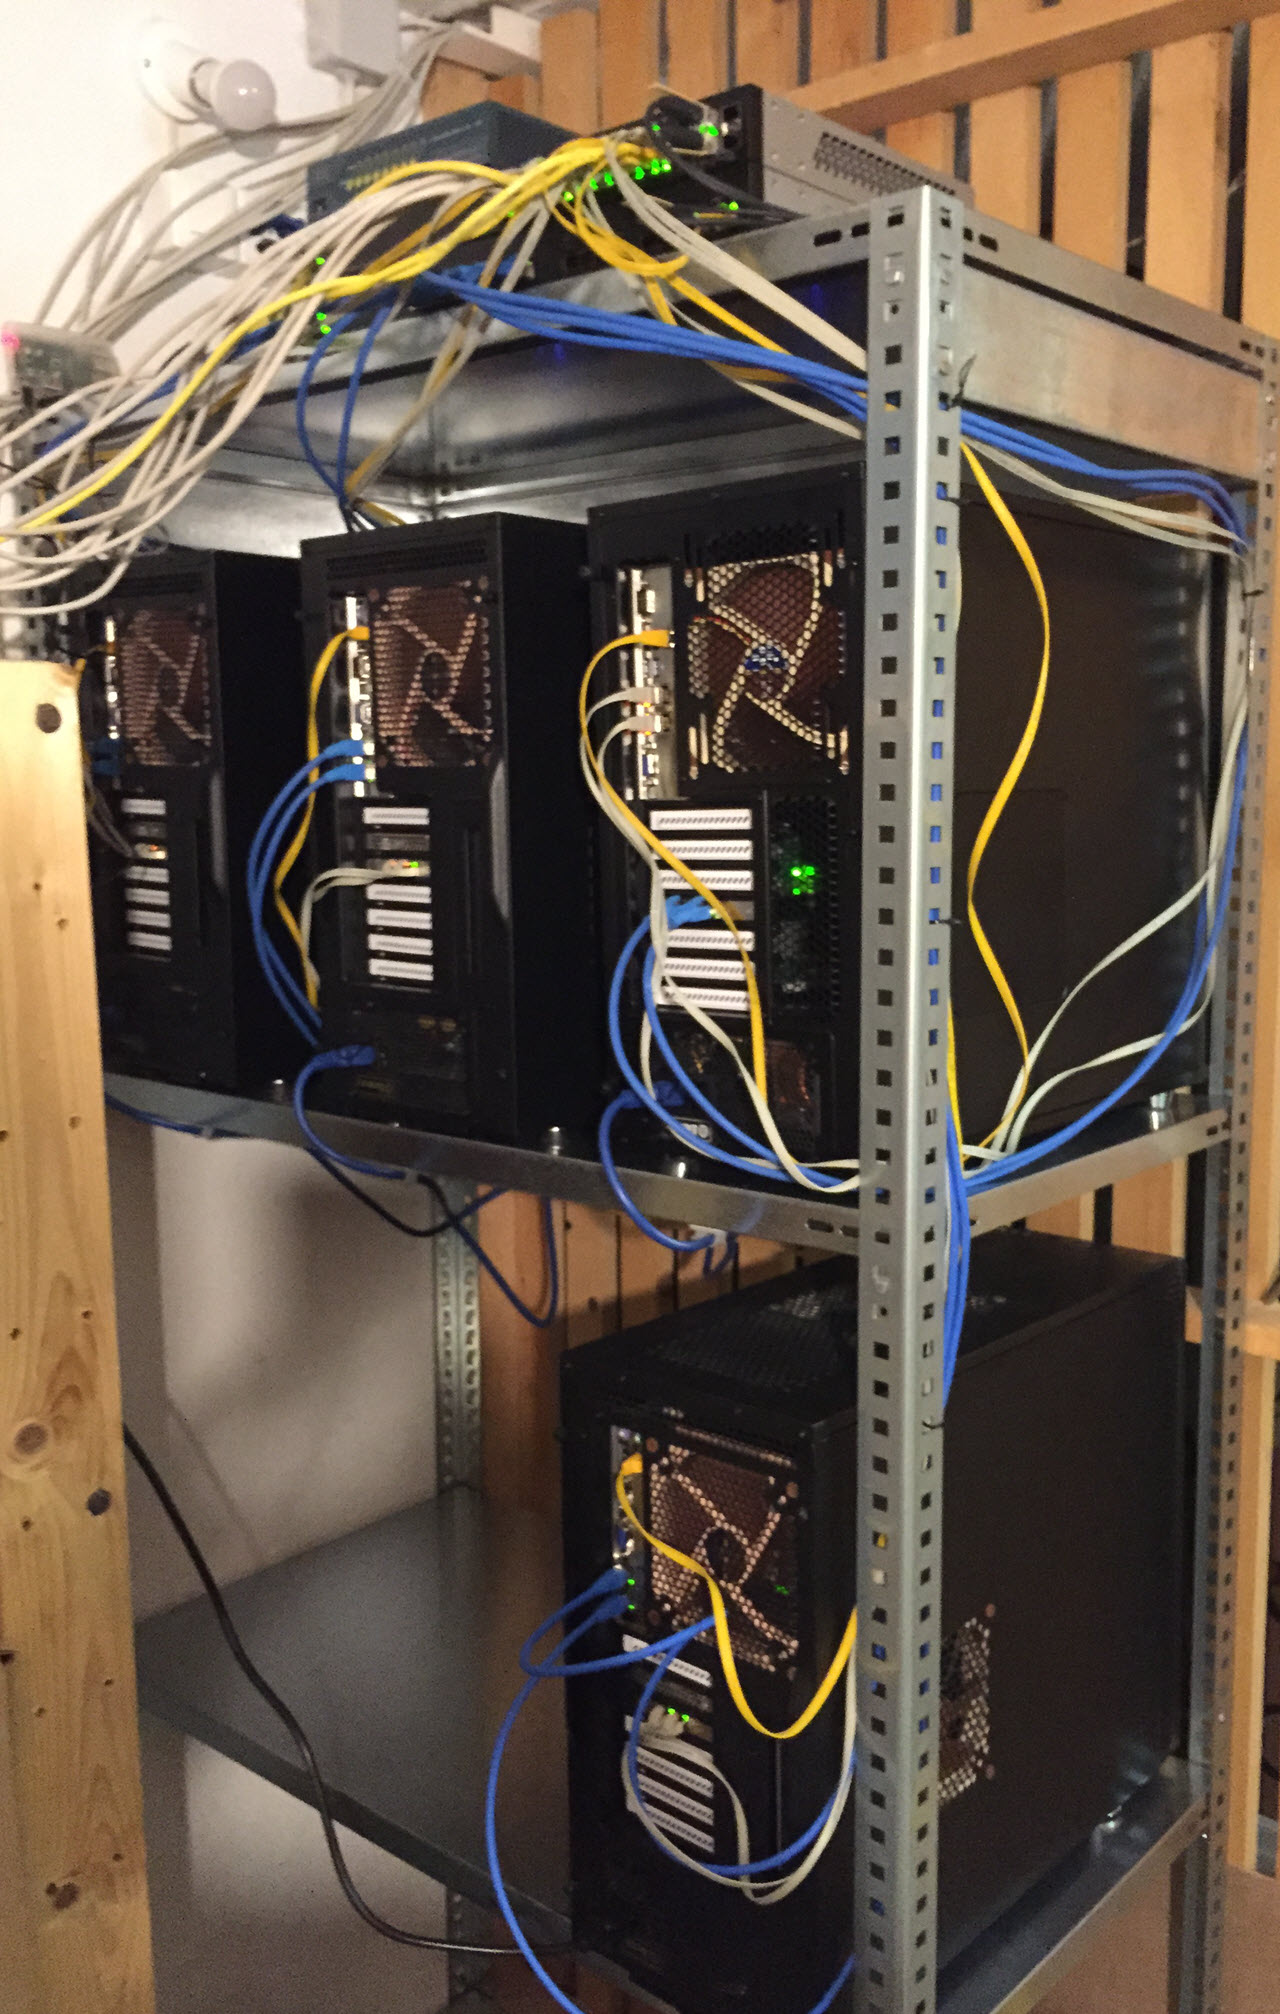
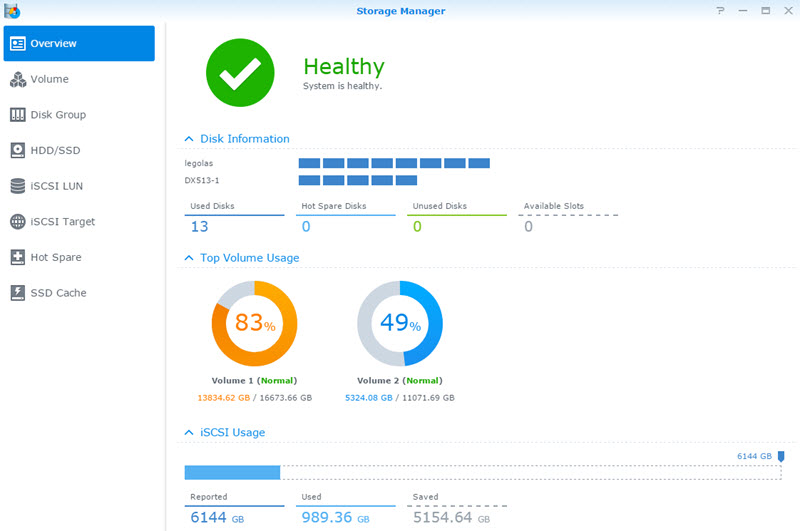
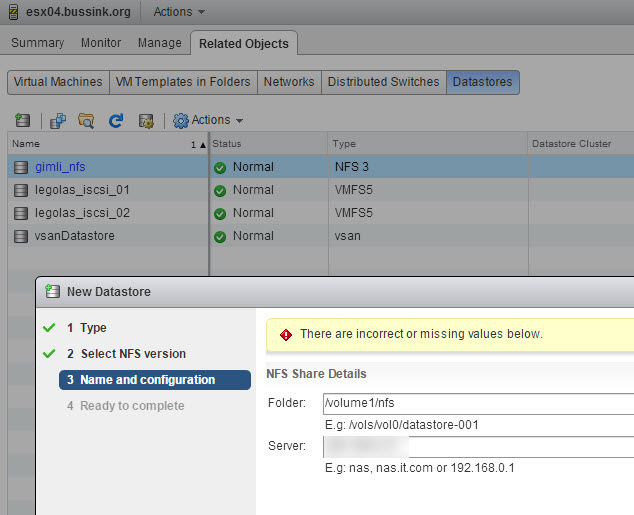
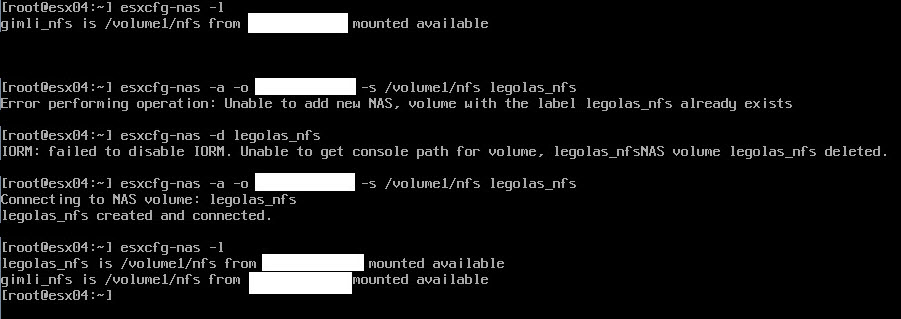
I’ve recently finished upgrading the Home Datacenter (#HomeDC) to vSphere 6.0 with four hosts running VSAN 6.0 with dual 10GbE networking for each host.
Even running a few large virtual machines on the VSAN Datastore like VDP 6.0 with a 4TB backed disk, I found myself with a lot of spare storage. I’ve invested in the SAS disks (Seagate Enterprise Capacity 4TB SAS 7200rpm) backing the VSAN datastore, so the budget is gone for replacing the aging Synology DS1010+.
I’ve recently studied various reviews on the Synology DS2015xs, but found the CPU a bit lacking to drive the dual 10GbE SFP+ links, and the Synology DS3615xs is a bit expensive. So why not leverage the 10GbE NICs in my management cluster for ultra fast connections, the fast CPUs on my hosts are a nice addition too. The biggest advantage is “cheap” 10GbE file server connections.
The rest of the blog is going in a grey zone… it’s #unsupported
Let me show you the goods first.
The concept is to create a storage appliance, that leverages the VSAN datastore and its accelerations of read/writes, and provides a flexible structure, where you could increase the storage on an as needed basis, or create a temporary storage while migrating from one Synology to a newer one. All this running on a vSphere host. A concept that a lot of other companies are doing with their Virtual Storage Appliances.
I’m going to use the XPEnology operating system, which is based on the Synology DiskStation Manager (DSM).
- In my design and implementation that I will describe here, the virtual synology has a 8TB disk. The appliance is not doing any RAID functions on this disk, as its already protected on the VSAN datastore using a number of failures to tolerate of 1 policy (FTT=1).
- Another way would be to create two or four virtual disks with a number of failures to tolerate of 0, and do a Software RAID in the appliance.
- A third way could be to use four physical disks and two SSDs on a host, create RDM links, and present all these disks to the virtual Synology appliance and do Software RAID on the disks, and use the SSD for caching (SSDcache). This virtual storage appliance would not be able to move to another host using vMotion, but you could mitigate this restriction using Synology High-Availability.
To build the virtual synology you will need to retrieve the latest copy of the XPEnology DS3615xs files. You are looking for XPEnoboot_DS3615xs_5.1-5022.3.vmdk or a more recent version. Each version can have its own deployment process. The process I have described below is using the XPEnoboot_DS3615xs_5.1-5022.3.vmdk version.
There is also a huge forum with lots of contributions and interesting links at the XPEnology forums.
1) Creating the vSynology
Now I’m going to say upfront, that you will need to upload the XPEnoboot_DS3615xs_5.1-5022.3.vmdk twice in the virtual storage appliance. Once for the initial install, which will format all disks of the appliance (including the boot vmdk), then again to boot the appliance.
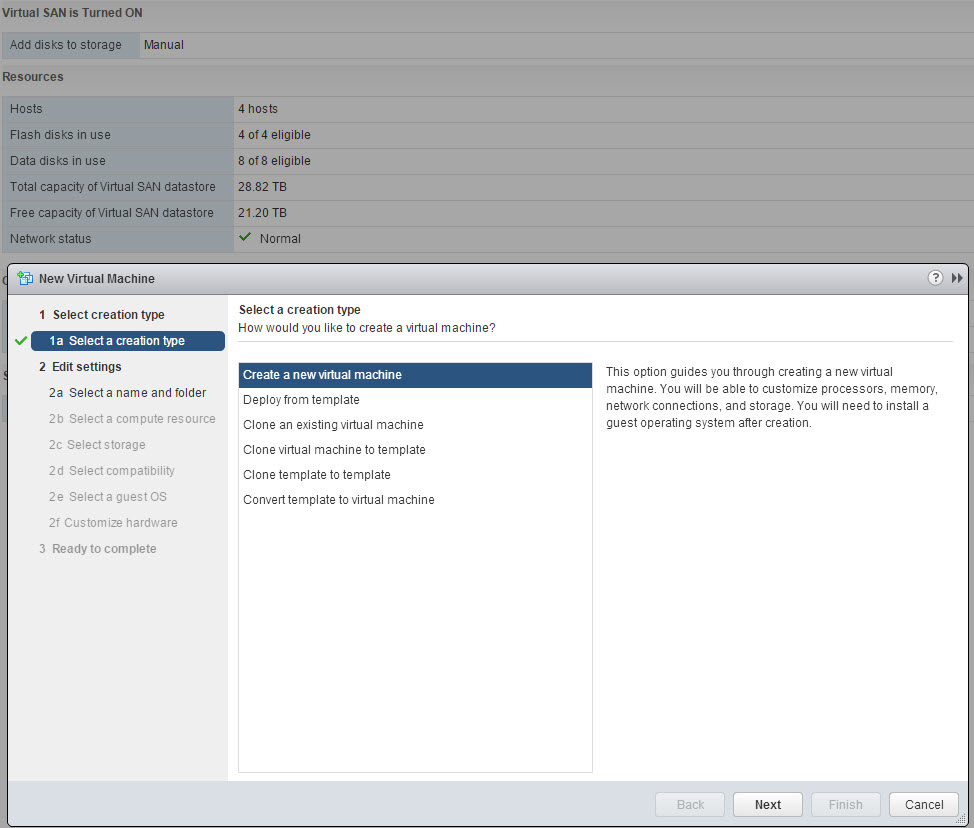
We start by creating a new Virtual Machine.
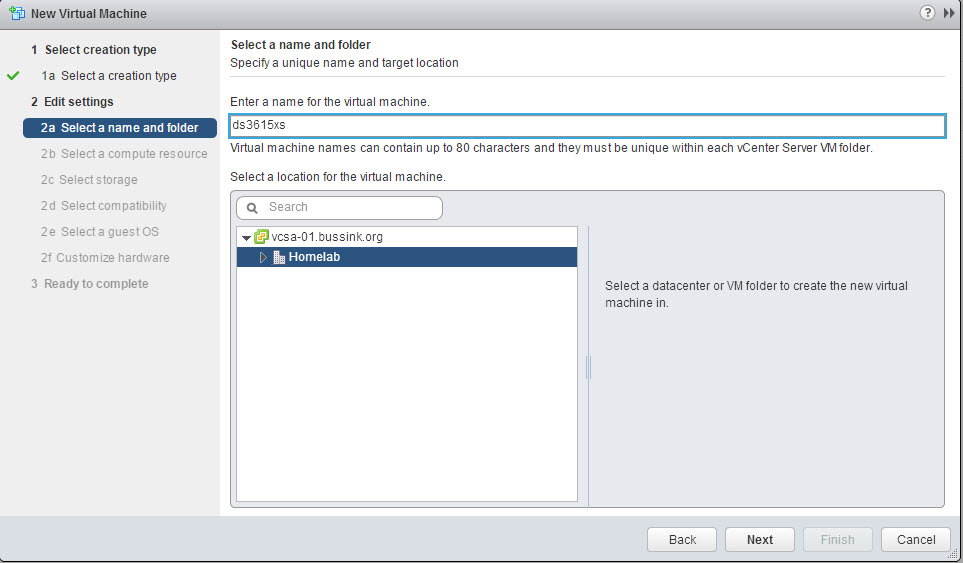
We give it a name and place it in a Cluster.
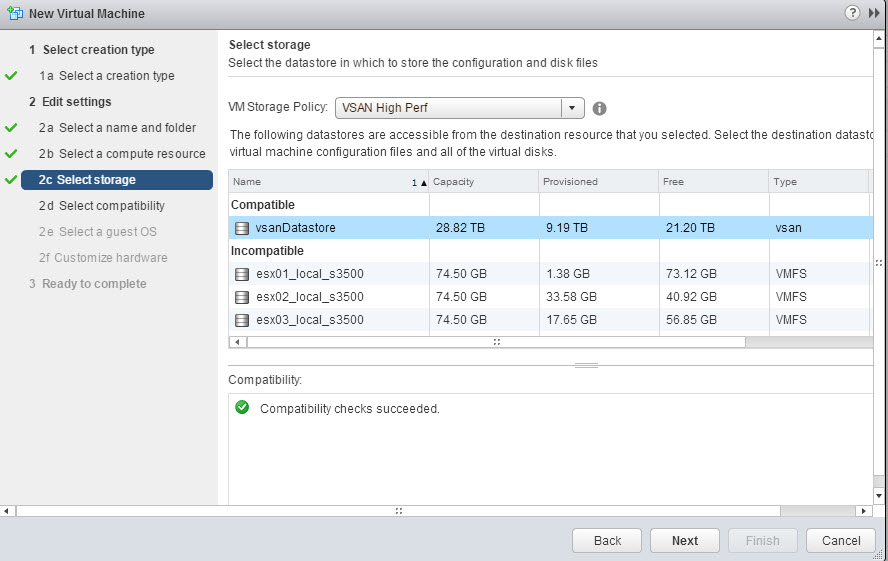
And we store the virtual machine and its configuration files on an existing datastore. I have select my vsanDatastore.
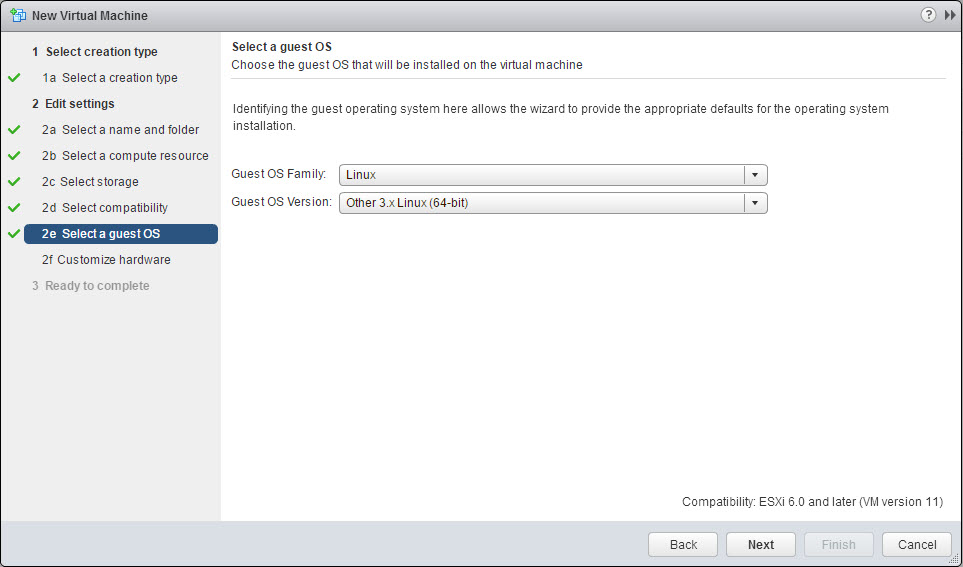
We define the hardware compatibility of the virtual machine and select the Guess OS. We are going to use the Linux Other 3.x Linux (64-bit).
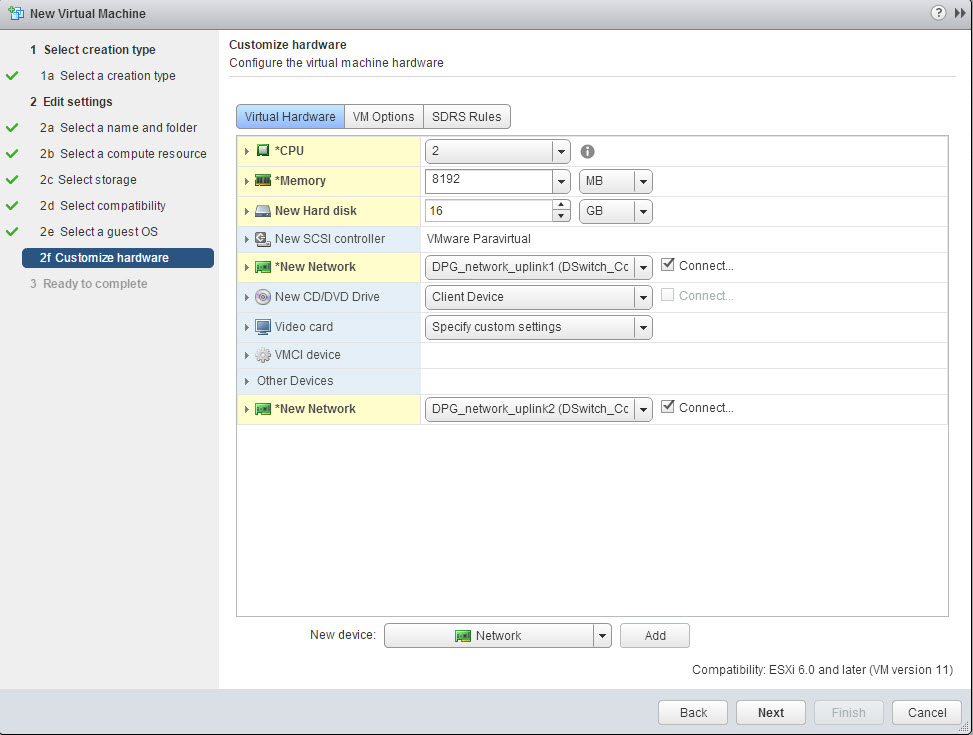
 I have selected two CPU and 8GB of memory. Because my appliance won’t do any software RAID, 2 vCPU is more than enough.
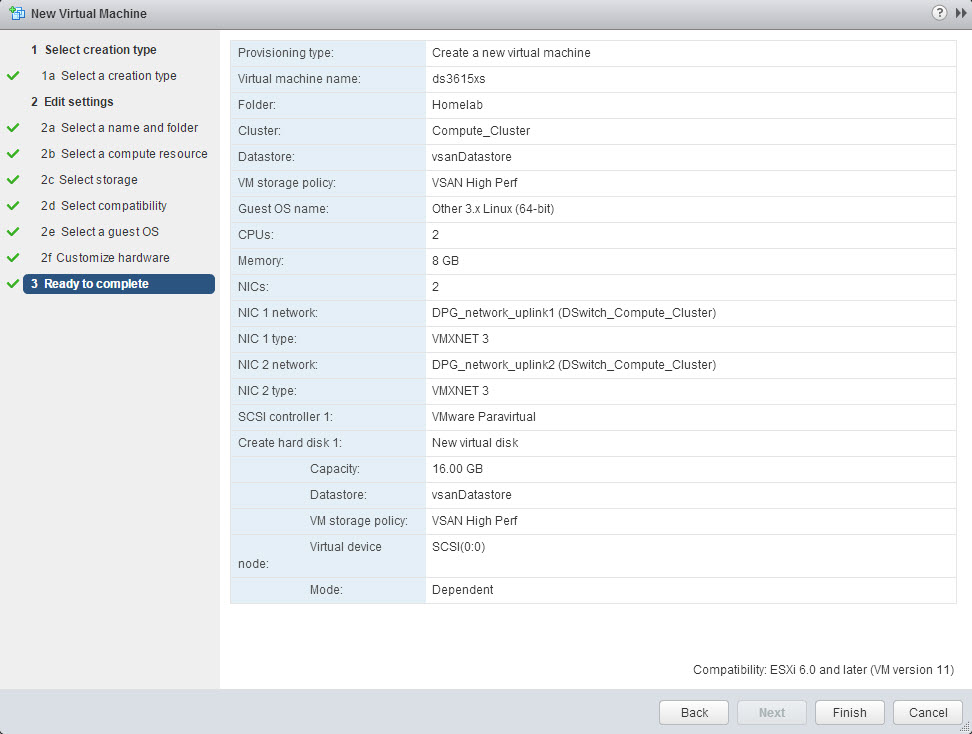
I have added a second VMXNET3 network interface, which I put on a dedicated 10GbE Distributed Port Group. So eth0 goes out using uplink1 and eth1 goes out using uplink2. You see these changes in the summary of the appliance below.
We can now go back into the appliance and edit it. We remove the boot disk, and erase it from the disk. (Yeah missing screenshot of this step).
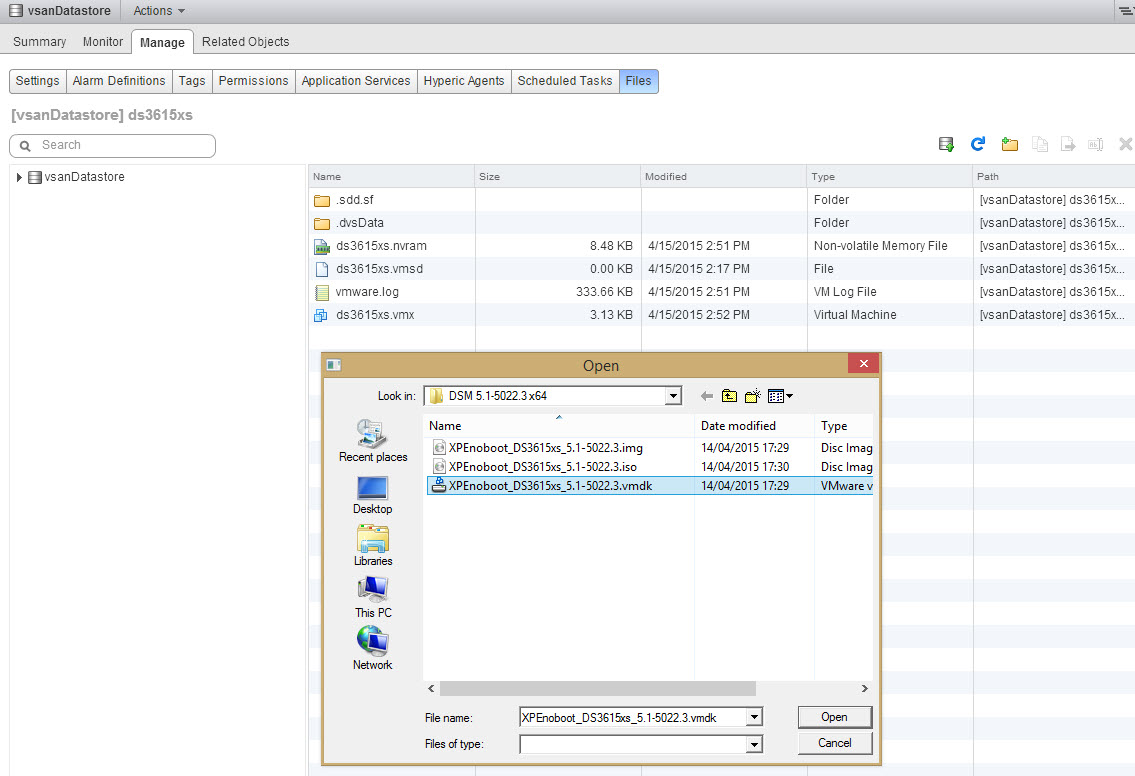
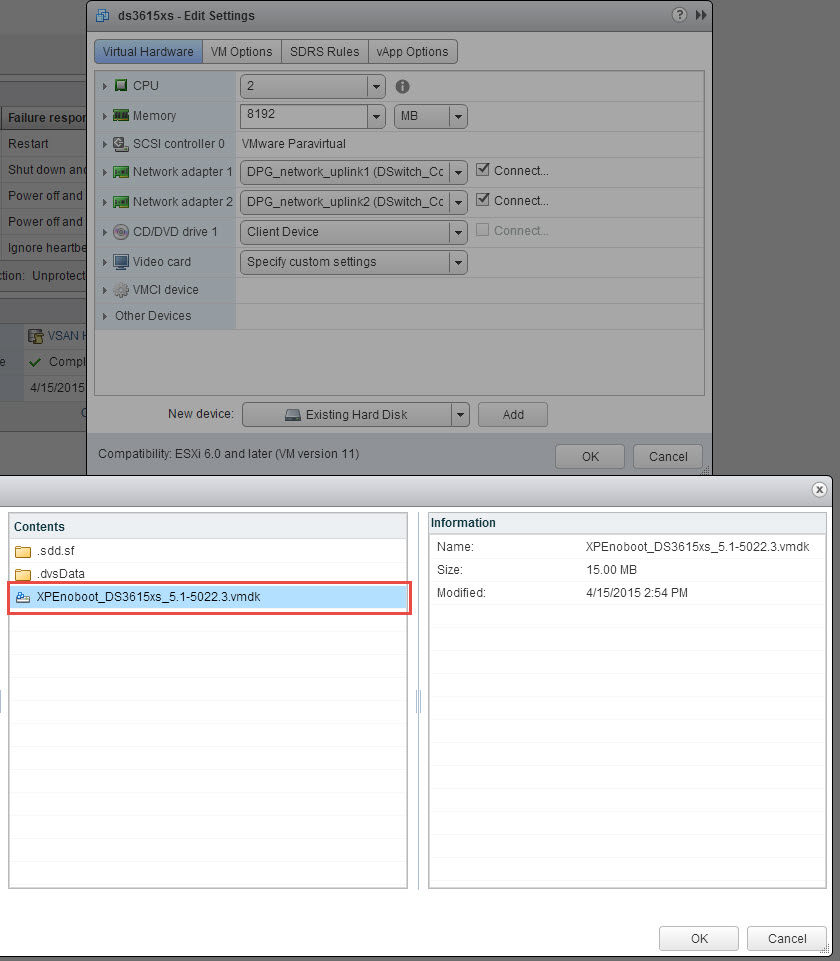
We then use the datastore browser to upload for the first time the XPEnoboot_DS3615xs_5-1-5022.3.vmdk in the appliance folder.
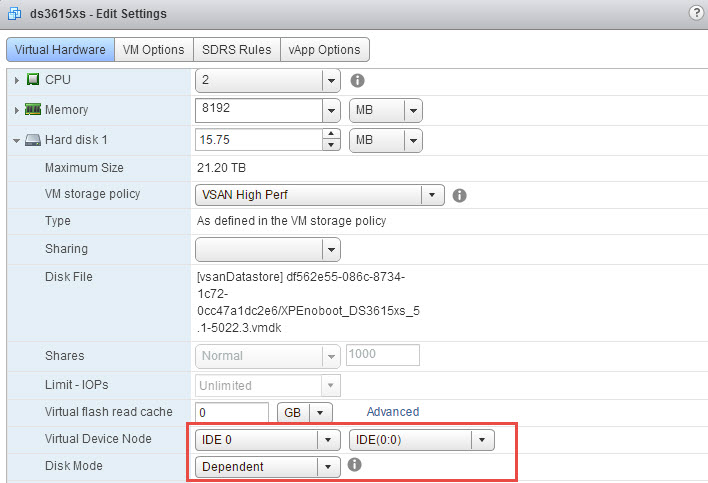
And we add this existing virtual disk to the appliance
The new boot disk is attached as an IDE disk on port IDE(0:0)
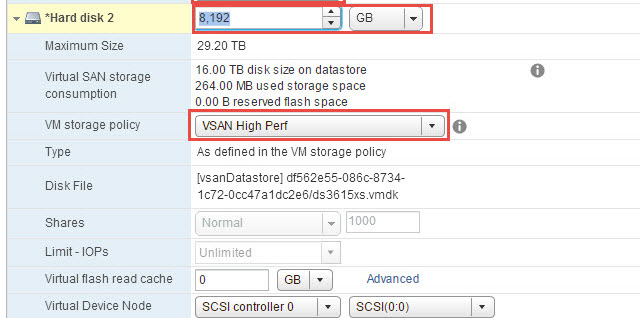
In the following screenshot, I’m adding the main disk to the storage appliance. I’m creating a 8TB (or 8192GB) virtual disk, and select my VSAN Storage Base Polci “VSAN High Perf”. The “VSAN High Perf” is defined as a Number of failures to tolerate of 1, and Number of disk stripes per object at 2.
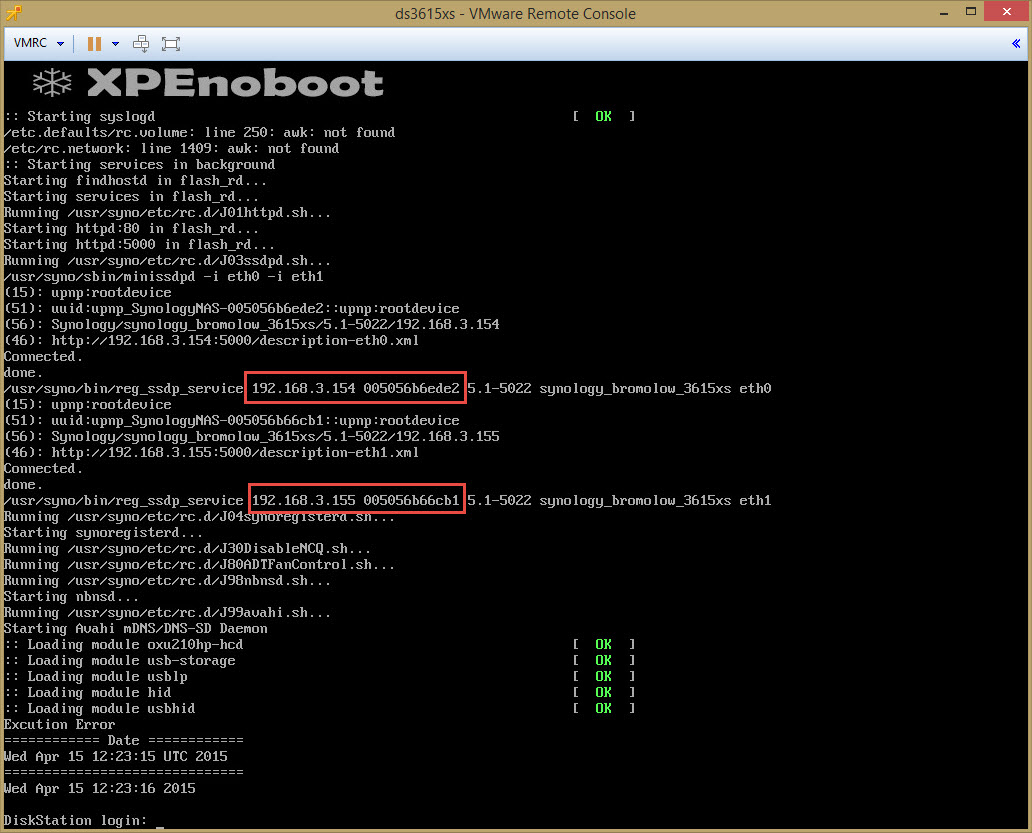
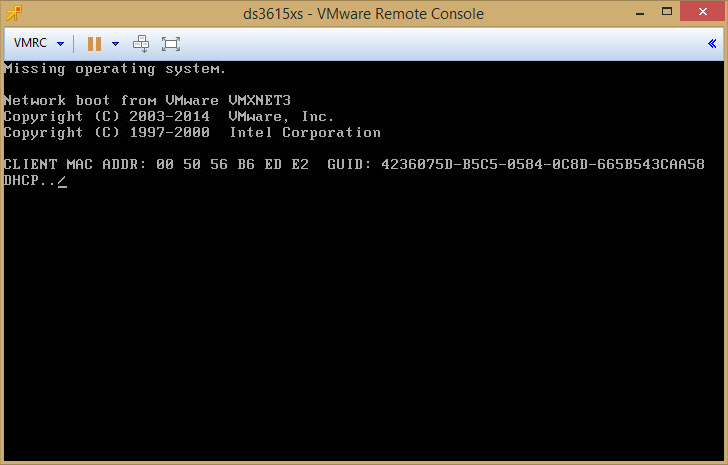
Now you can start the appliance. Look closely at the IP addresses of the appliance and the MAC addresses. You want to start configuring the IP Addresses later on the proper NIC.
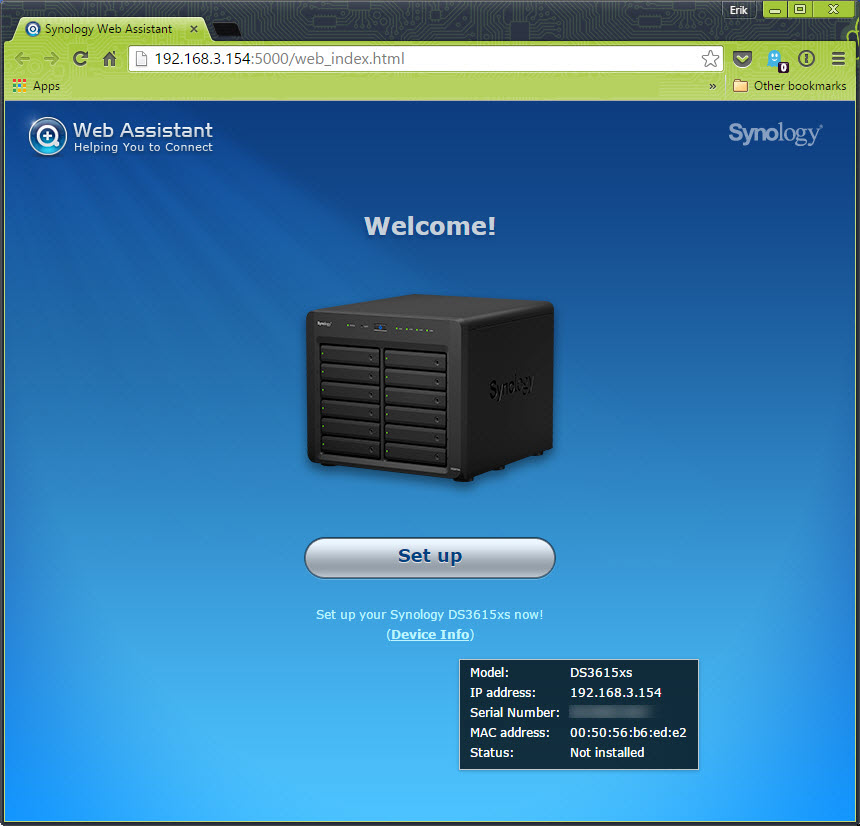
Using the Synology Assistant you can now see your appliance appear on the network. Use your browser and aim it to the IP address shown in the Synology Assistant to do the initial install.
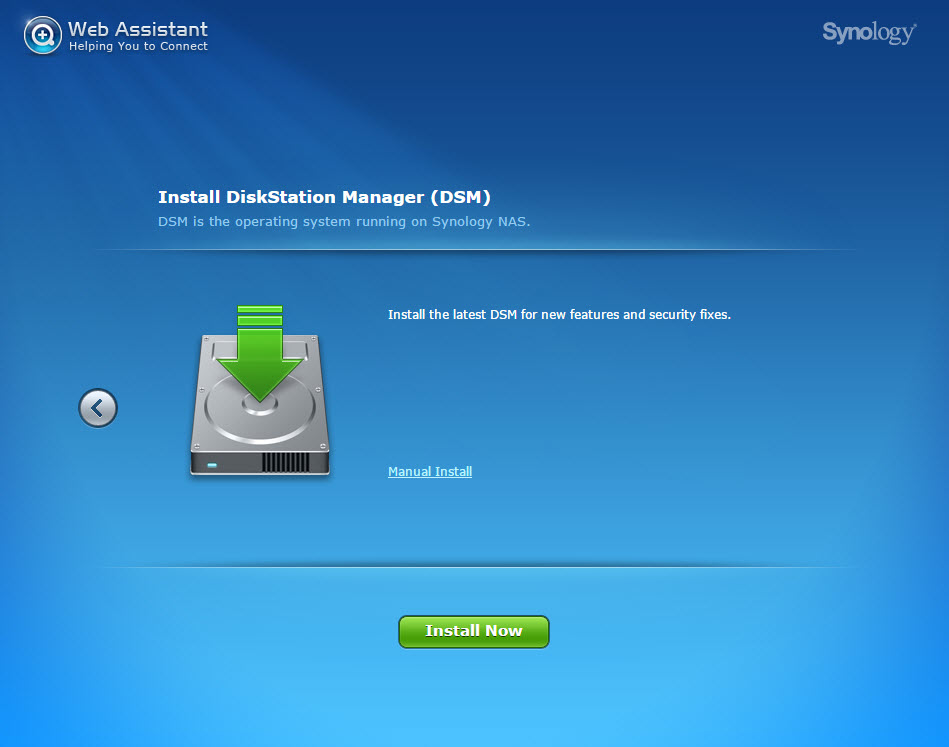
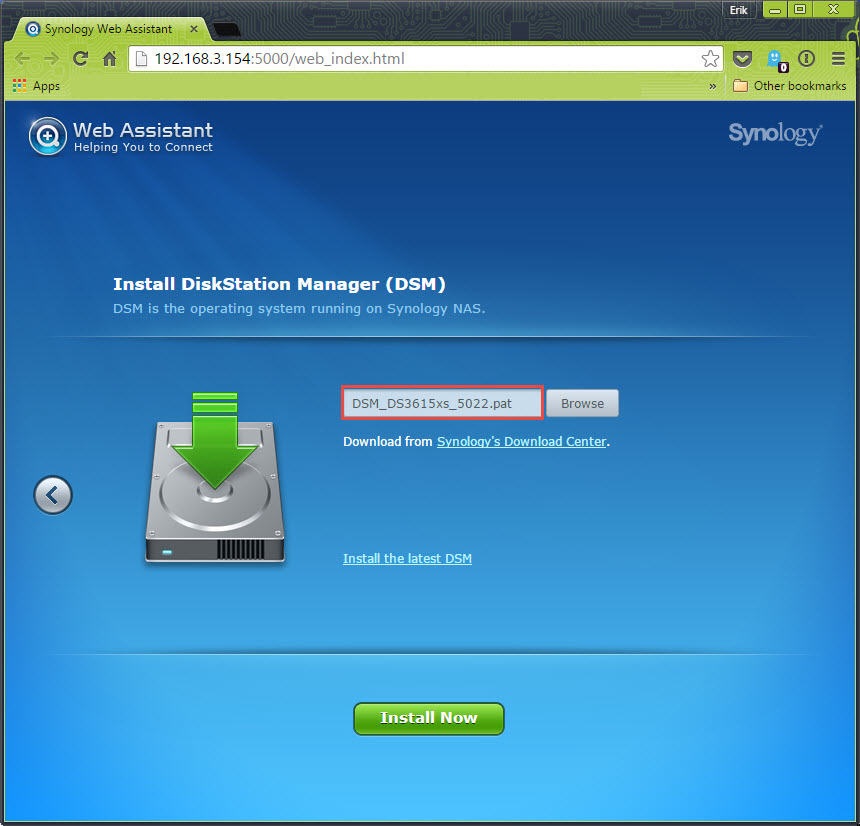
We are installing the DSM using the Manual install.
Here you upload the DSM 5.1-5022 pattern file that you retrieved from the Synology download center in the DS3615xs selection.
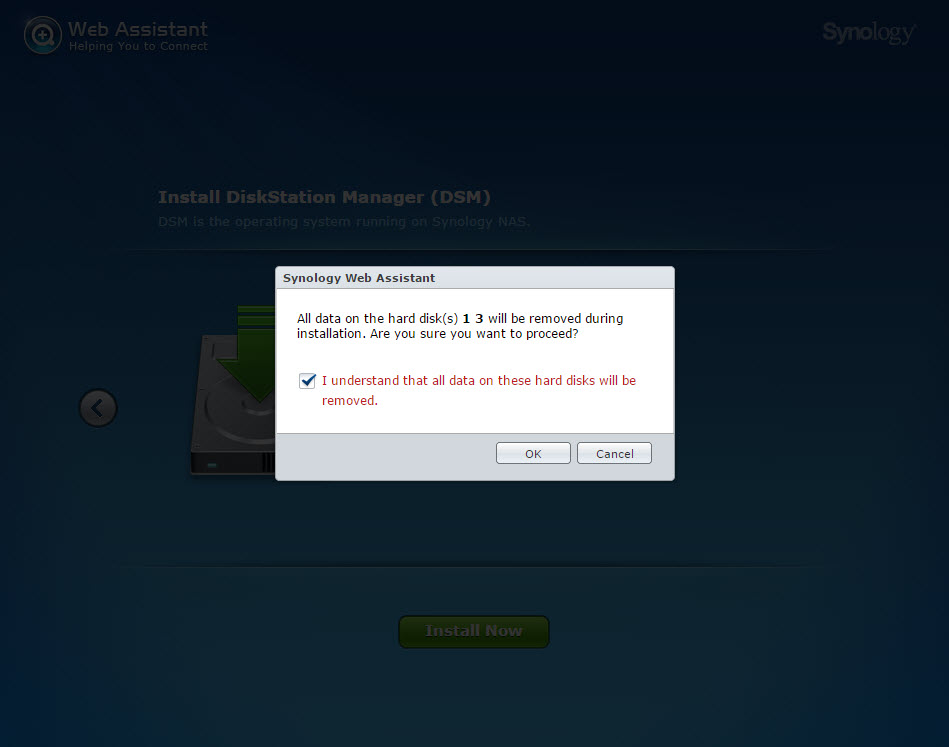
It will now prompt you that it will erase all partitions on the attached disks of the appliance. This includes the XPEnoboot disk of the appliance.
Accordingly the expected behavior now, is that the boot disk is wiped and won’t boot.
Stop the appliance, and using the Datastore browser, you go erase the XPenoboot disk. Upload again for the 2nd time the XPEnoboot_DS3615xs_5.1-5022-3.vmdk in the folder.
3) Configuration using Synology Assistant
You can now restart the appliance. You will notice that the 2nd time the appliance boots, some of the messages like the IP address are not there anymore. And using the Synology Assistant, you see that the DHCP function isn’t started. The IP addresses are now 169.254.x.y
Select the proper network interface in the Synology Assistant using the MAC address, and select Setup. If you don’t select the proper MAC address you might need to change swap IP addresses later. So save yourself some time, and select the eth0 one.
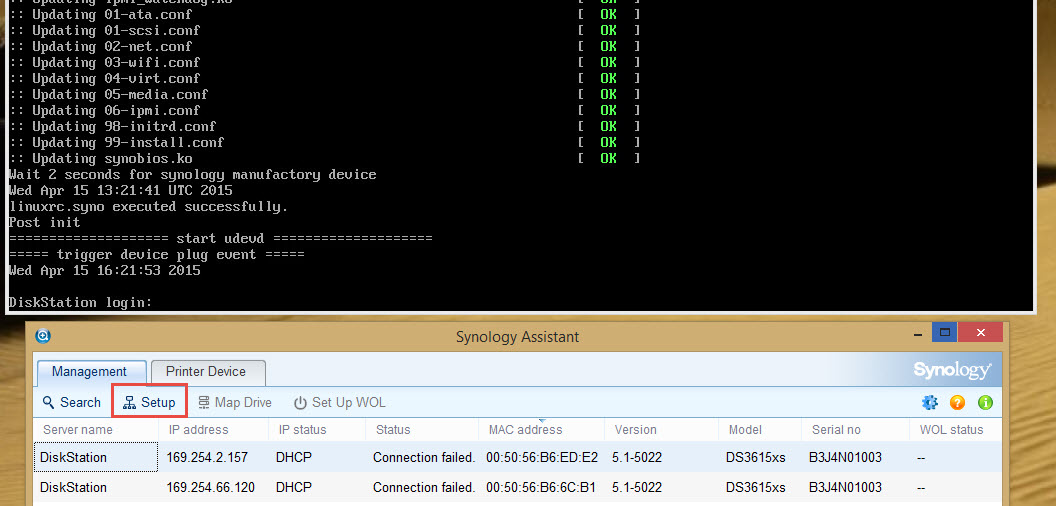 The Synology assistant wizard will now start.
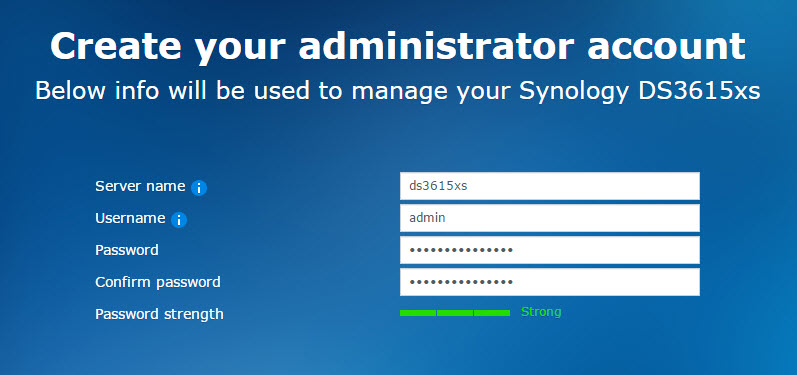
The Admin password at this time is blank, don’t enter any value. You can change the password later.
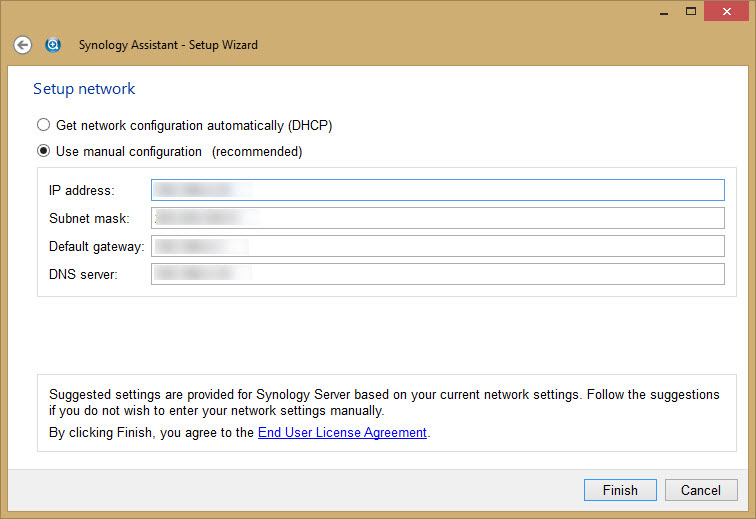
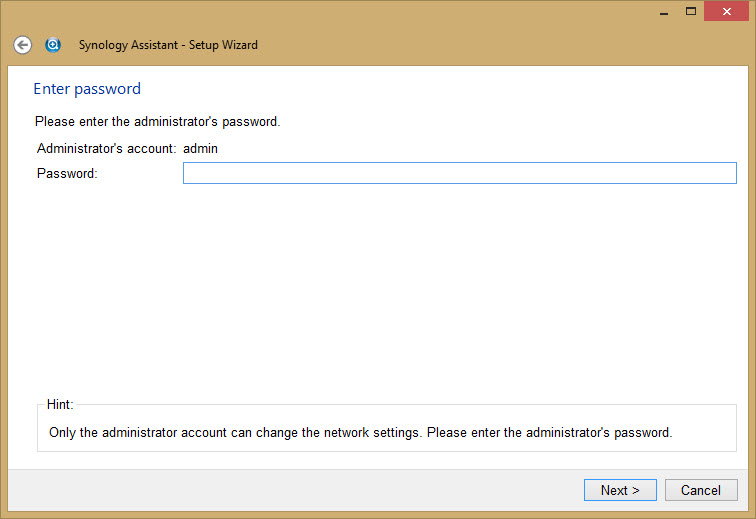 Enter the appliance Network settings.
Refreshing the Synology Assistant shows that you have the proper IP address now.
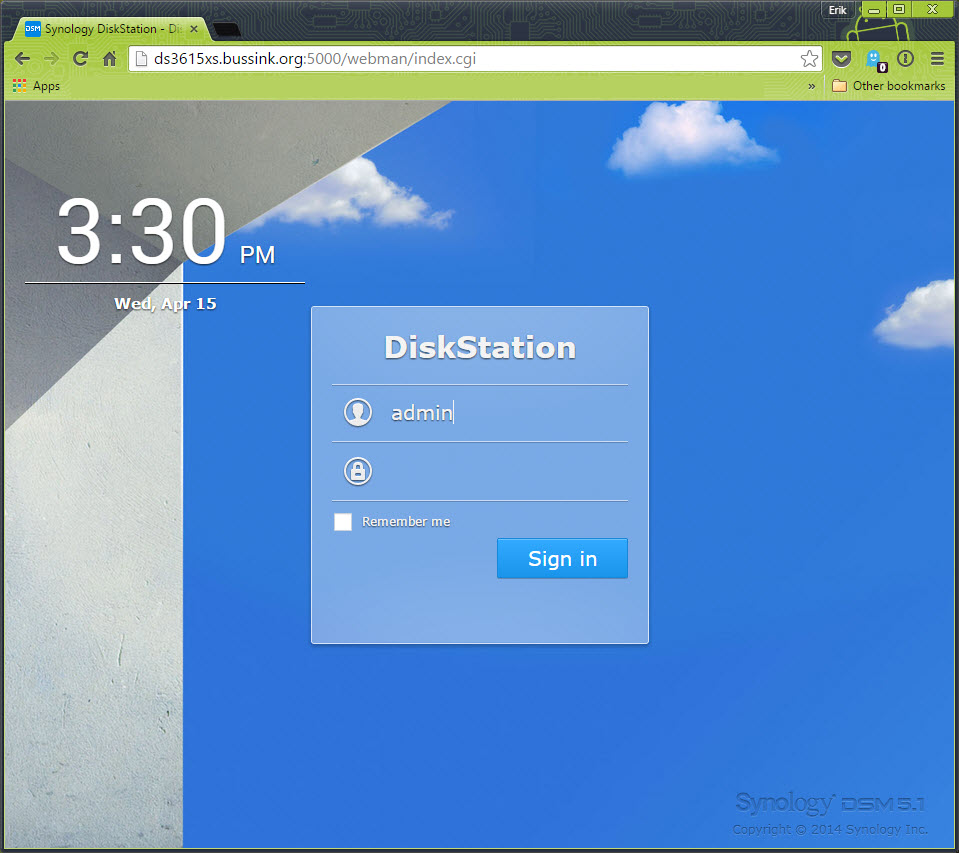
Time to connect to your newly deploy appliance.
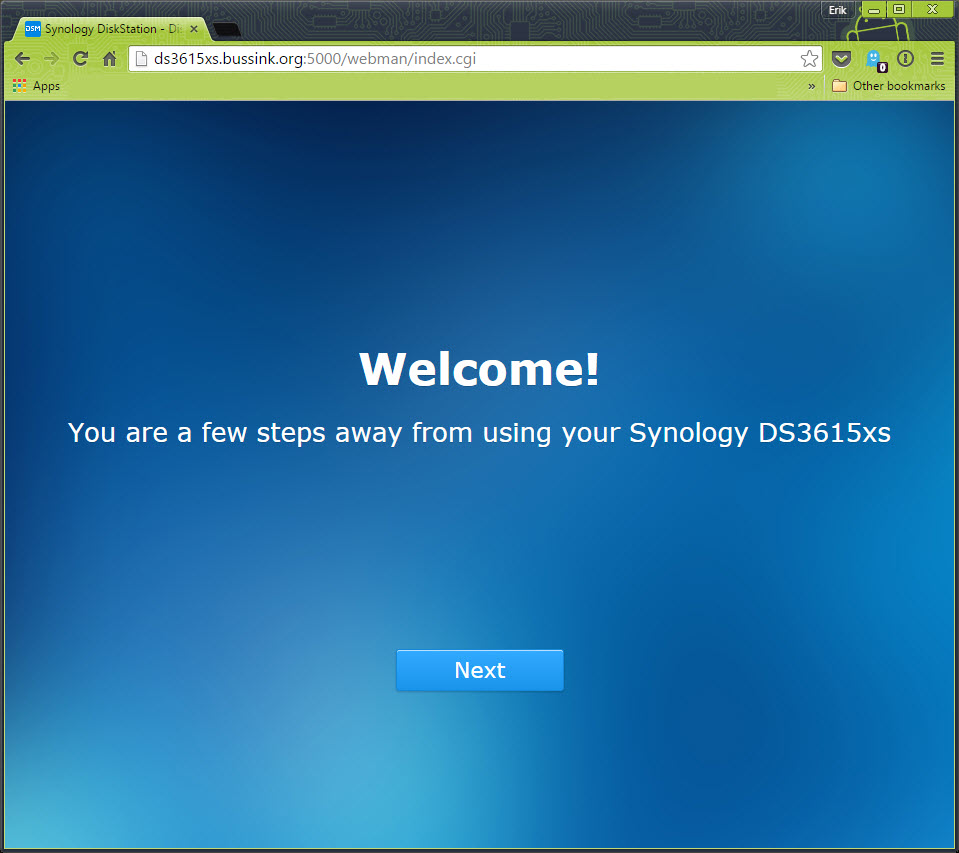
You are now only a few steps away from using your storage appliance.
It is now time to change your admin account password.
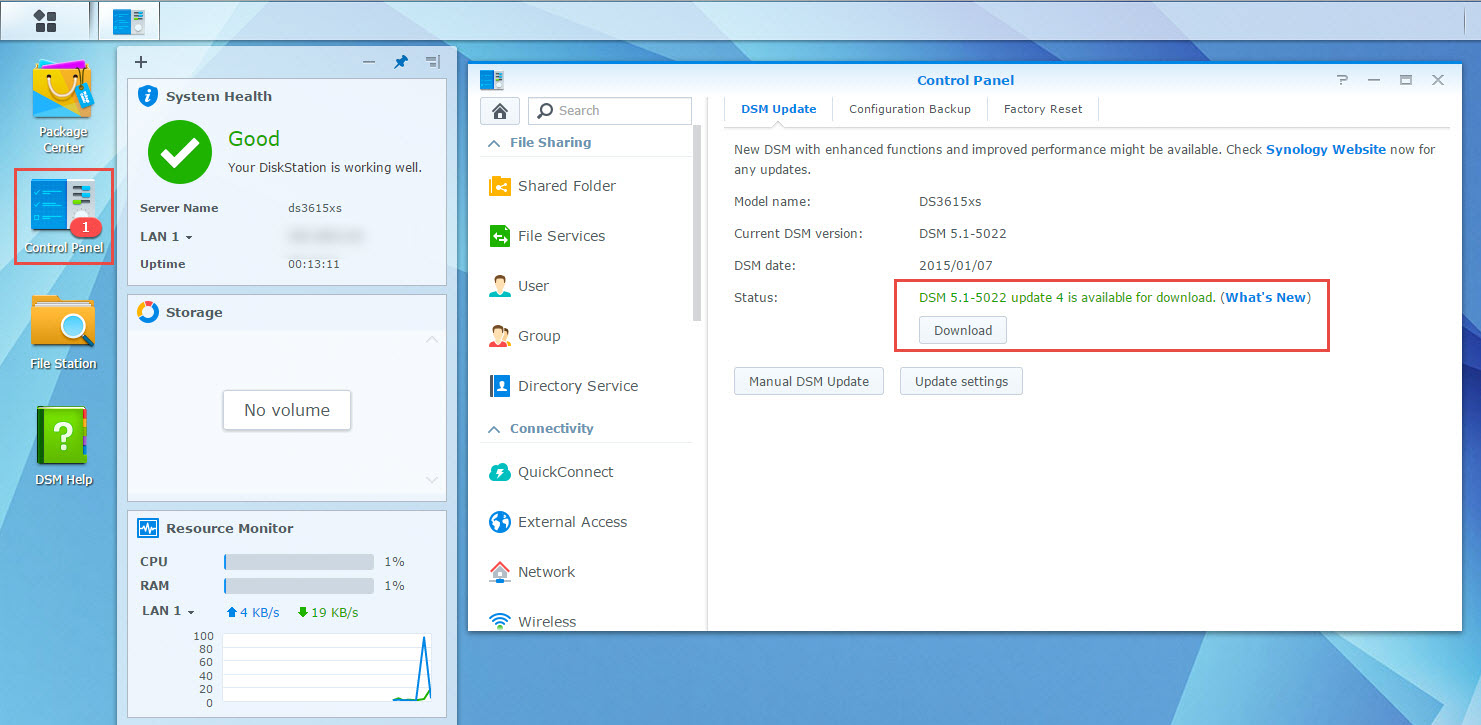
We can now update the DSM 5.1-5022 version to the latest 5.1-5022-5 version. Depending on the CPU of your host, you will never have seen a Synology reboot so fast.
If you intend to use this virtual synology appliance to store data, I recommend you do some conditioning tests first, to see how it reacts in your environment.
I like the flexibility of the virtual synology appliance:
- Adding a temporary repository for a data migration becomes easy if you have a lot of underlying VSAN datastore space.
- Want to try out Synology High-Availability, add a 2nd appliance and create the High-Availability cluster.
- Want to test a Synology with 10GbE interface, easy if your ESXi host has a 10G interface. (*)
In the coming weeks, I’m looking forward to deploy on my VSAN datastore another storage appliances that can scale out in this distributed storage architecture.
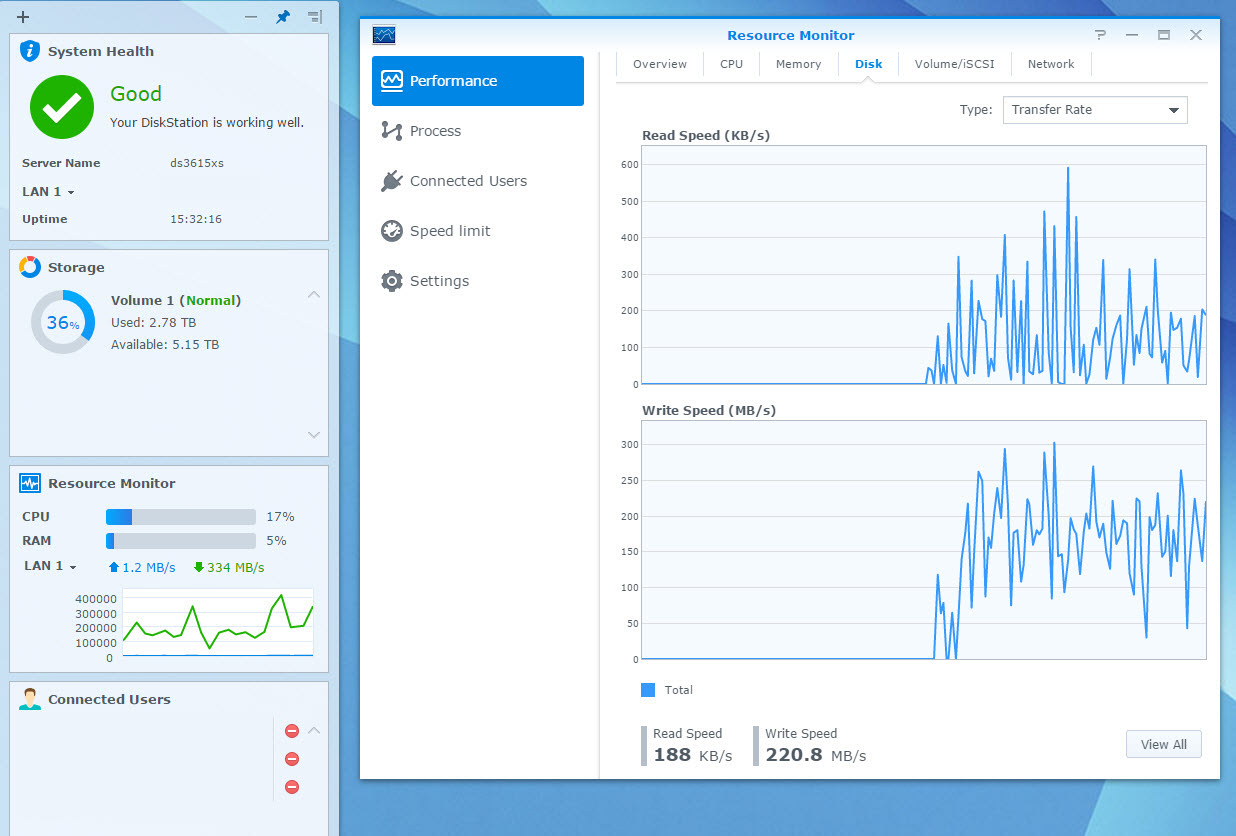
(*) I have found out that while having the virtual synology appliance with 10GbE on the backbone is awesome, yet I ran into upload bandwidth limits trying to upload data. My sources where connected to the core switch over 1GbE links, or the virtual machines being used as a source for testing, has its disk store on 1GbE NFS/iSCSI LUNs. To test the virtual synolgoy I copied large files from various sources.I had three sources pushing out 100-120MB/s, 60-70MB/s and 80-90MB/s of large sequential files to get the 2nd screenshot at the top and see the virtual synology write stats at 220MB/s.
