As part of my ongoing expansion of the HomeDC, I was excited to learn about the availability of the latest Quad-Core Intel NUC a few months ago. Last friday I received my first Intel NUC Skylake NUC6I7KYK. I only started setting it up this afternoon. I usually do disabled a few settings in the BIOS, but following the warning from fellow bloggers that people had issues getting the Intel NUC running with ESXi [virtuallyghetto.com] I did take a deeper look prior to the install. I was able to install ESXi 6.0 Update 2 (Build 3620759) on my 4th try after disabling more settings in the BIOS.
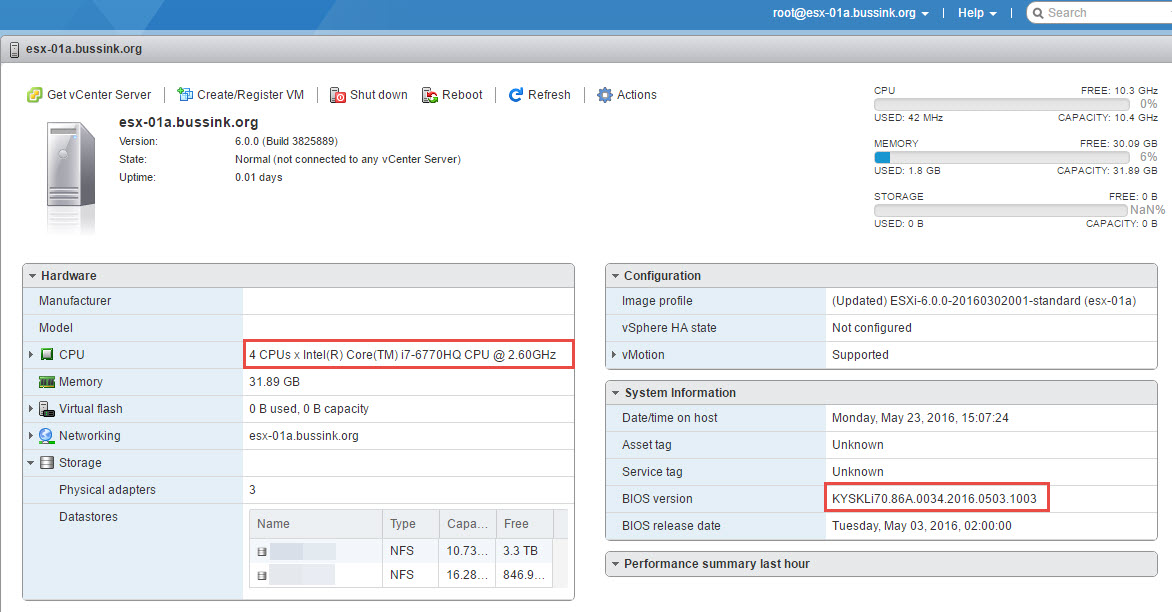
Here is the screenshot of the ESXi Host Client of the Intel NUC6I7KYK with BIOS 0034.
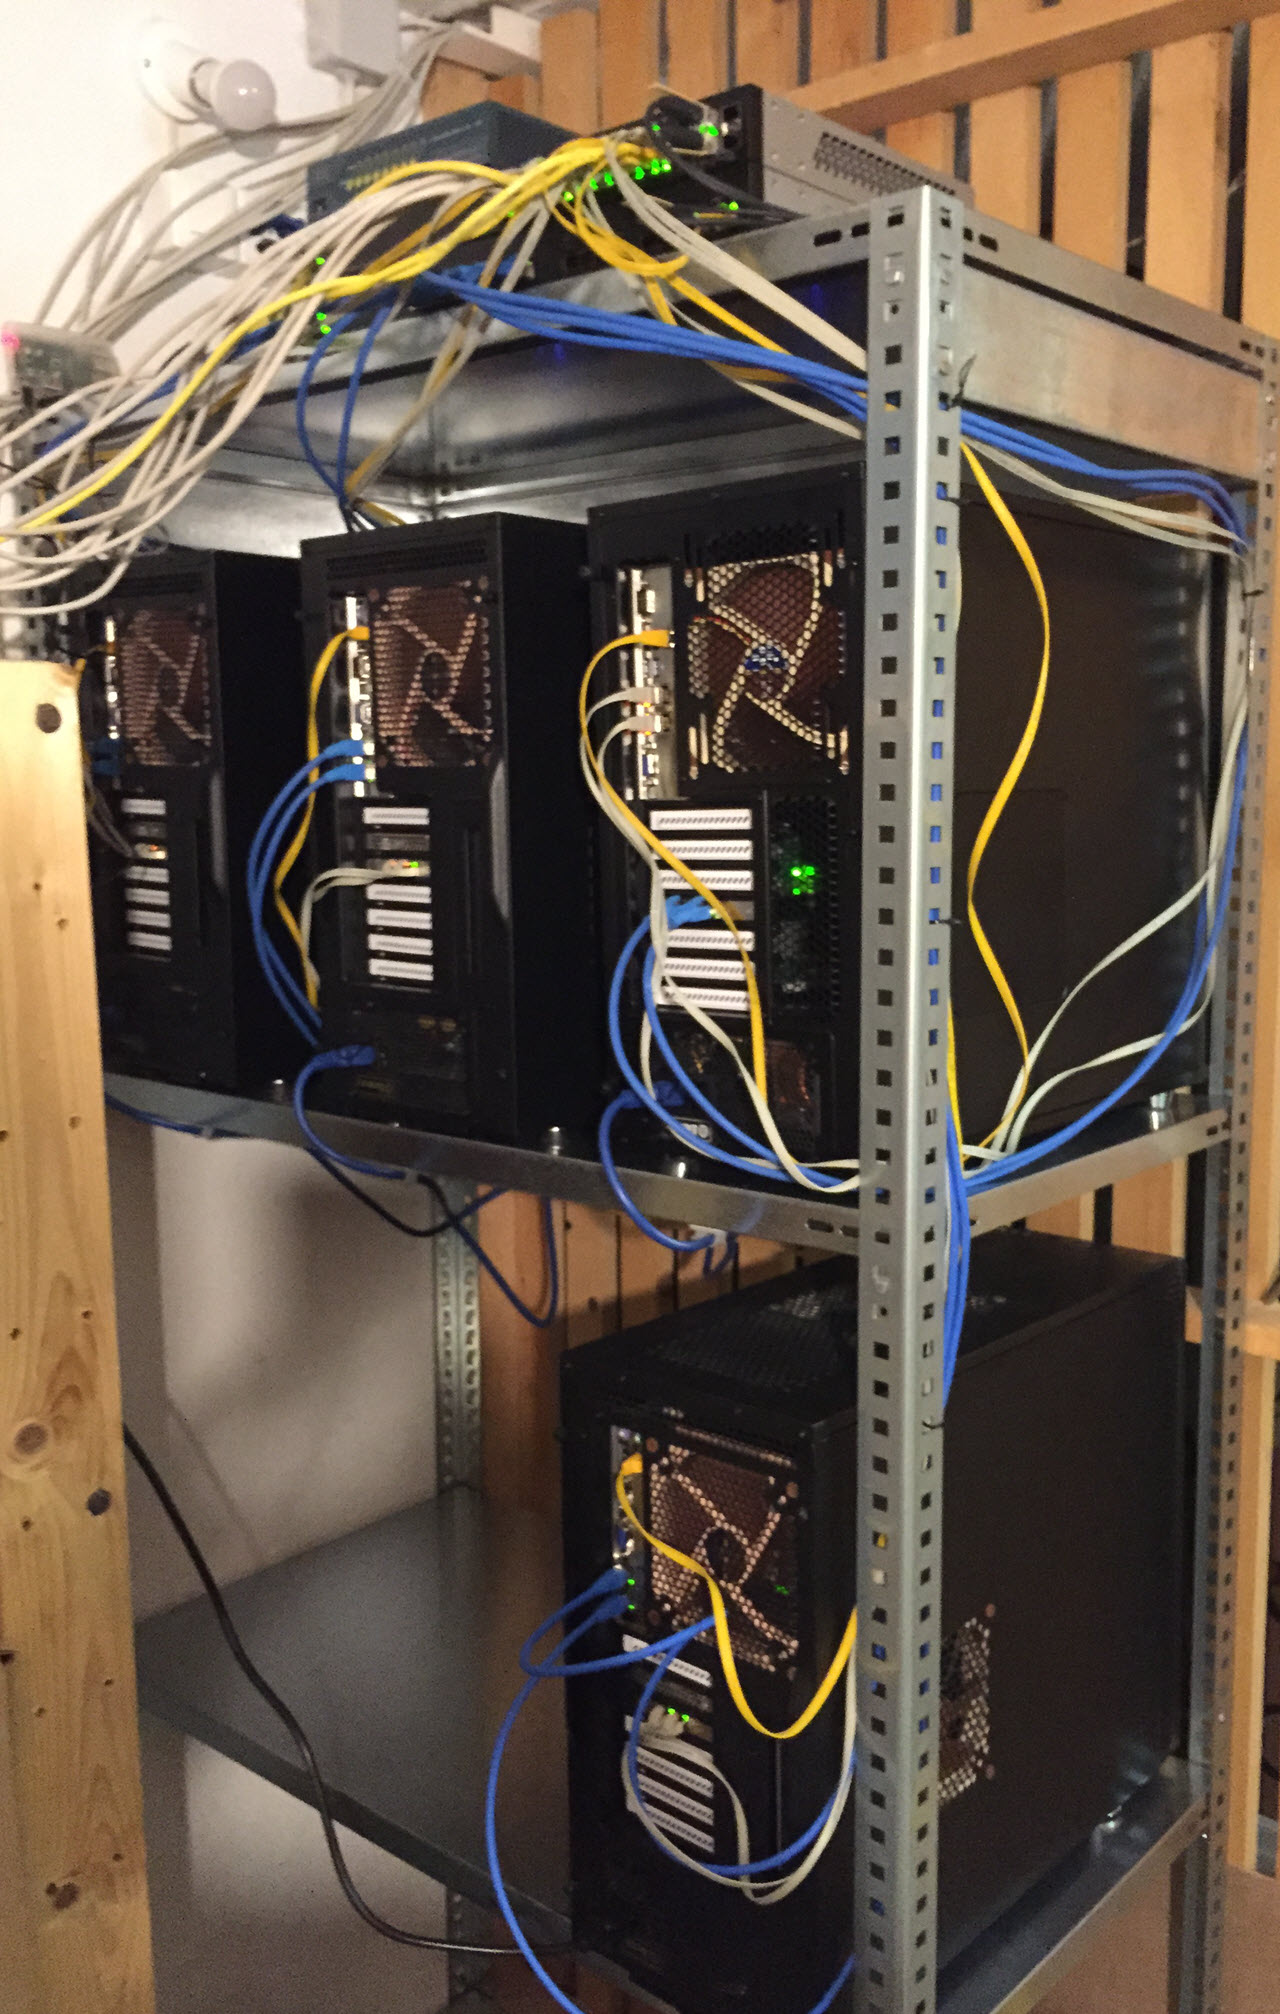
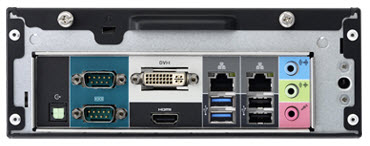
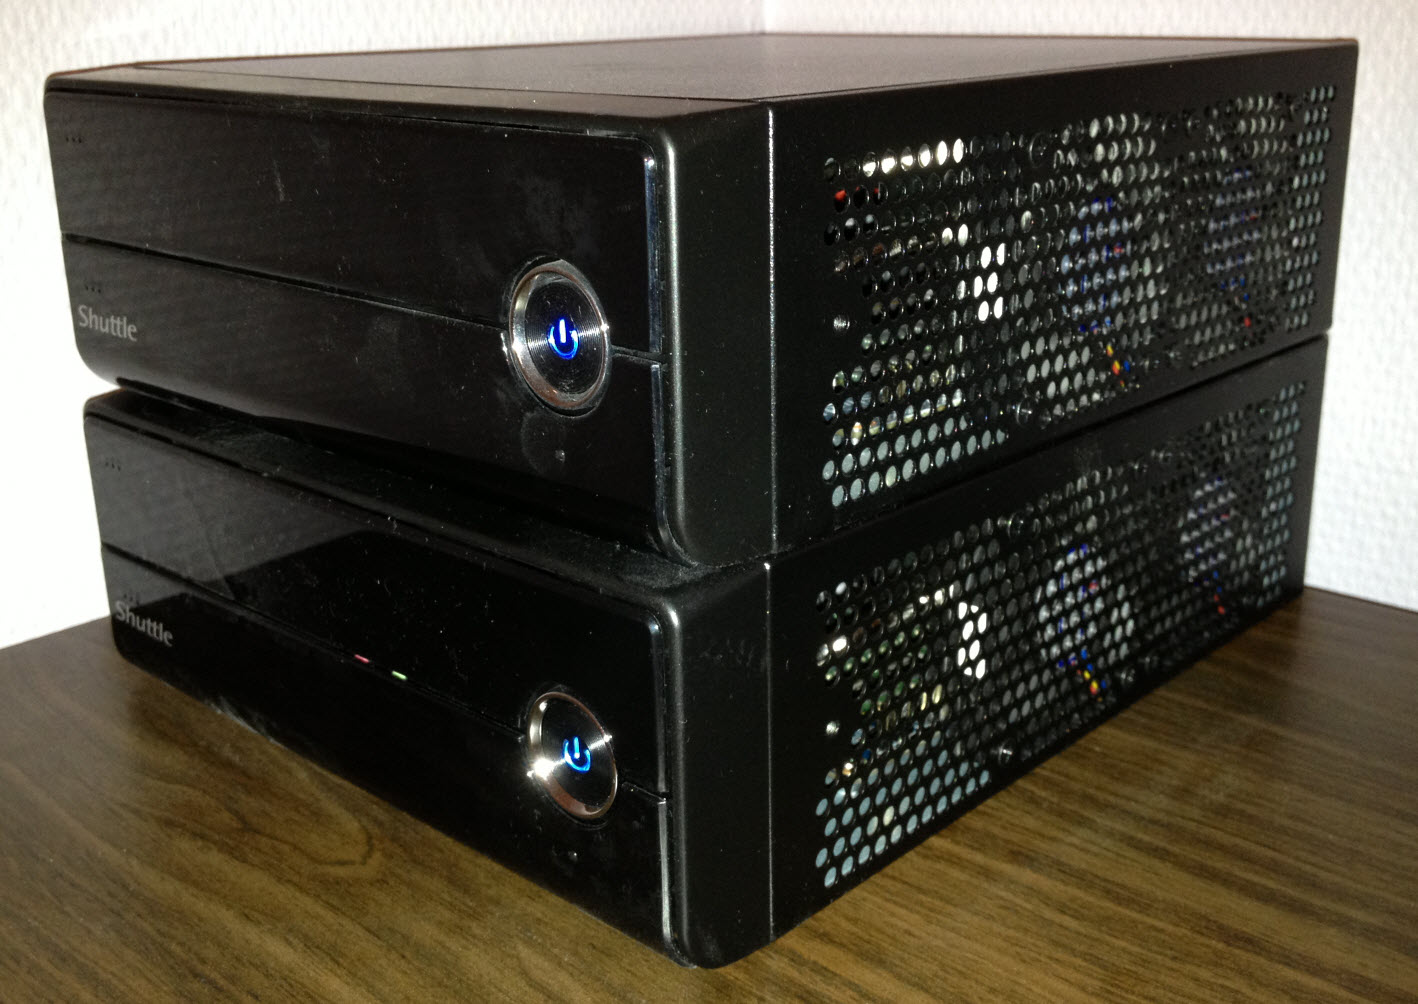
Here is a quick screenshot of the physical machine. I was planning to use the SDXC slot with an SDXC 32GB card to store the boot configuration of ESXi, but unfortunately I did not see the SDXC as a valid target during the ESXi install process. So I keep the USB key I was boot from and select it as the target. On the screenshot below you will also notice an extra Network card, the StarTech USB3 Gigabit Ethernet Network Adapter which driver you can get from VirtuallyGhetto’s web page Functional USB 3.0 Ethernet Adapter (NIC) driver for ESXi 5.5 & 6.0. Thanks William for this driver.

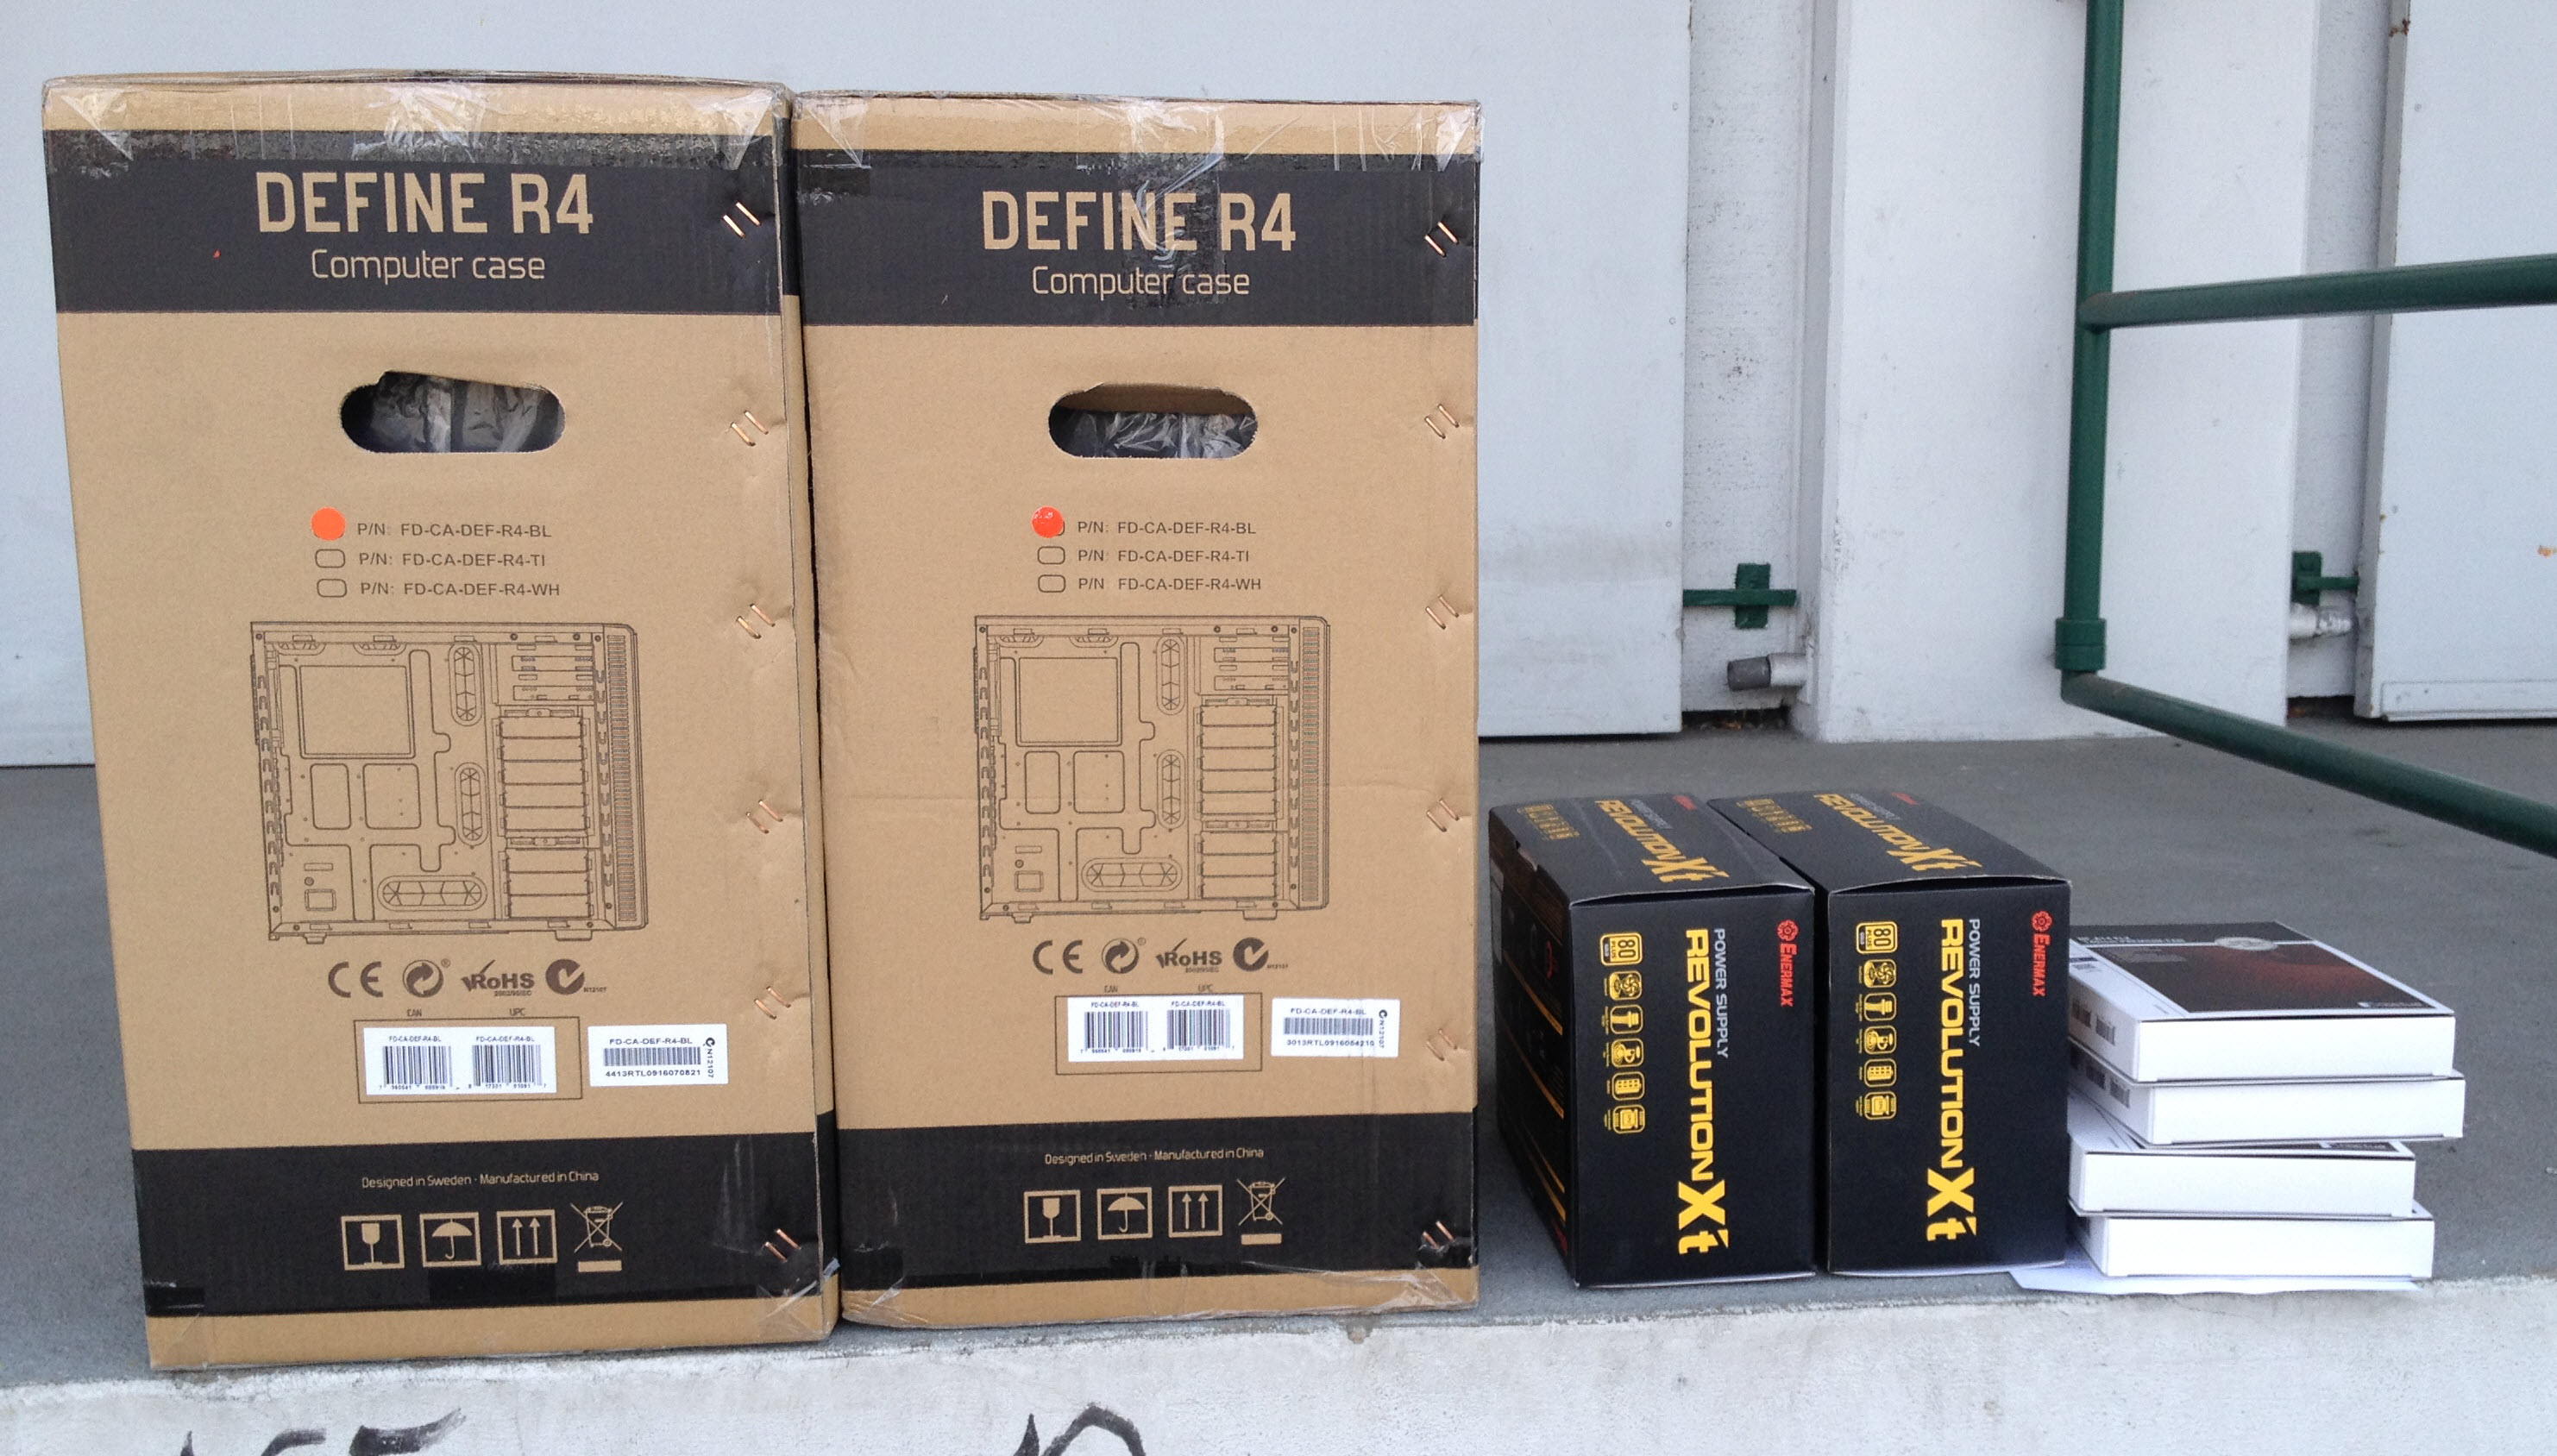
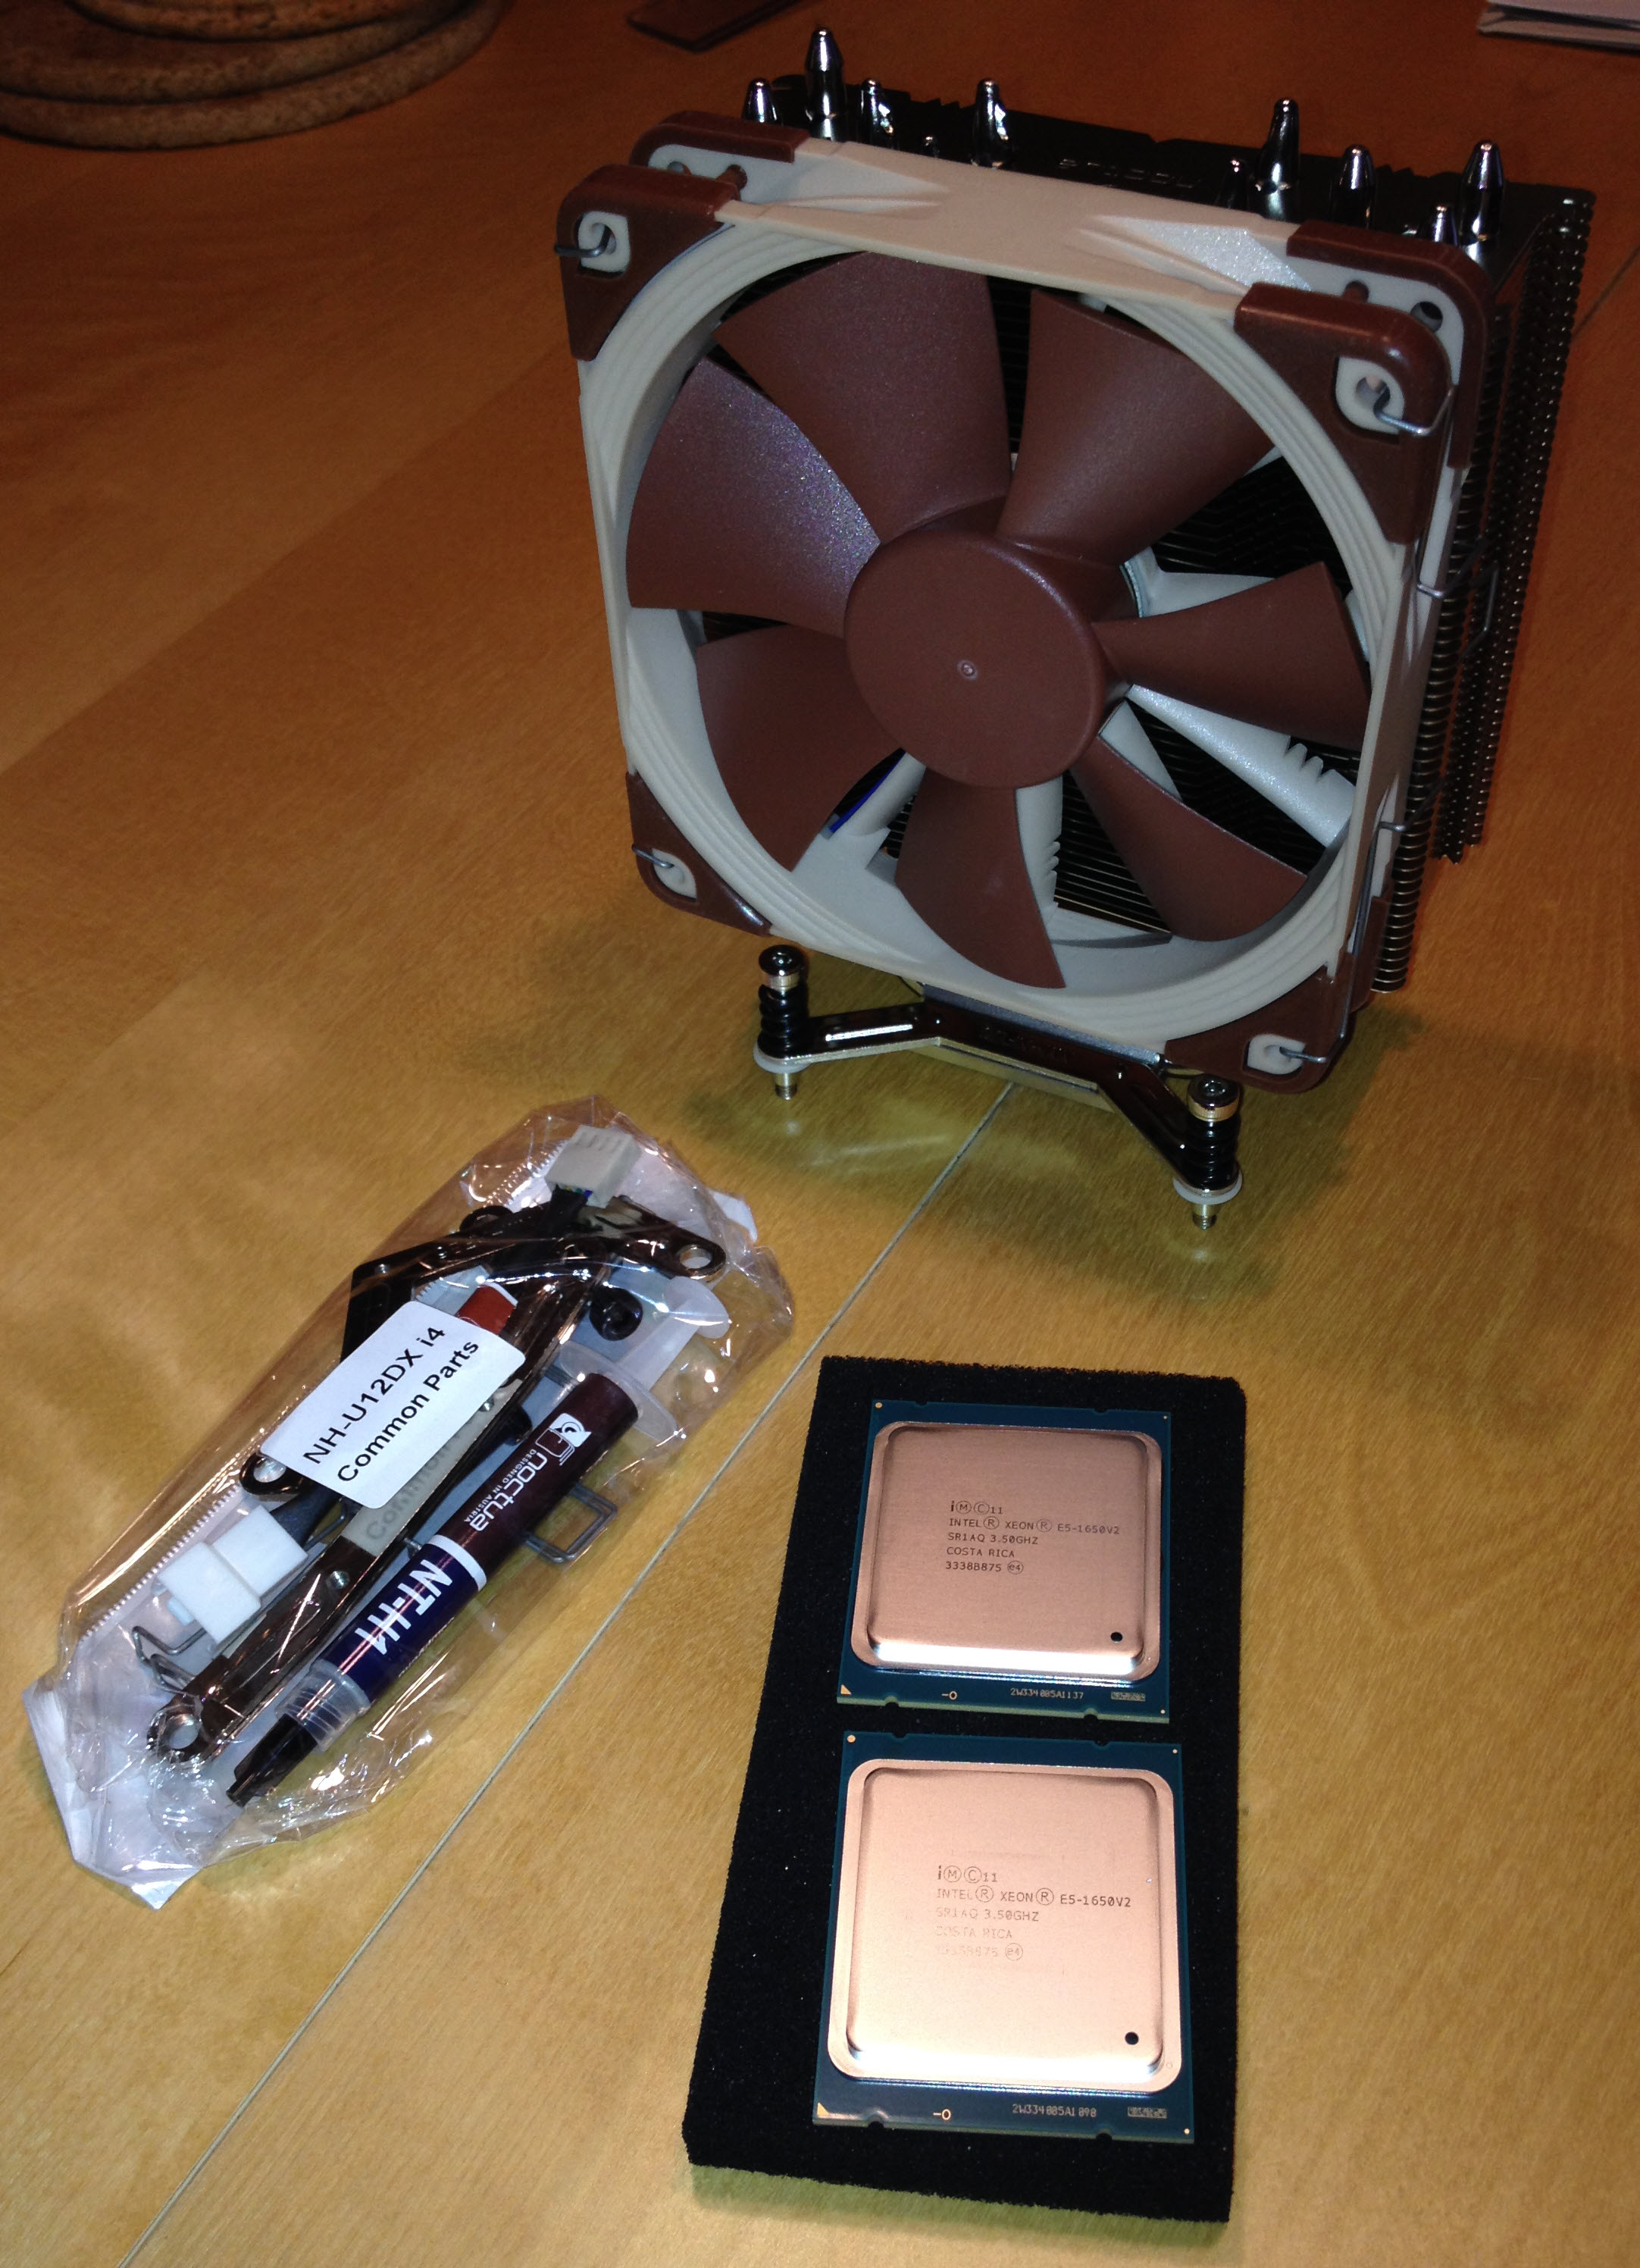
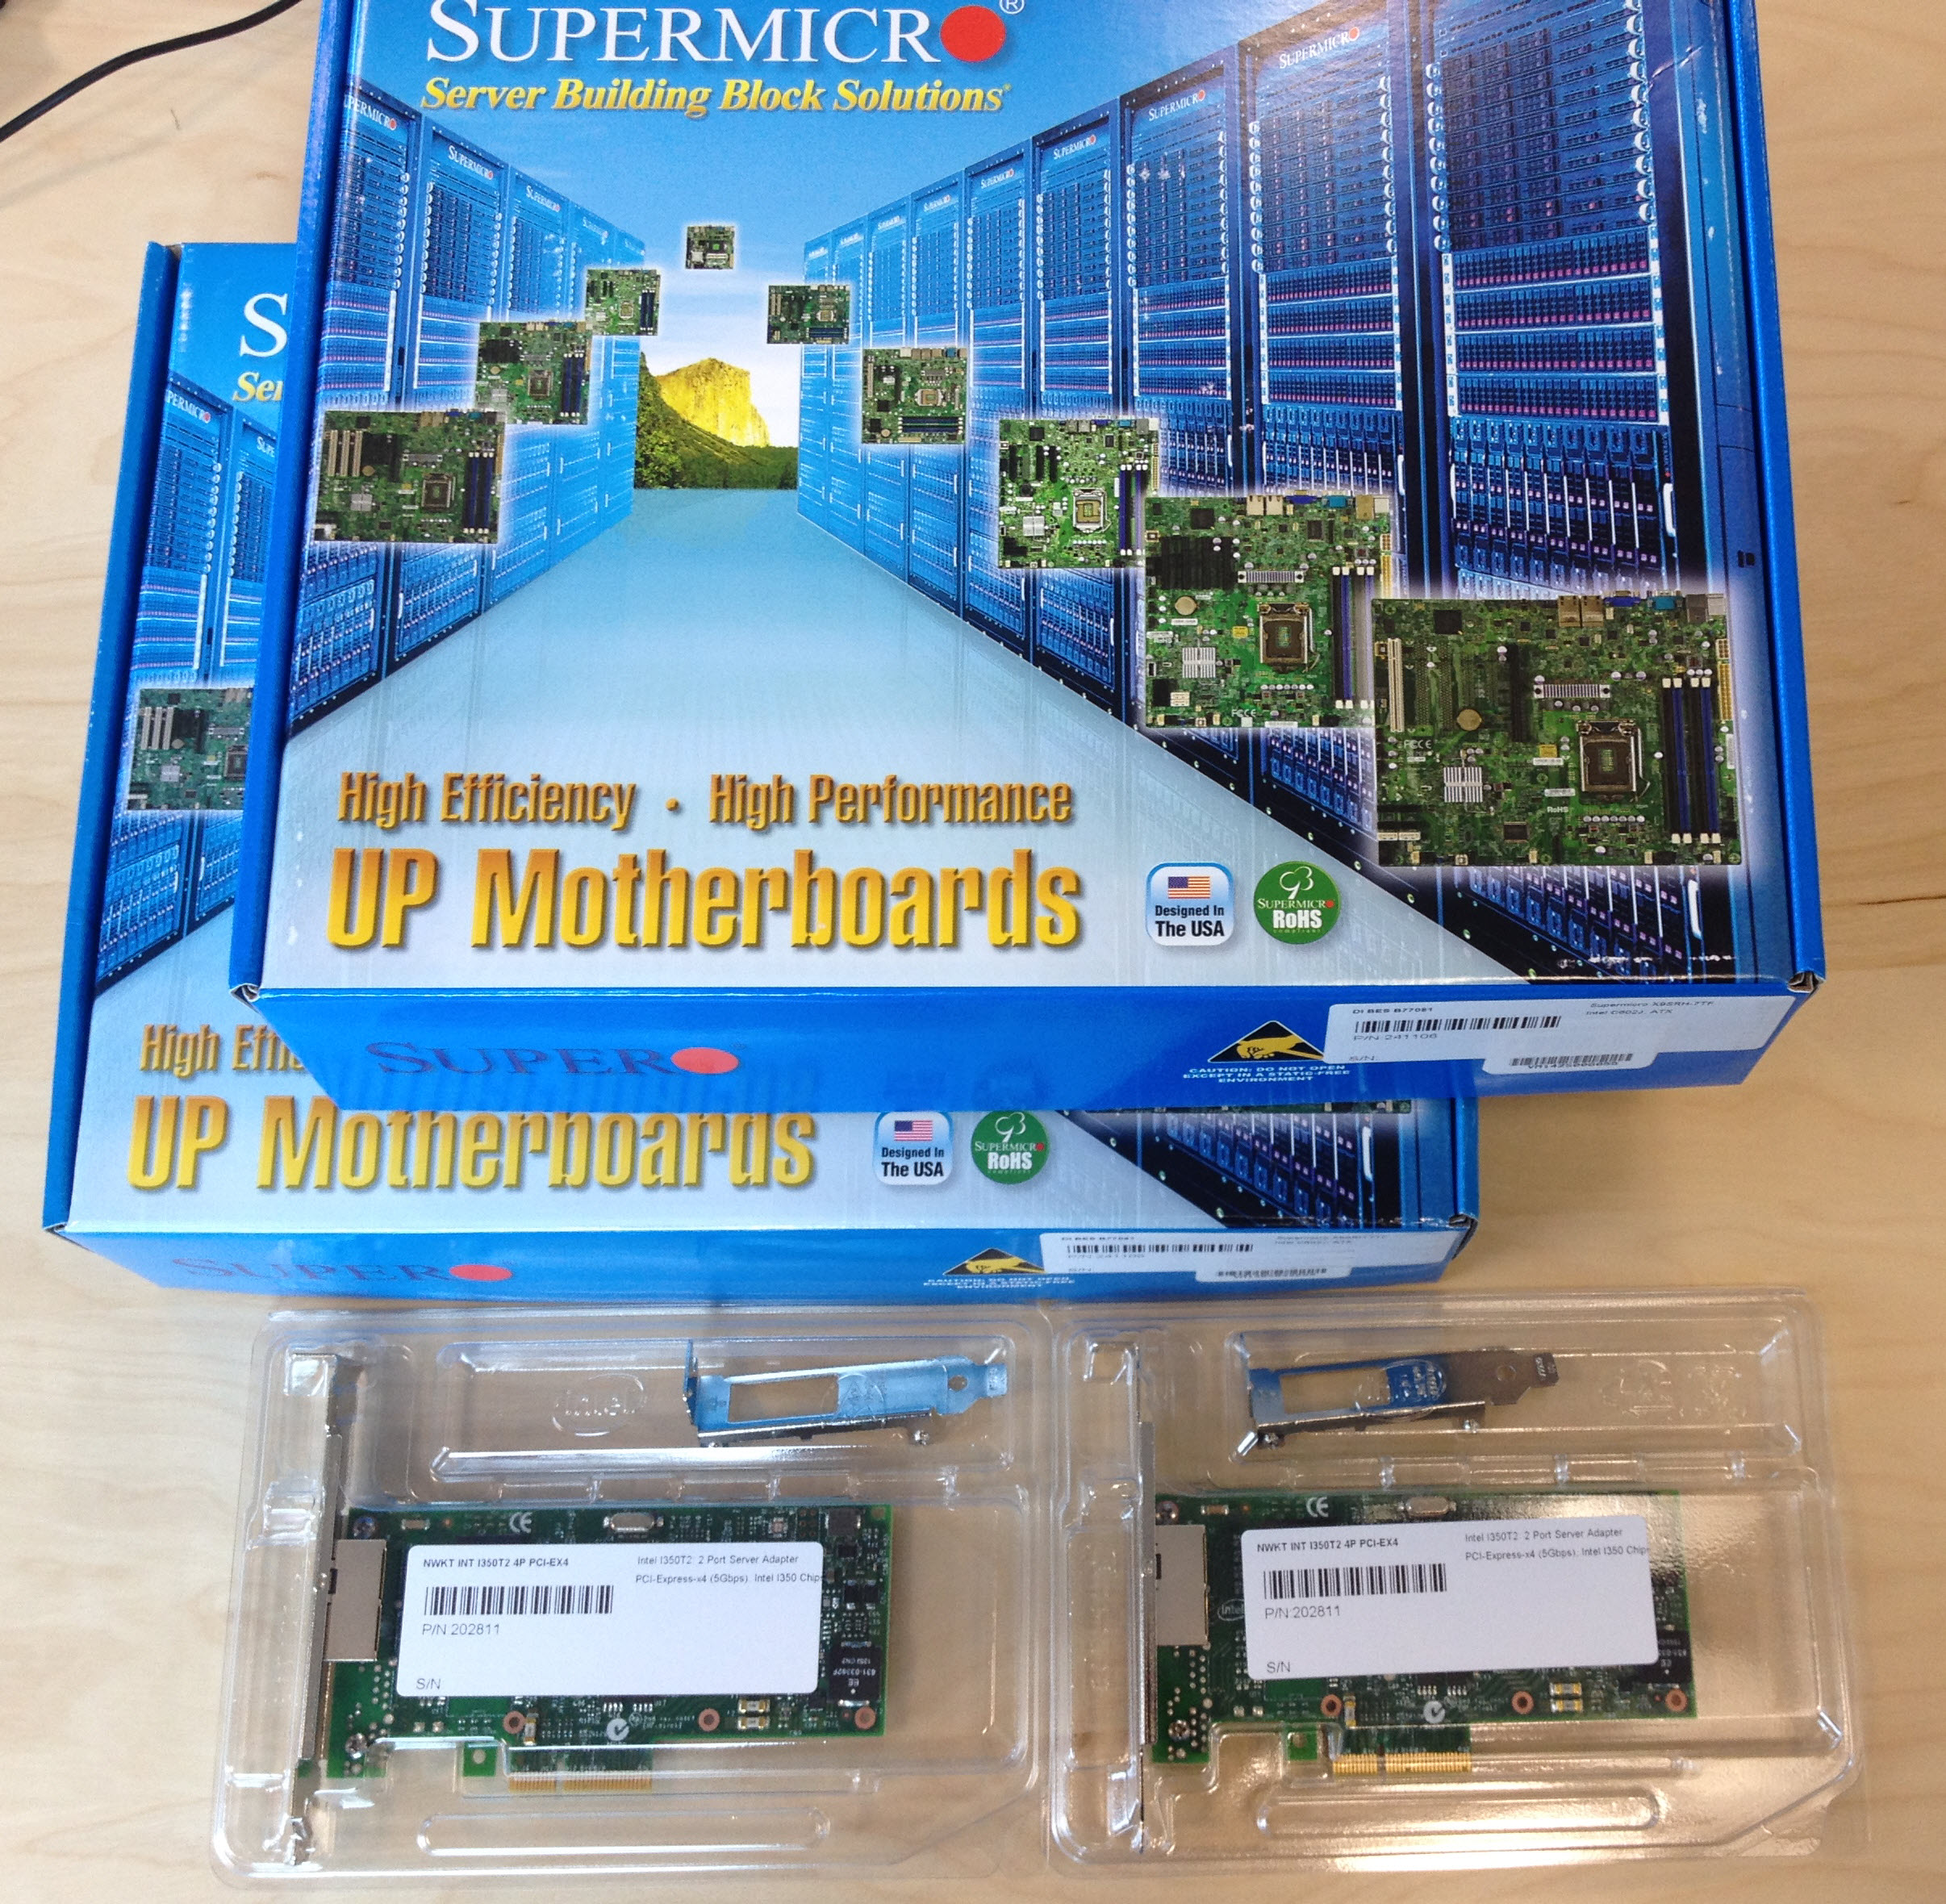
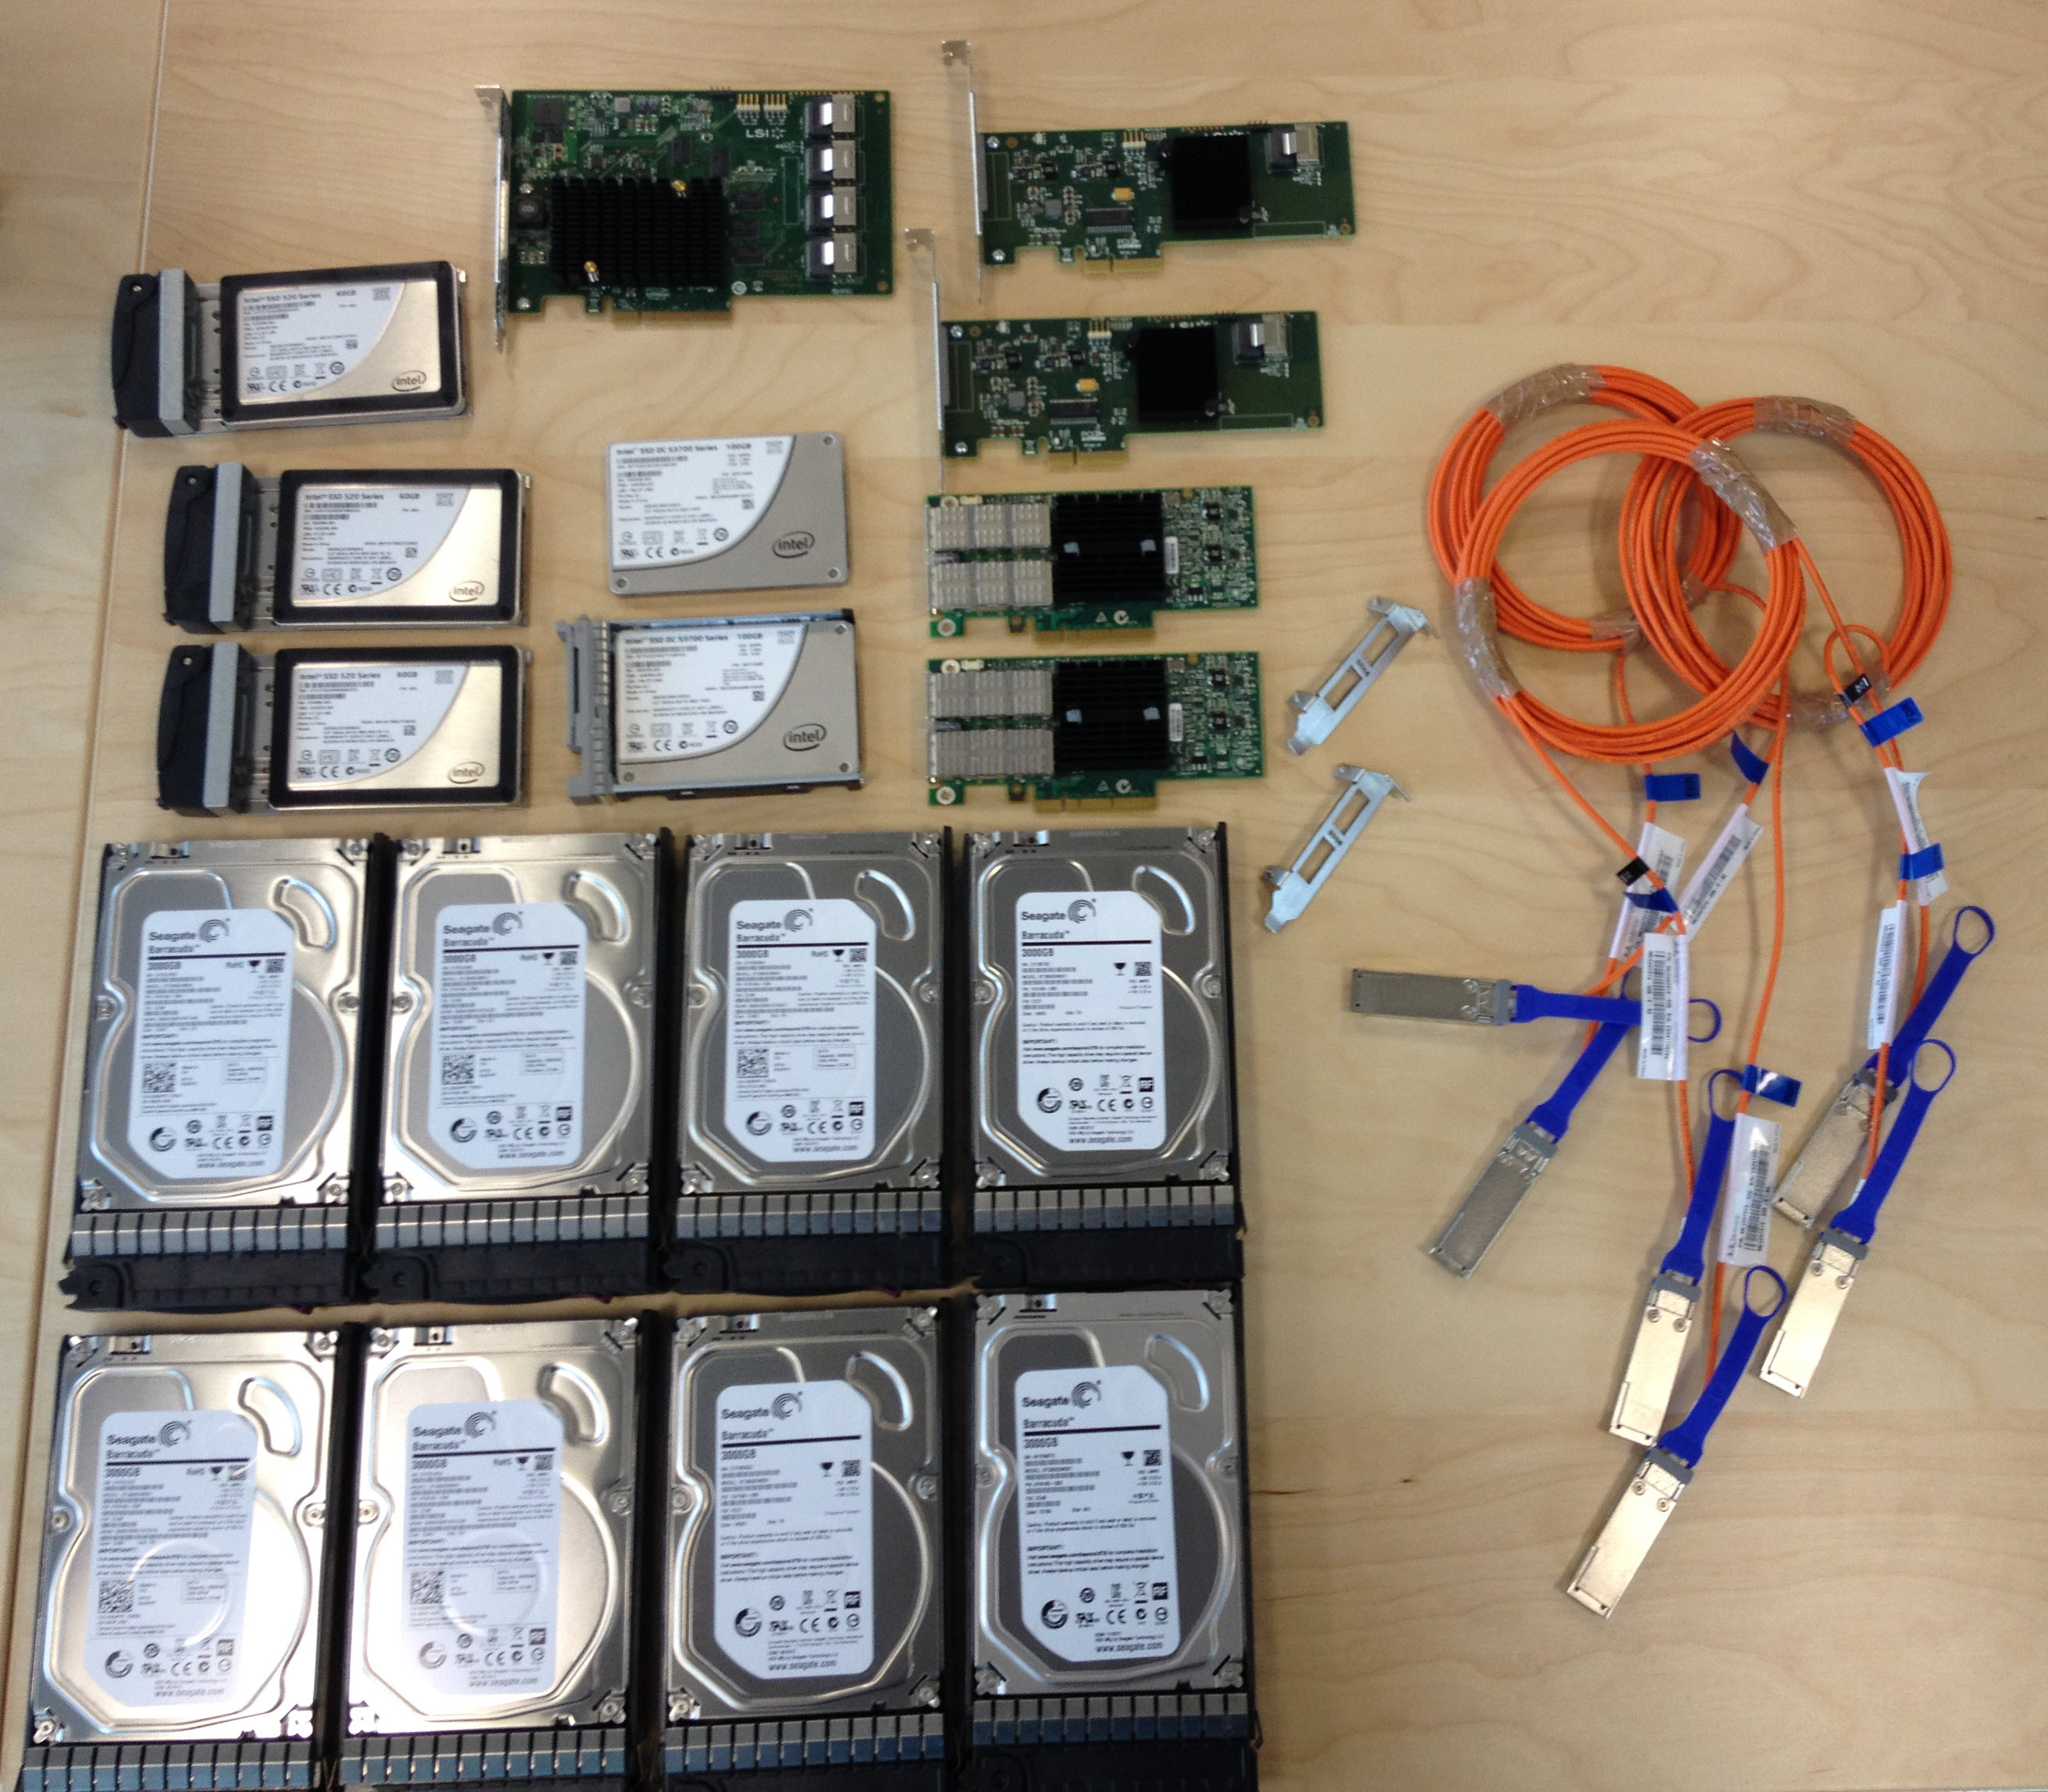
The Bill-of-Materials (BOM) of my assembly…
- 1x Intel NUC NUC6I7KYK
- 2x Crucial 16GB DDR4 – 2133 SODIMM 1.2v CT16G4SFD8213
- 1x USB 16 Stick
- 1x Samsung SM951 256GB NVMe SSD (VSAN 6.2 Caching Tier)
- 1x Samsung SM951 512GB NVMe SSD (VSAN 6.2 Capacity Tier)
- 1x StarTech USB 3.0 to Gigabit Ethernet Network Adapter
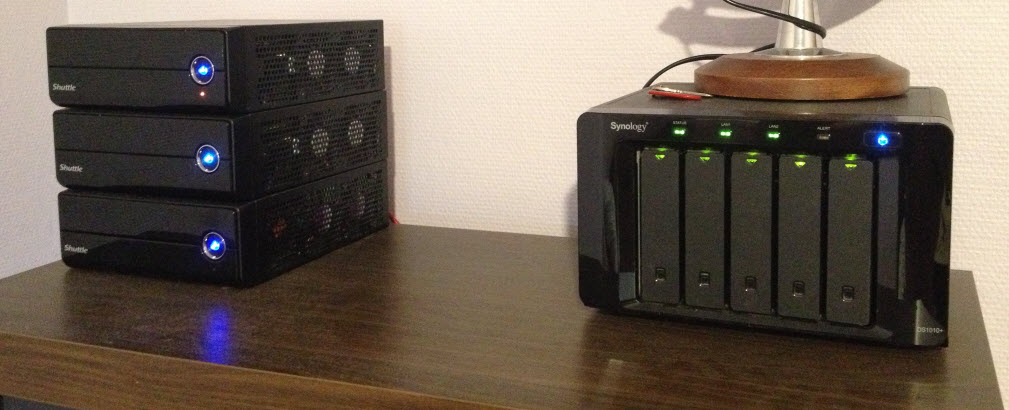
Here below you can see the Intel NUC with the two Samsung SM951 NVMe disks and the Crucial memory.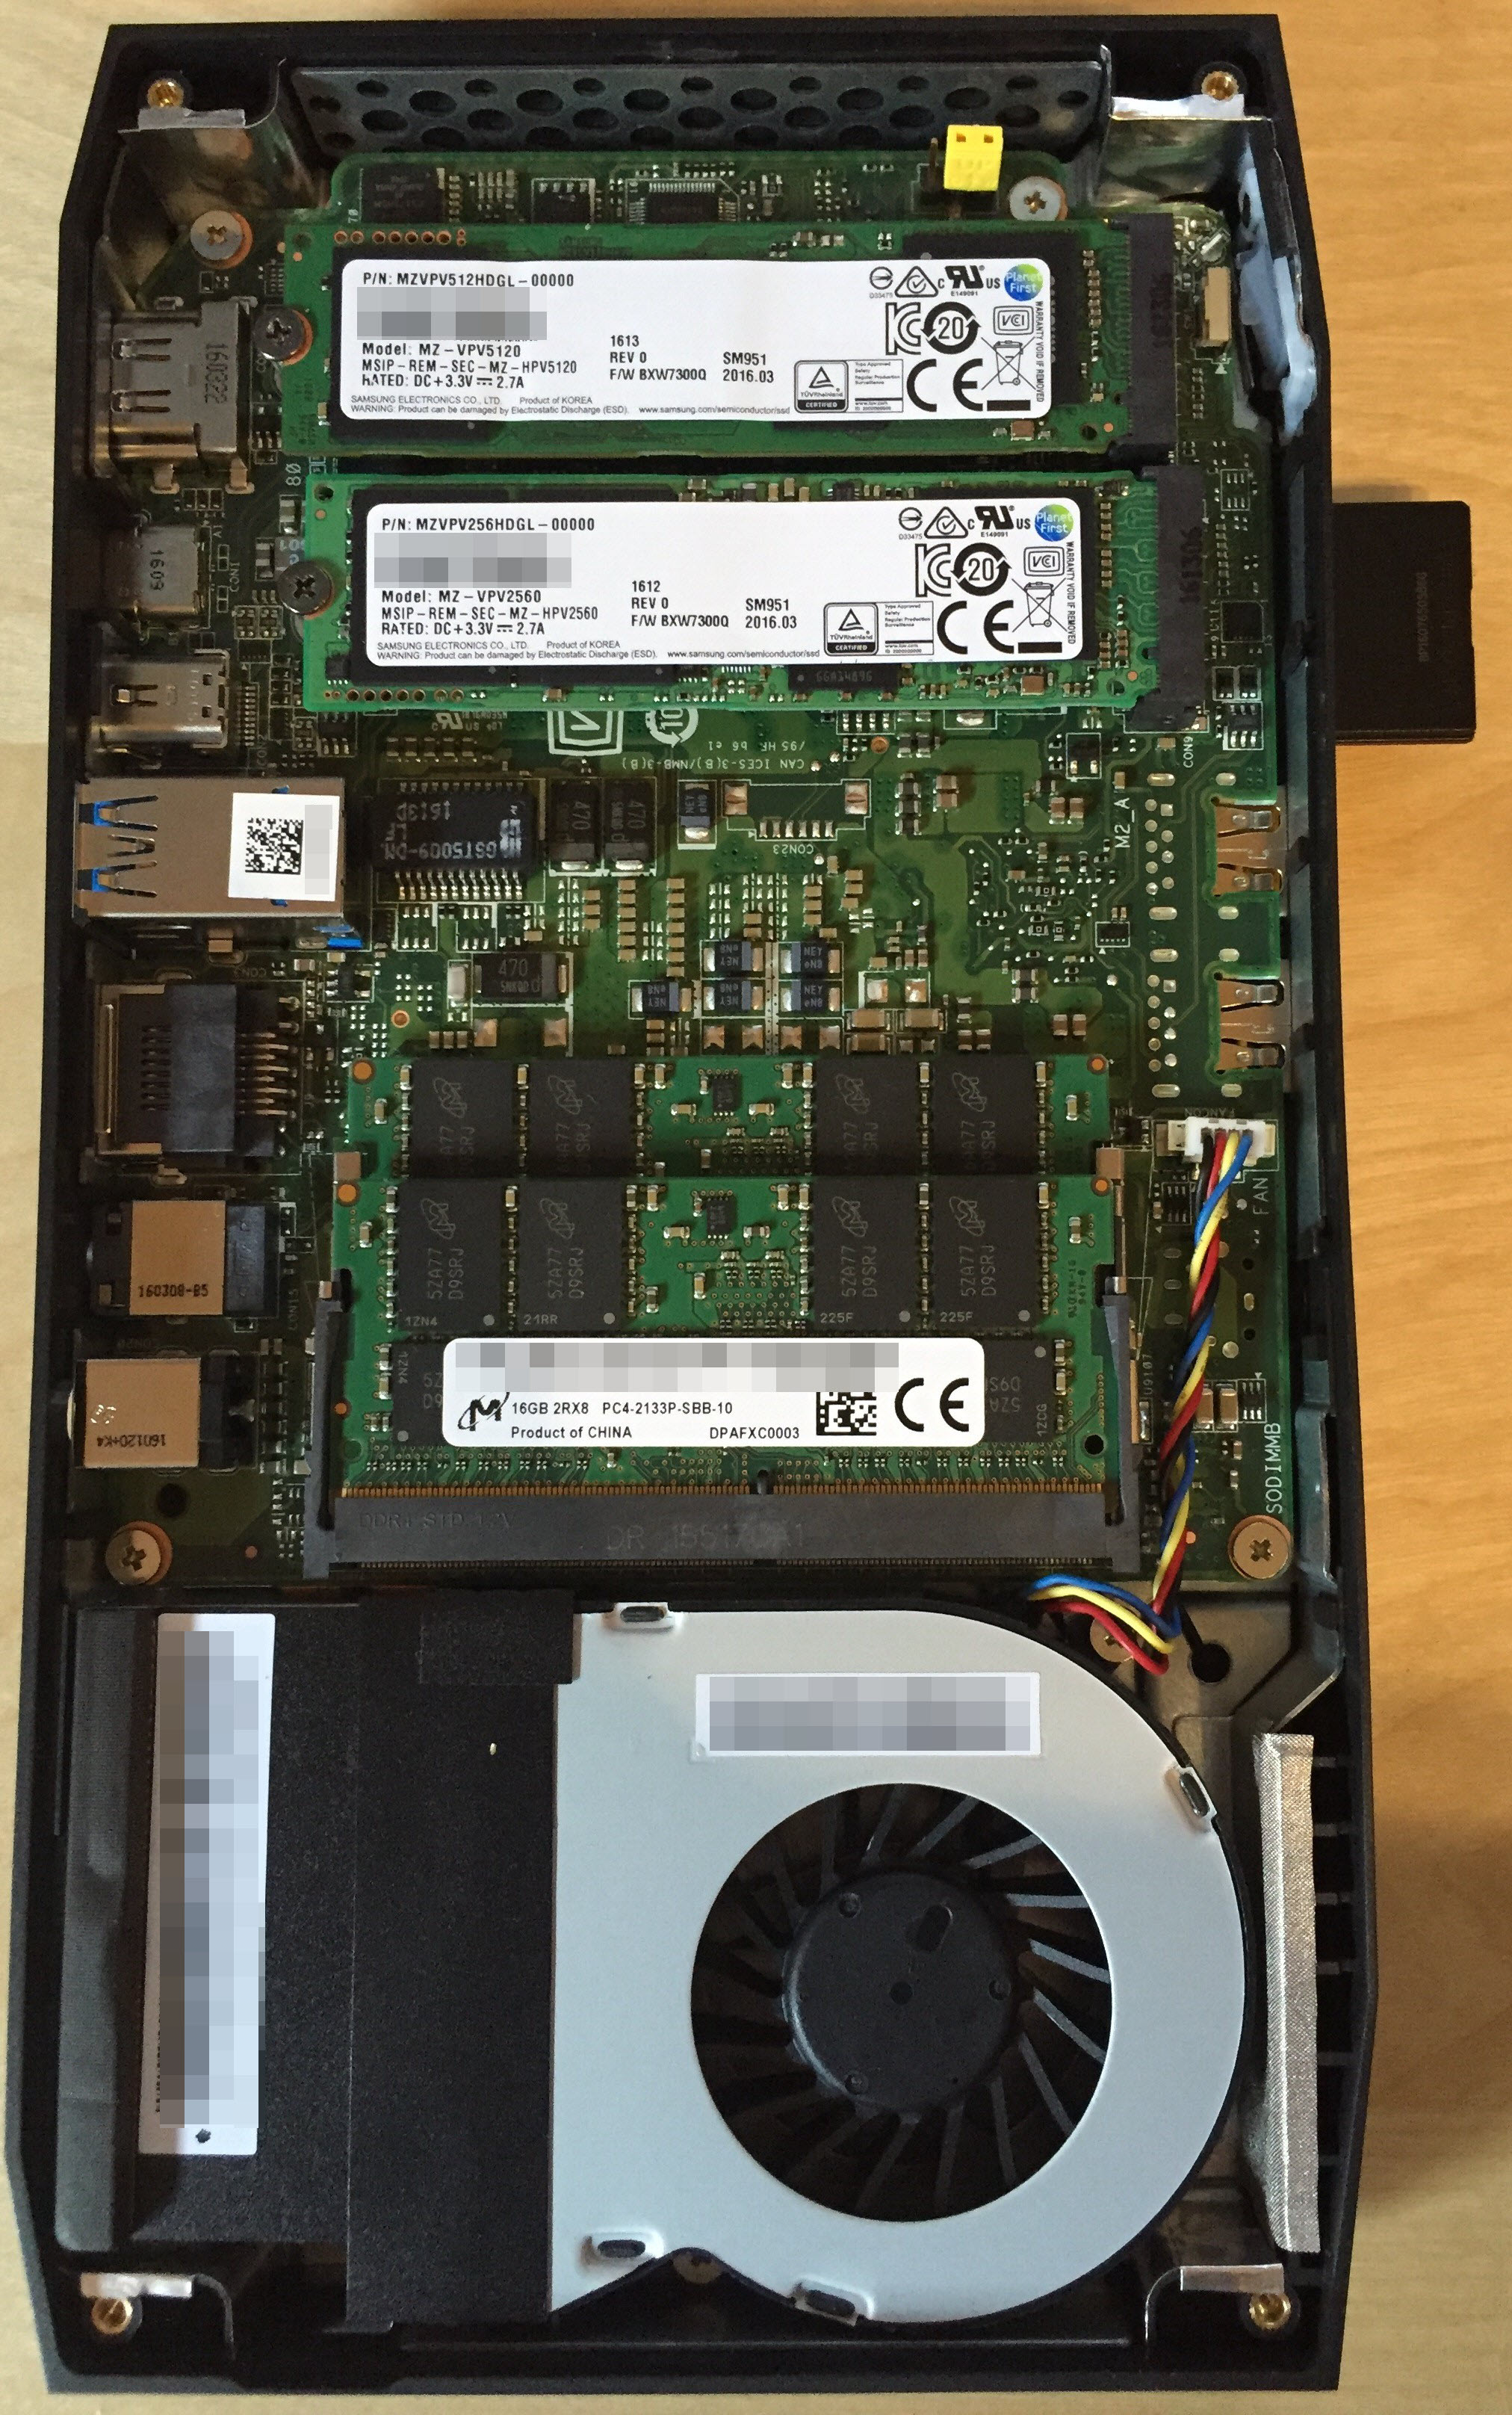
To get ESXi 6.0 Update 2 to install I disabled the following BIOS Settings.But as people have commented back after more test, you really only need to disable the Thunderbolt Controller to get ESXi to install.
BIOS\Devices\USB
- disabled – USB Legacy (Default: On)
- disabled – Portable Device Charging Mode (Default: Charging Only)
- not change – USB Ports (Port 01-08 enabled)
BIOS\Devices\SATA
- disabled – Chipset SATA (Default AHCI & SMART Enabled)
- M.2 Slot 1 NVMe SSD: Samsung MZVPV256HDGL-00000
- M.2 Slot 2 NVMe SSD: Samsung MZVPV512HDGL-00000
- disabled – HDD Activity LED (Default: On)
- disabled – M.2 PCIe SSD LEG (Default: On)
BIOS\Devices\Video
- IGD Minimum Memory – 64MB (Default)
- IGD Aperture Size – 256MB (Default)
- IGD Primary Video Port – Auto (Default)
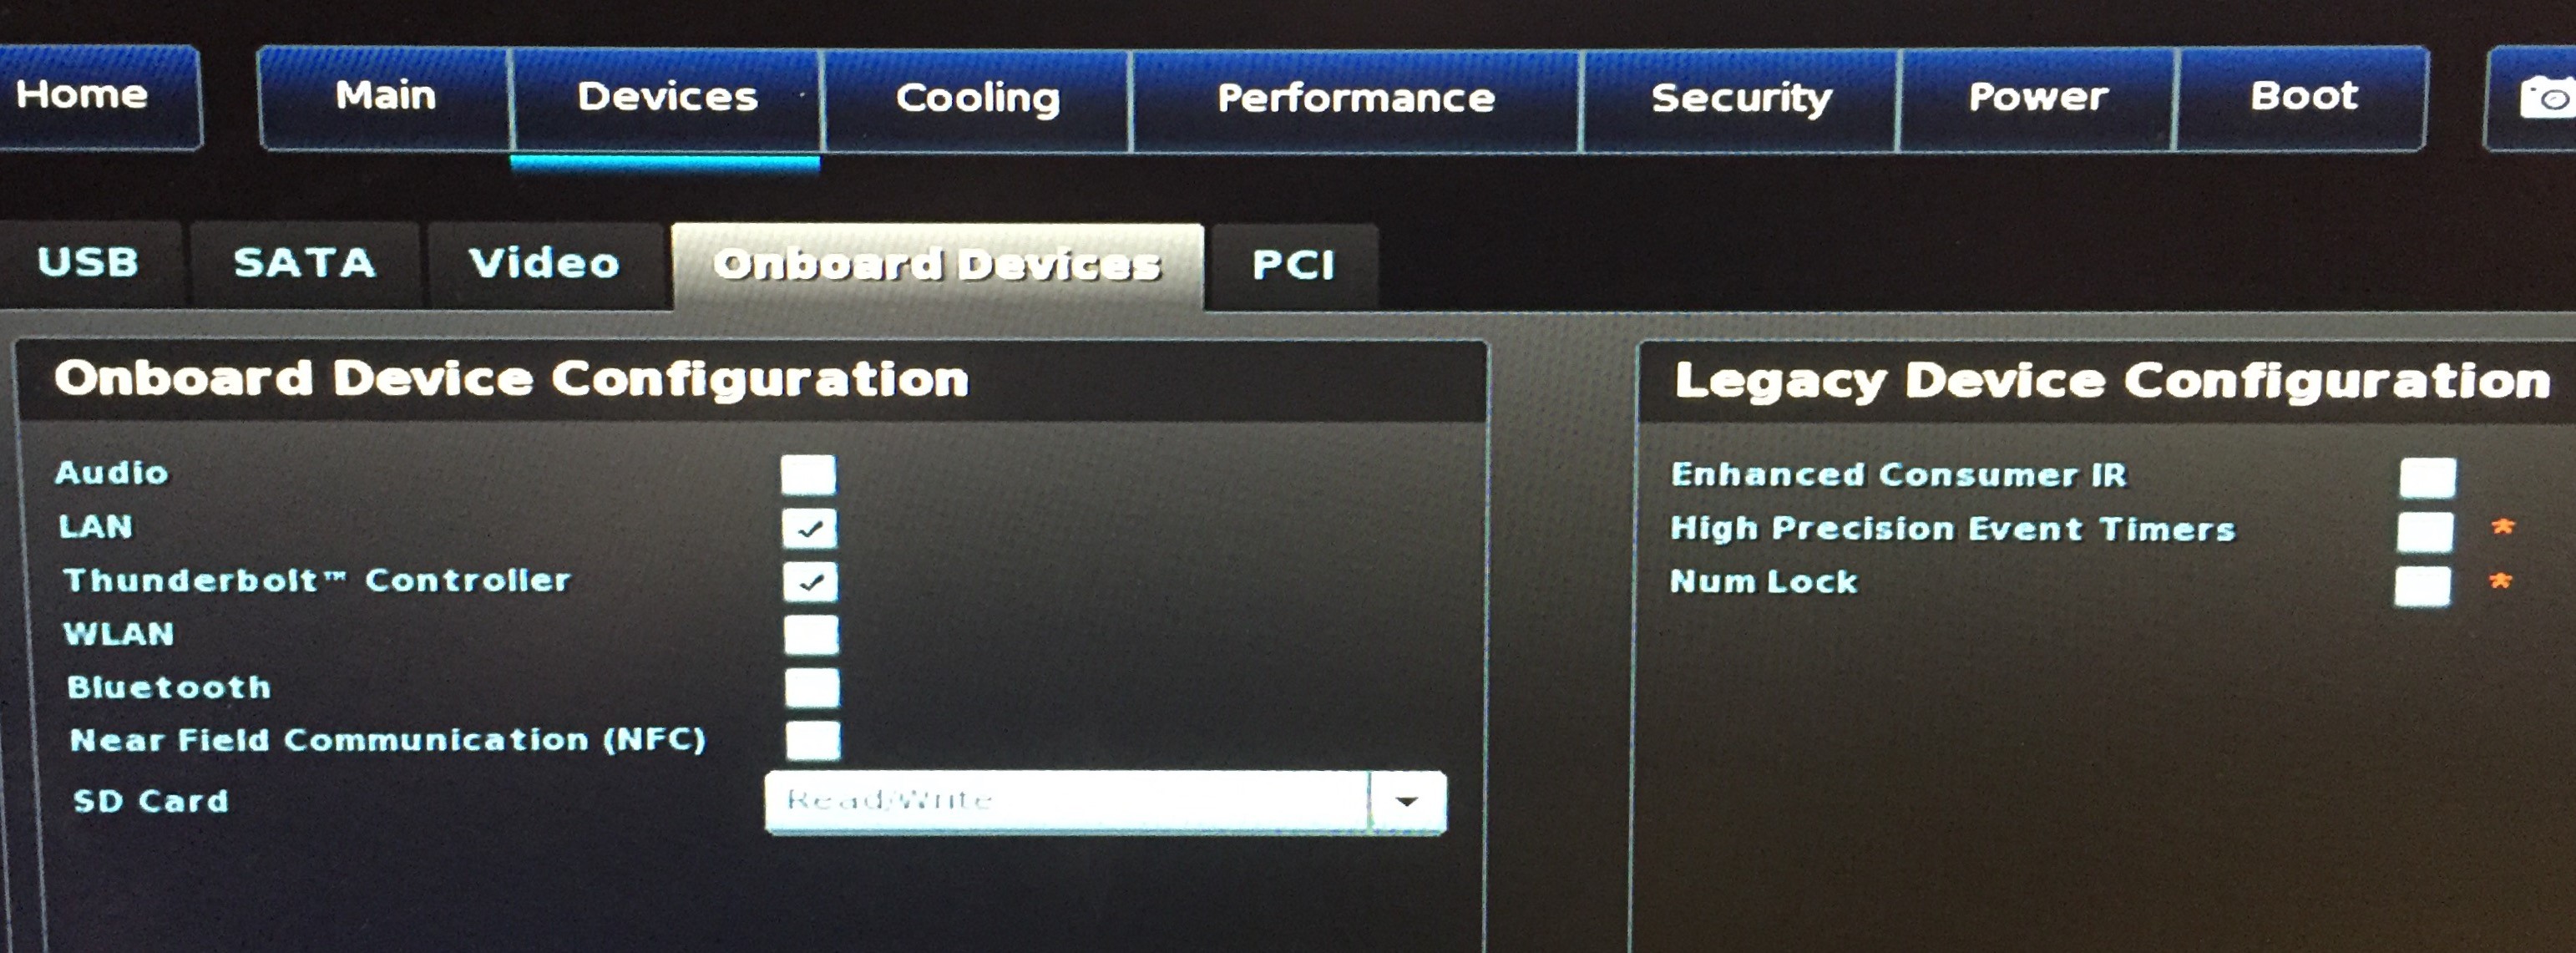
BIOS\Devices\Onboard Devices
- disabled – Audio (Default: On)
- LAN (Default)
- disabled – Thunderbolt Controller (Default: On)
- disabled – WLAN (Default: On)
- disabled – Bluetooth (Default: On)
- Near Field Communication – Disabled (Default is Disabled)
BIOS\Devices\Onboard Devices\Legacy Device Configuration
- disabled – Enhanced Consumer IR (Default: On)
- disabled – High Precision Event Timers (Default: On)
- disabled – Num Lock (Default: On)
BIOS\PCI
- M.2 Slot 1 – Enabled
- M.2 Slot 2 – Enabled
- M.2 Slot 1 NVMe SSD: Samsung MZVPV256HDGL-00000
- M.2 Slot 2 NVMe SSD: Samsung MZVPV512HDGL-00000
Cooling
- CPU Fan Header
- Fan Control Mode : Cool
Performance\Processor
- disabled Real-Time Performance Tuning (Default: On)
Power
- Select Max Performance Enabled (Default: Balanced Enabled)
Secondary Power Settings
- disabled – Intel Ready Mode Technology (Default: On)
- disabled – Power Sense (Default: On)
- After Power Failure: Power On (Default was stay off)
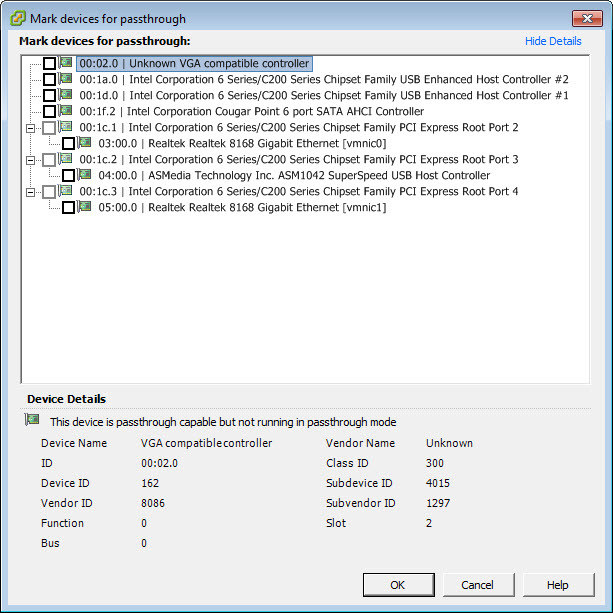
Sample view of the BIOS Onboard Devices as I deactivate some Legacy Device Configuration.
26/05 Update: Only the Thunderbolt Controller is stopping the ESXi 6.0 Update 2 installer to run properly. Re-activiting it after the install does not cause an issue in my limited testing.