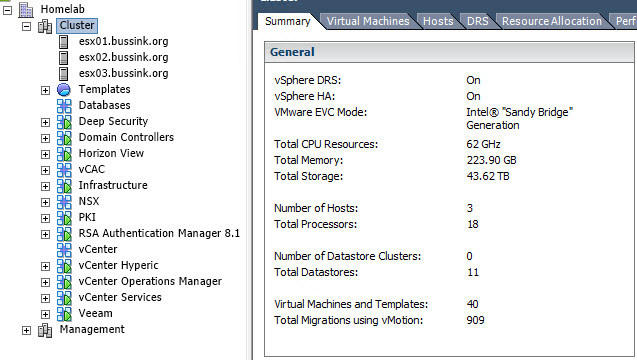
Since my last major entry about my Homelab in 2014, I have changed a few things. I added a 2nd cluster based on Apple MacMini (Late 2012), on which I run my OS X workloads, VMware Photon #CloudNativeApps machines, the DevOps Management tools and the vRealize Automation deployed blueprints. This cluster was initially purchased & conceived as a management cluster. The majority of my workload is composed of management, monitoring, analysis and infrastructure loads. It just made sense to swap the Compute and Management cluster around, and use the smaller one for Compute.
Compute Cluster
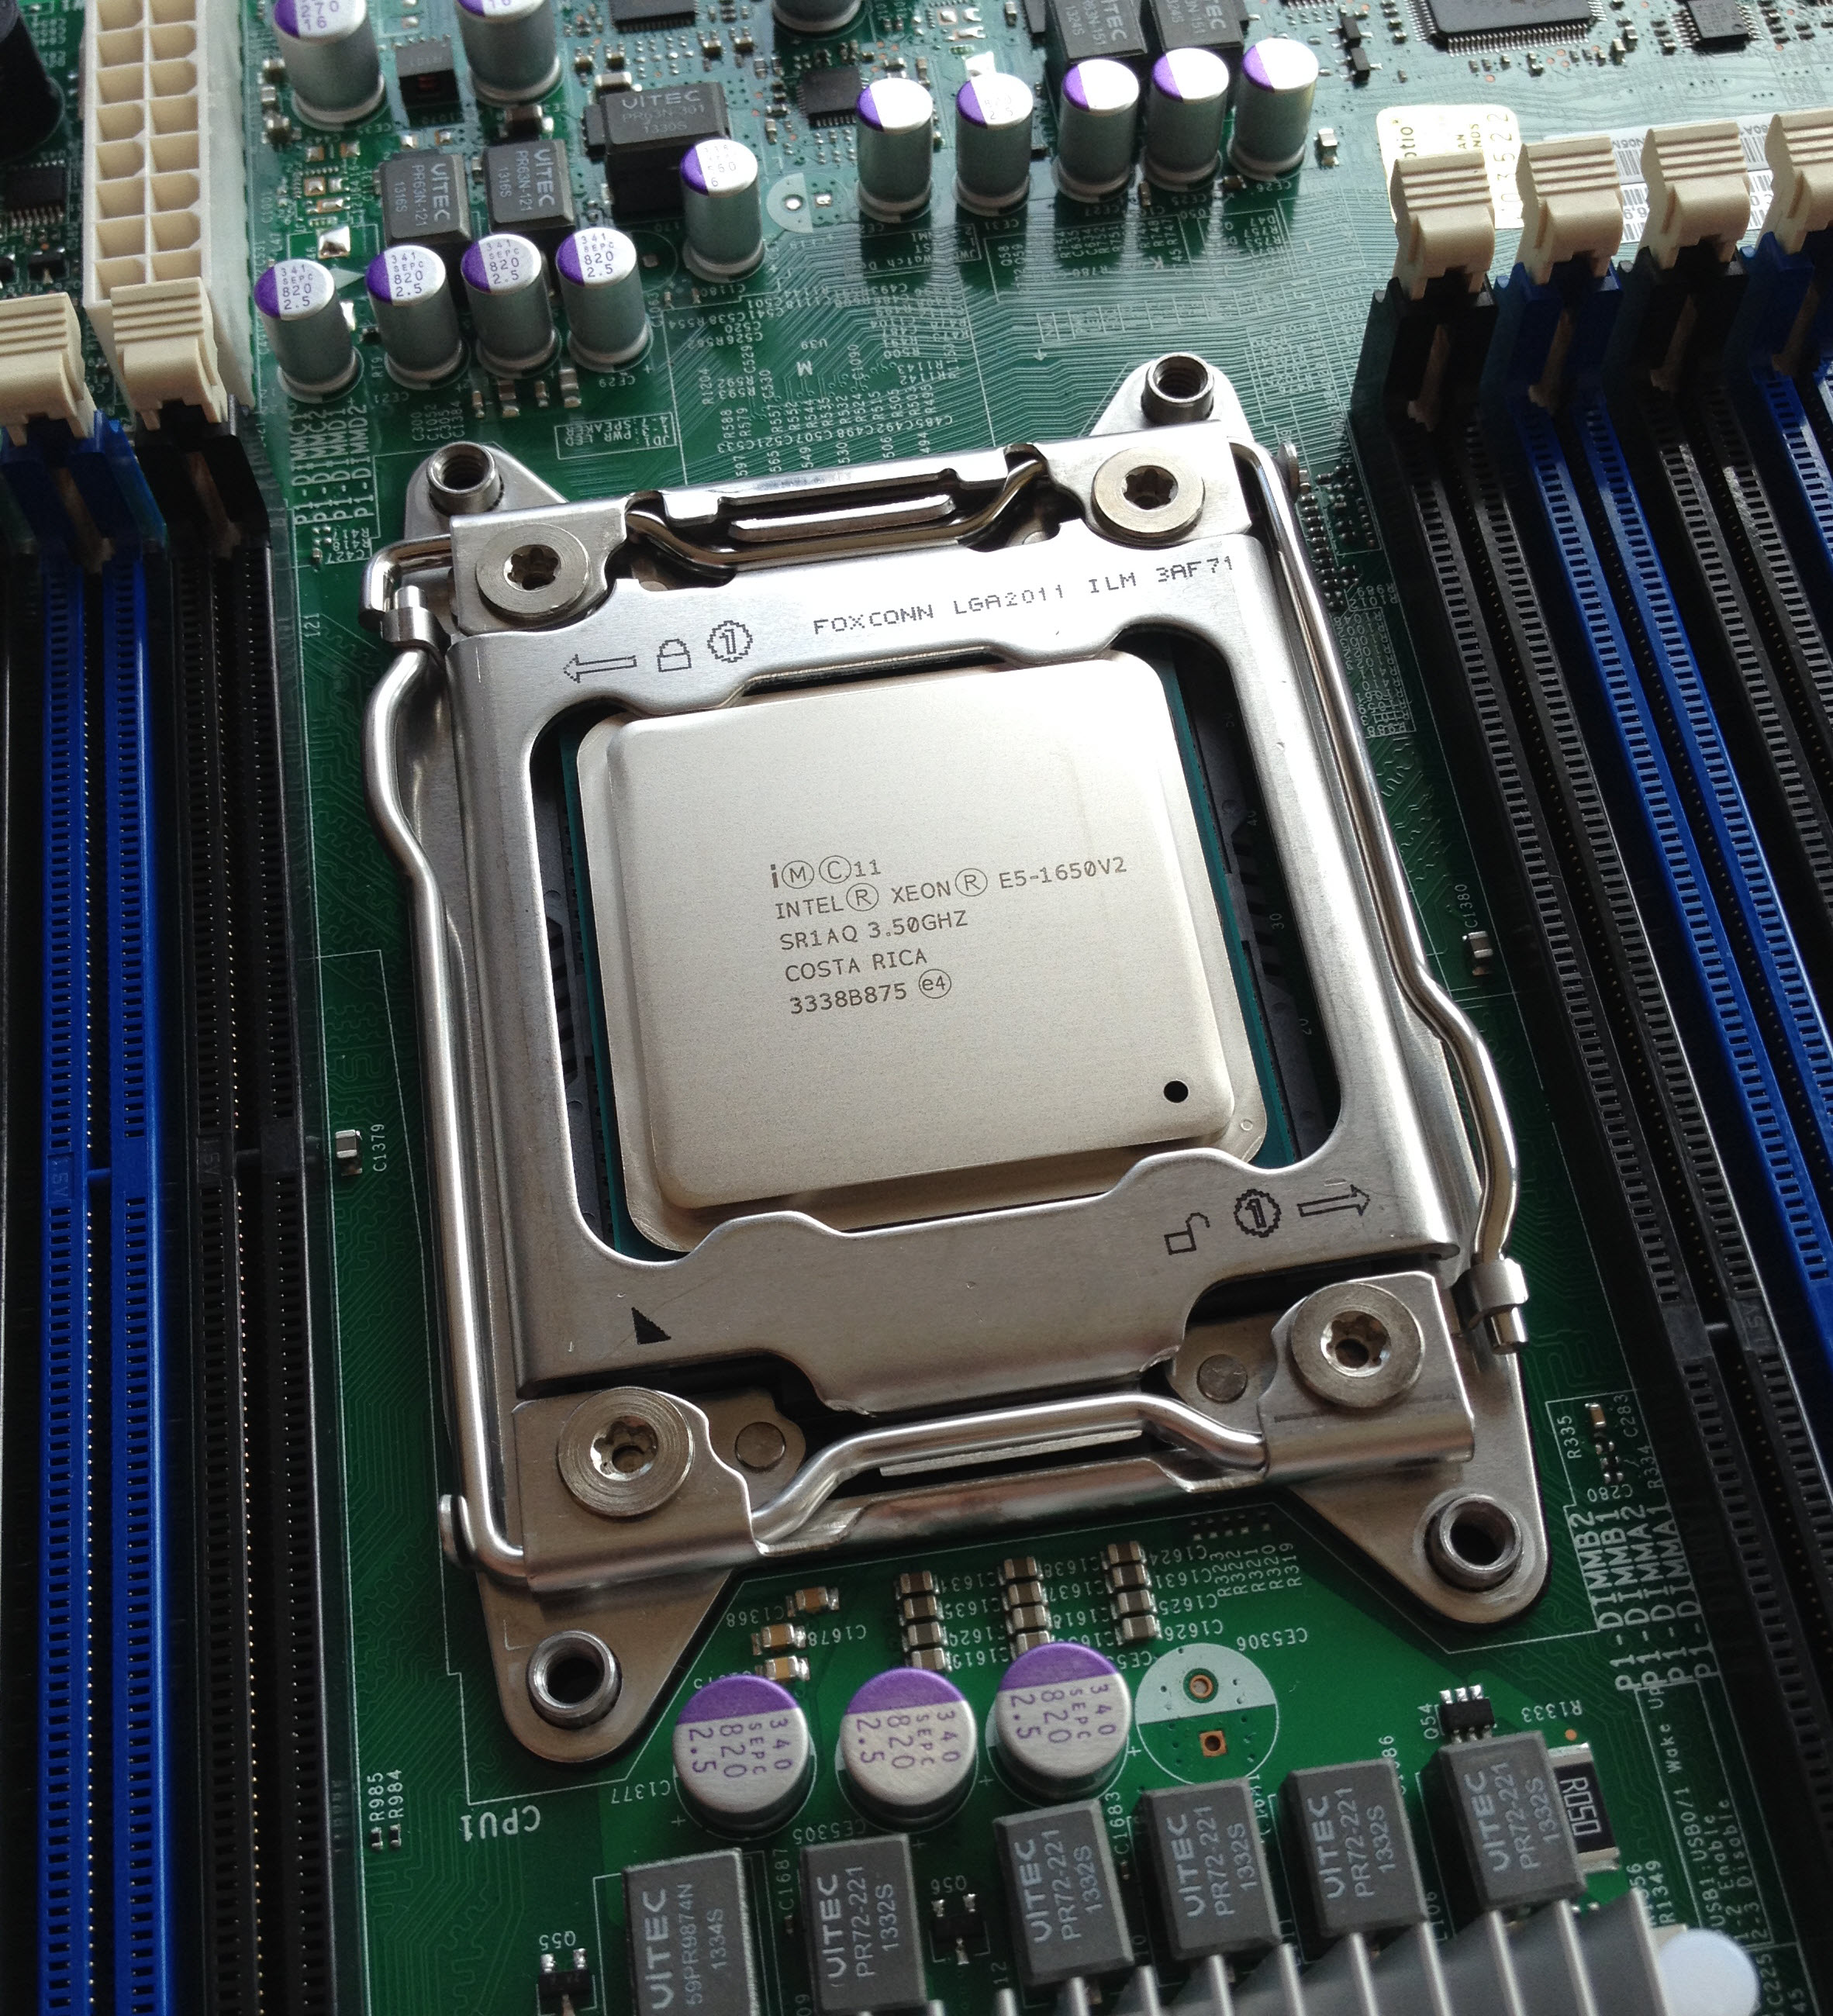
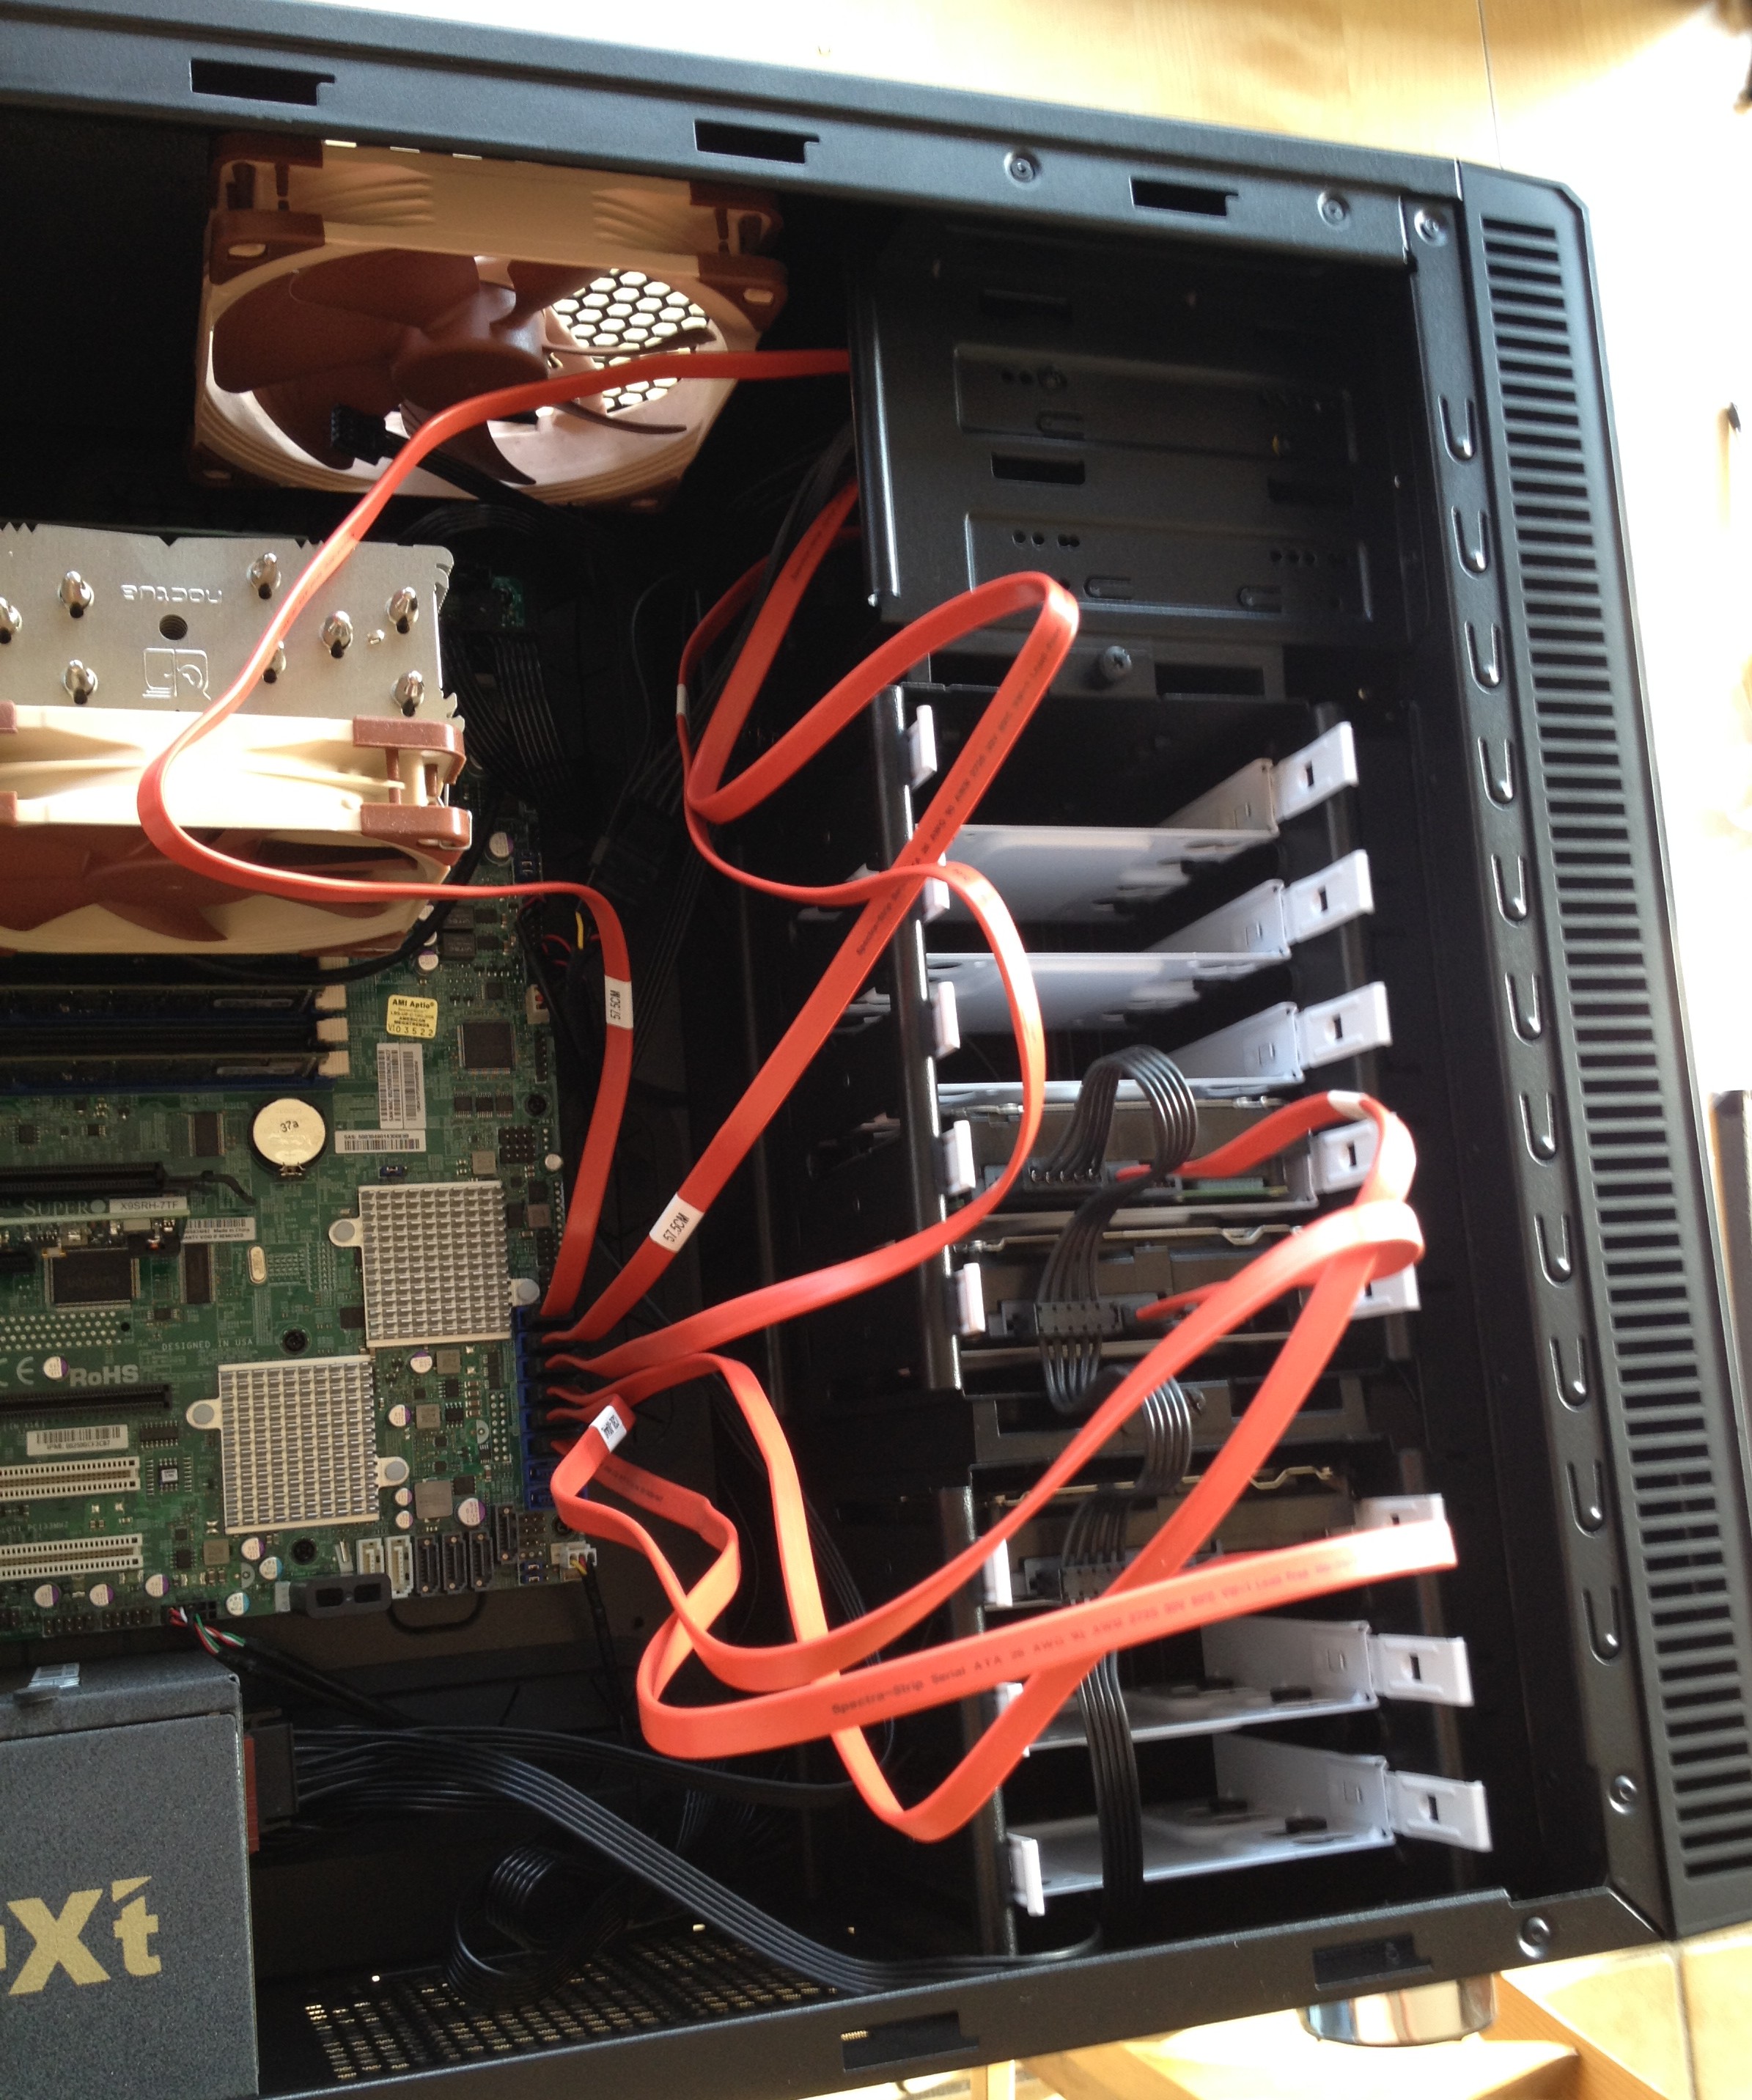
The original cluster composed of three SuperMicro X9SRH-7TF described in my Homelab 2014 article (more build pictures here) gave me some small issues.
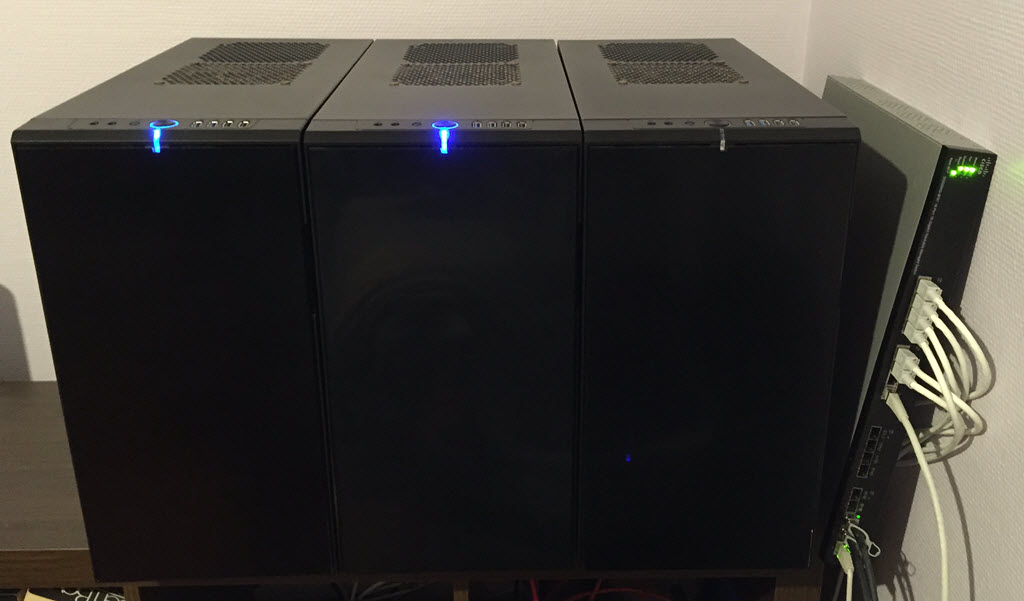
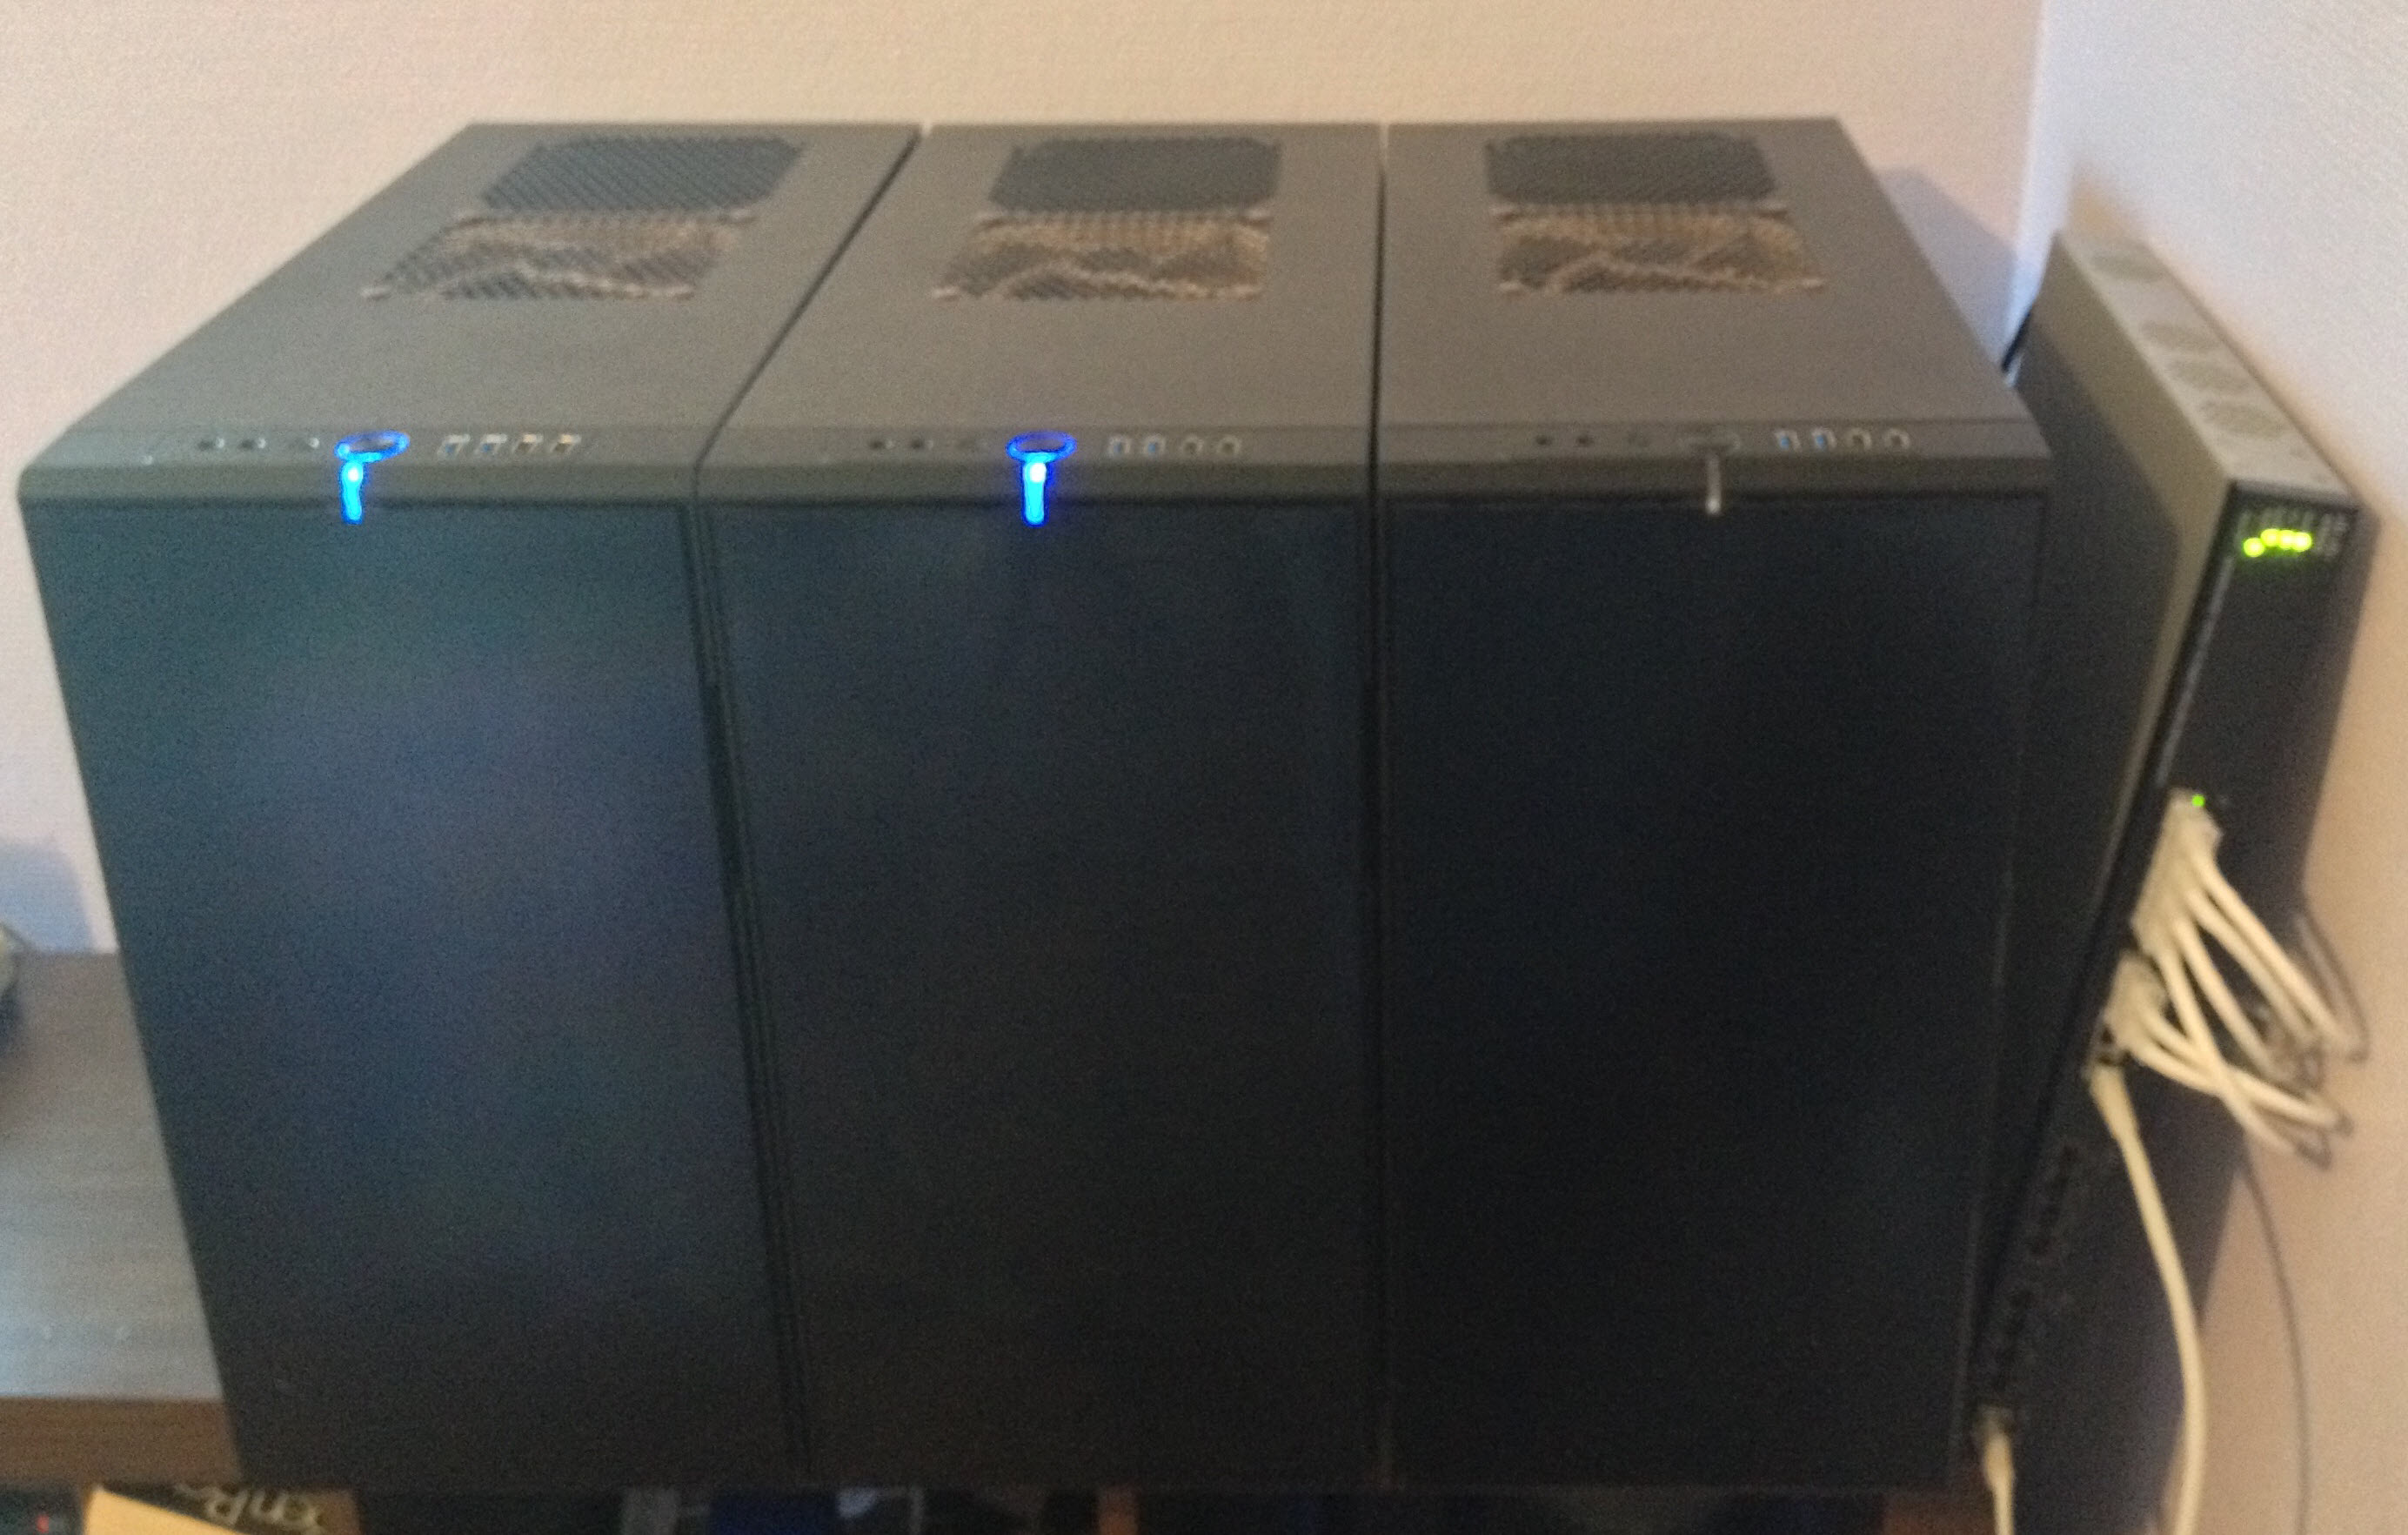
Homelab in December 2014.
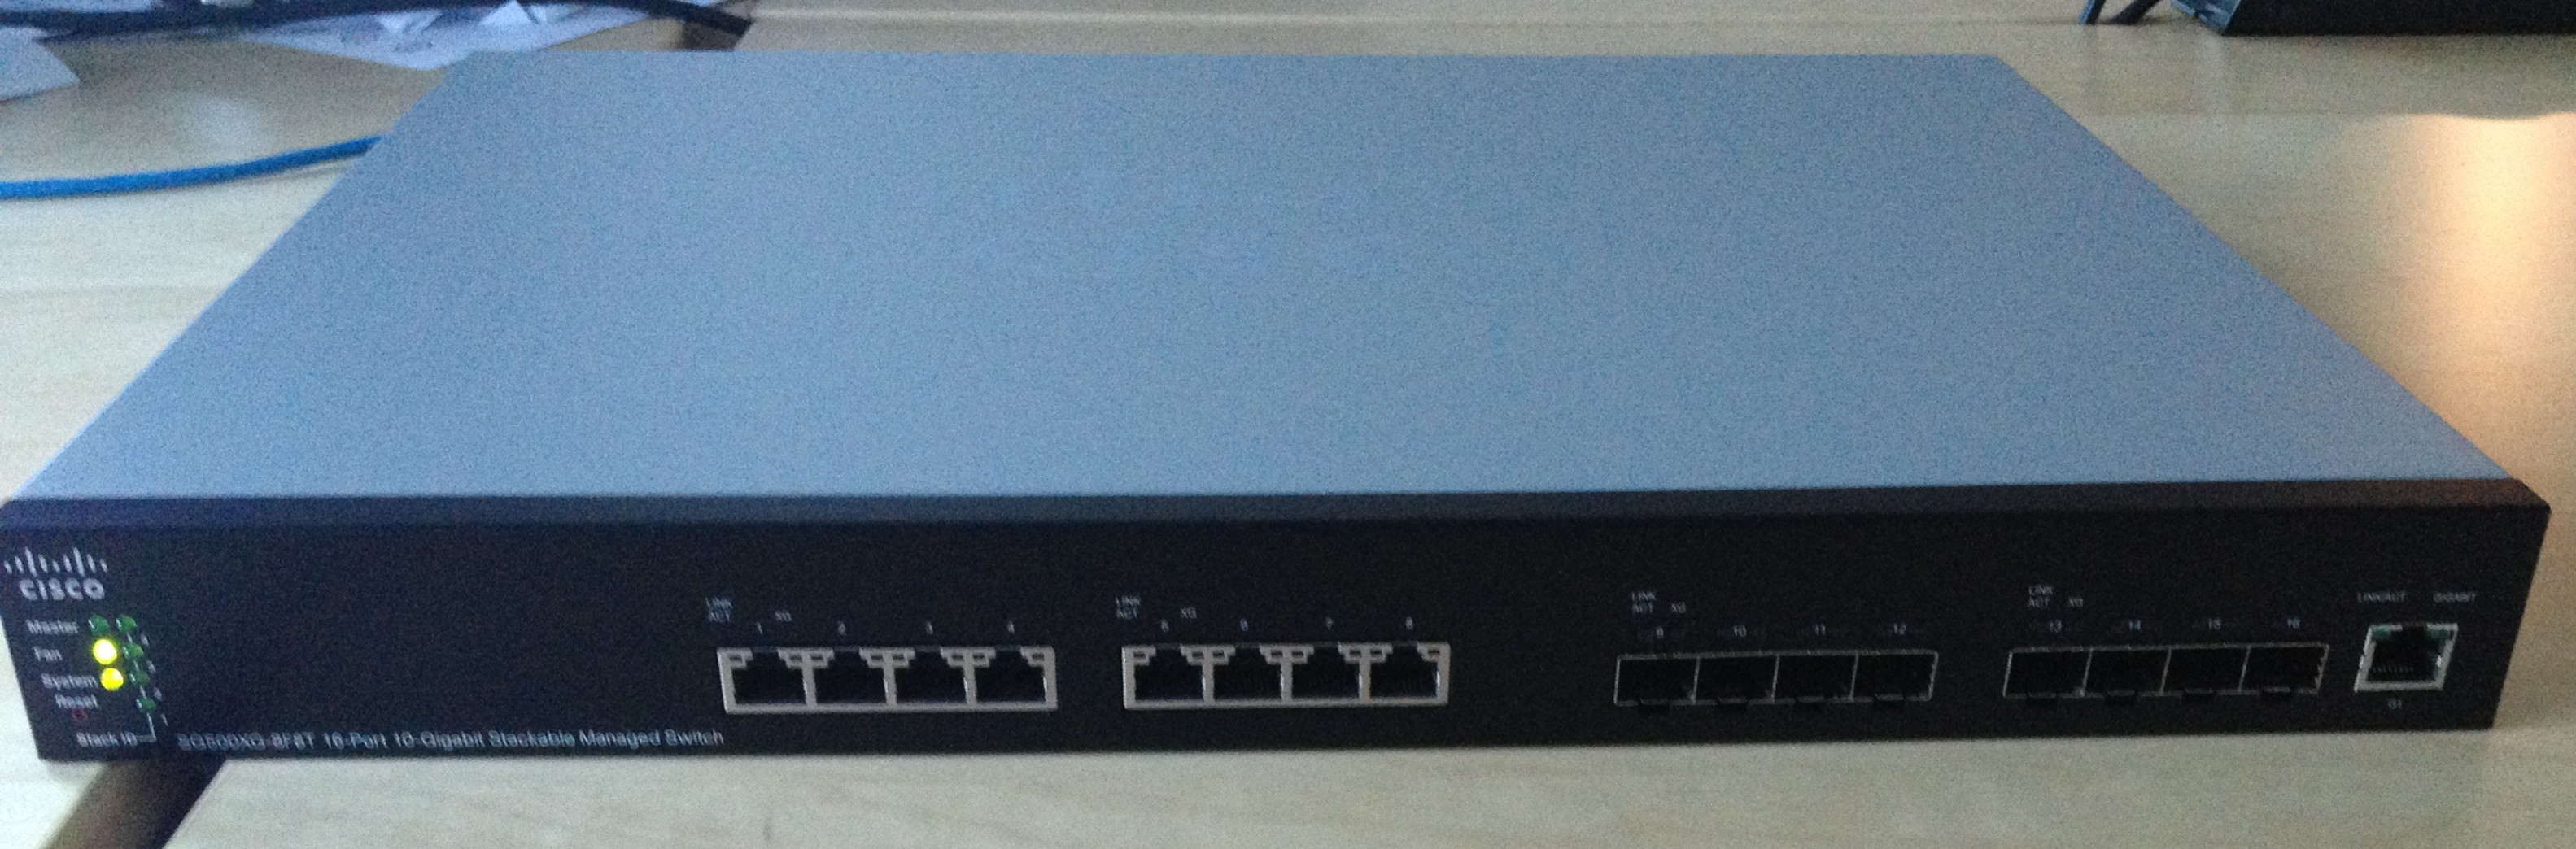
I’ve found that the Dual 10GbE X540 chipset on the motherboard does heat up a bit more than expected, and more than once (5x) I lost the integrated Dual 10GbE adapters on one of my hosts, requiring a host power off for ~20 minutes to cool down. In addition, a single 16G DDR3 DIMM was causing one host to freeze once every ~12 days. All the host have run extensive 48 hours memtest86+ checks, but nothing was spotted. When a frozen VSAN host rejoins the cluster you see the re-synchronization of the data, and at that time, I’m glad to have a 10GbE network switch. In the end, I followed a best practice for VSAN clusters, I extendd the cluster to 4 hosts.
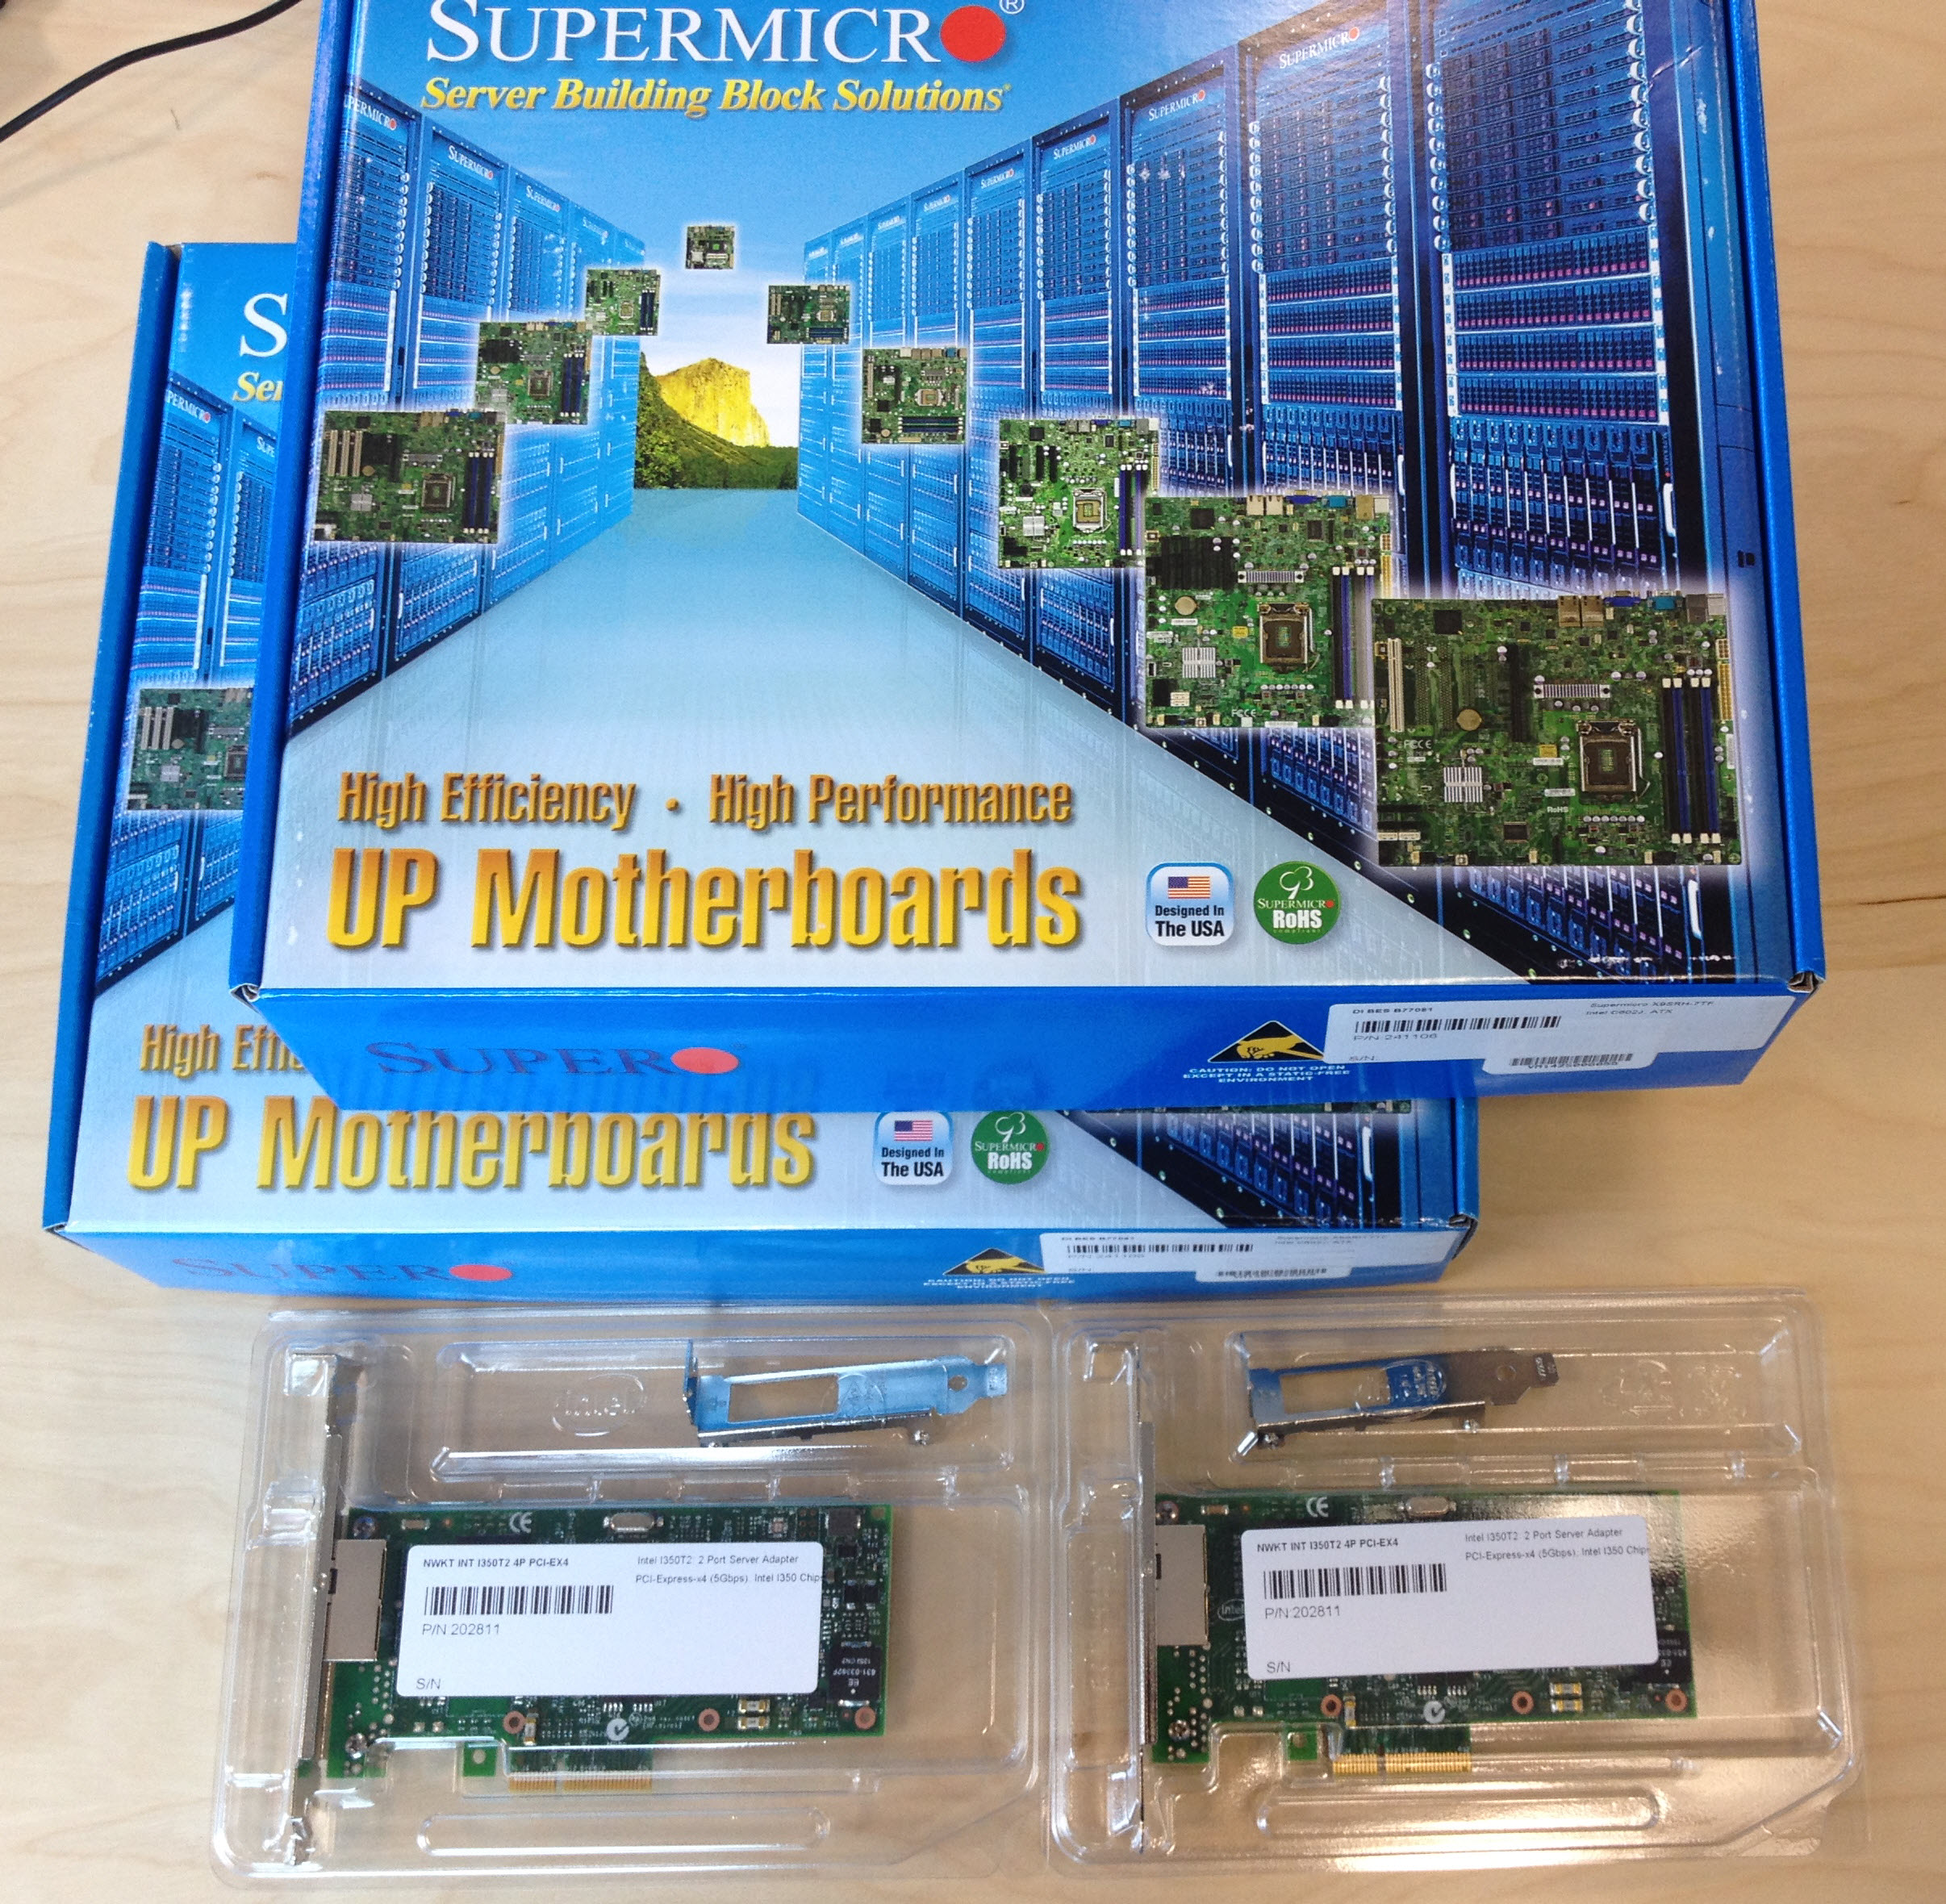
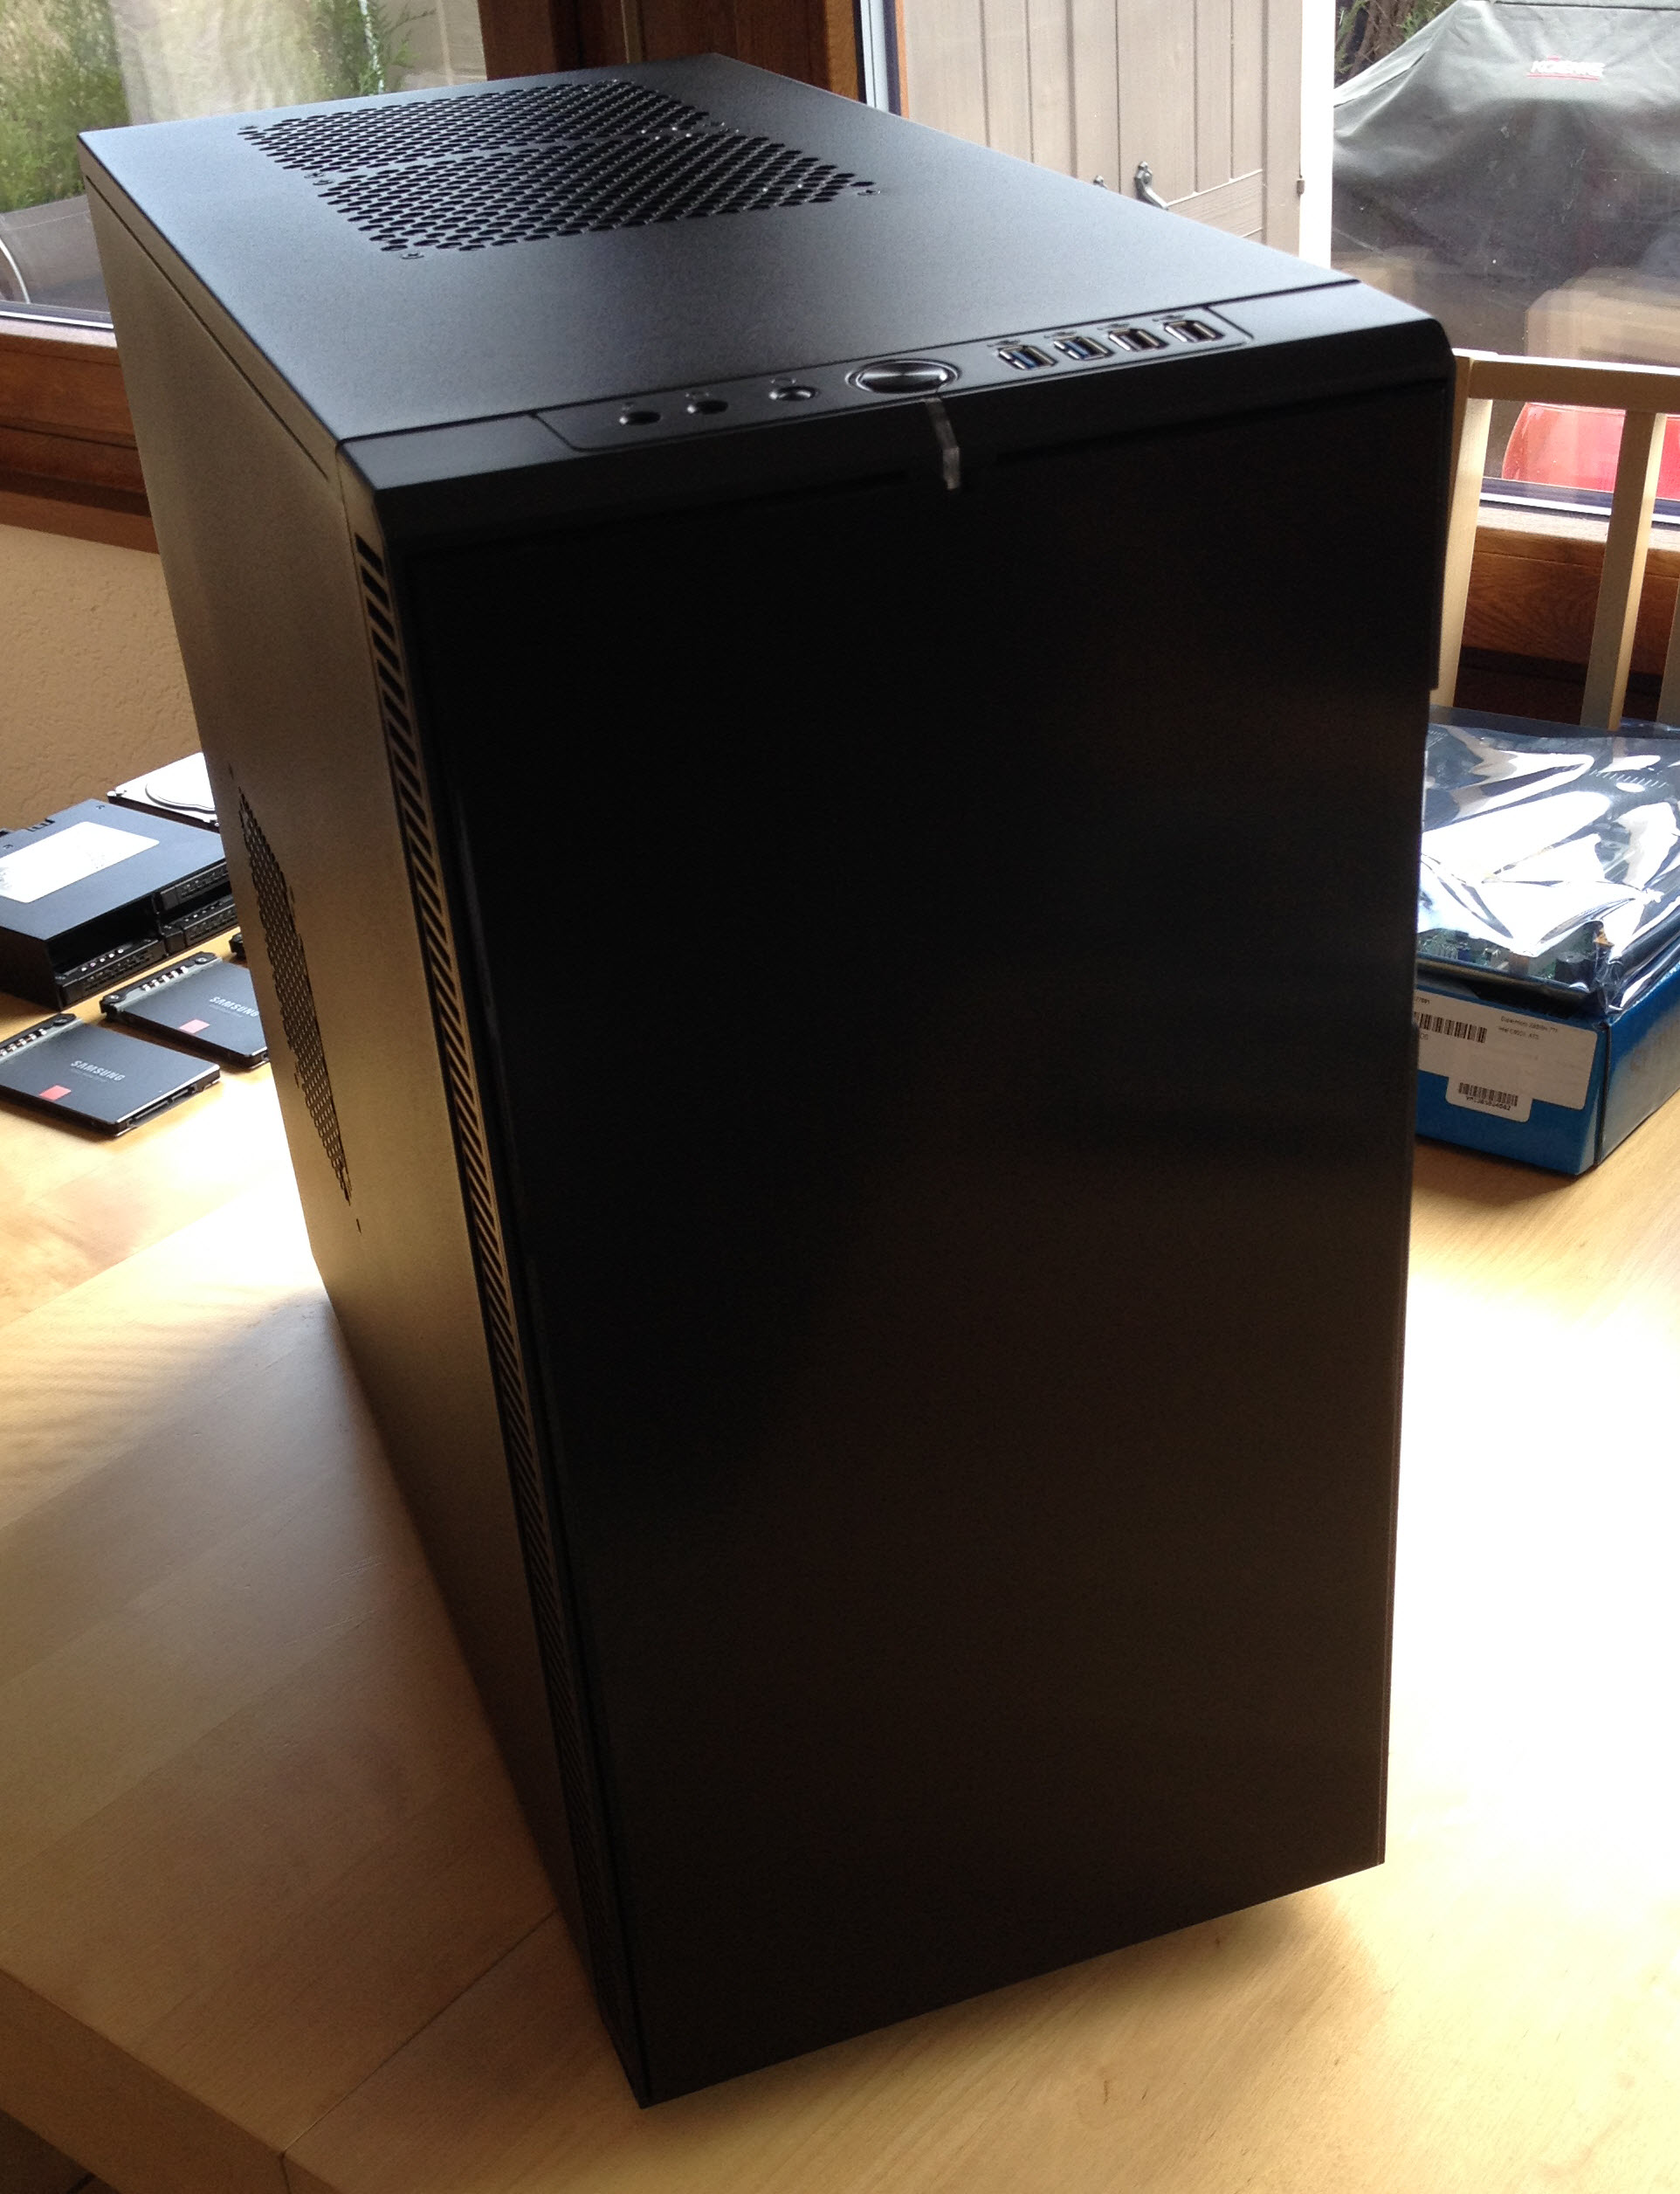
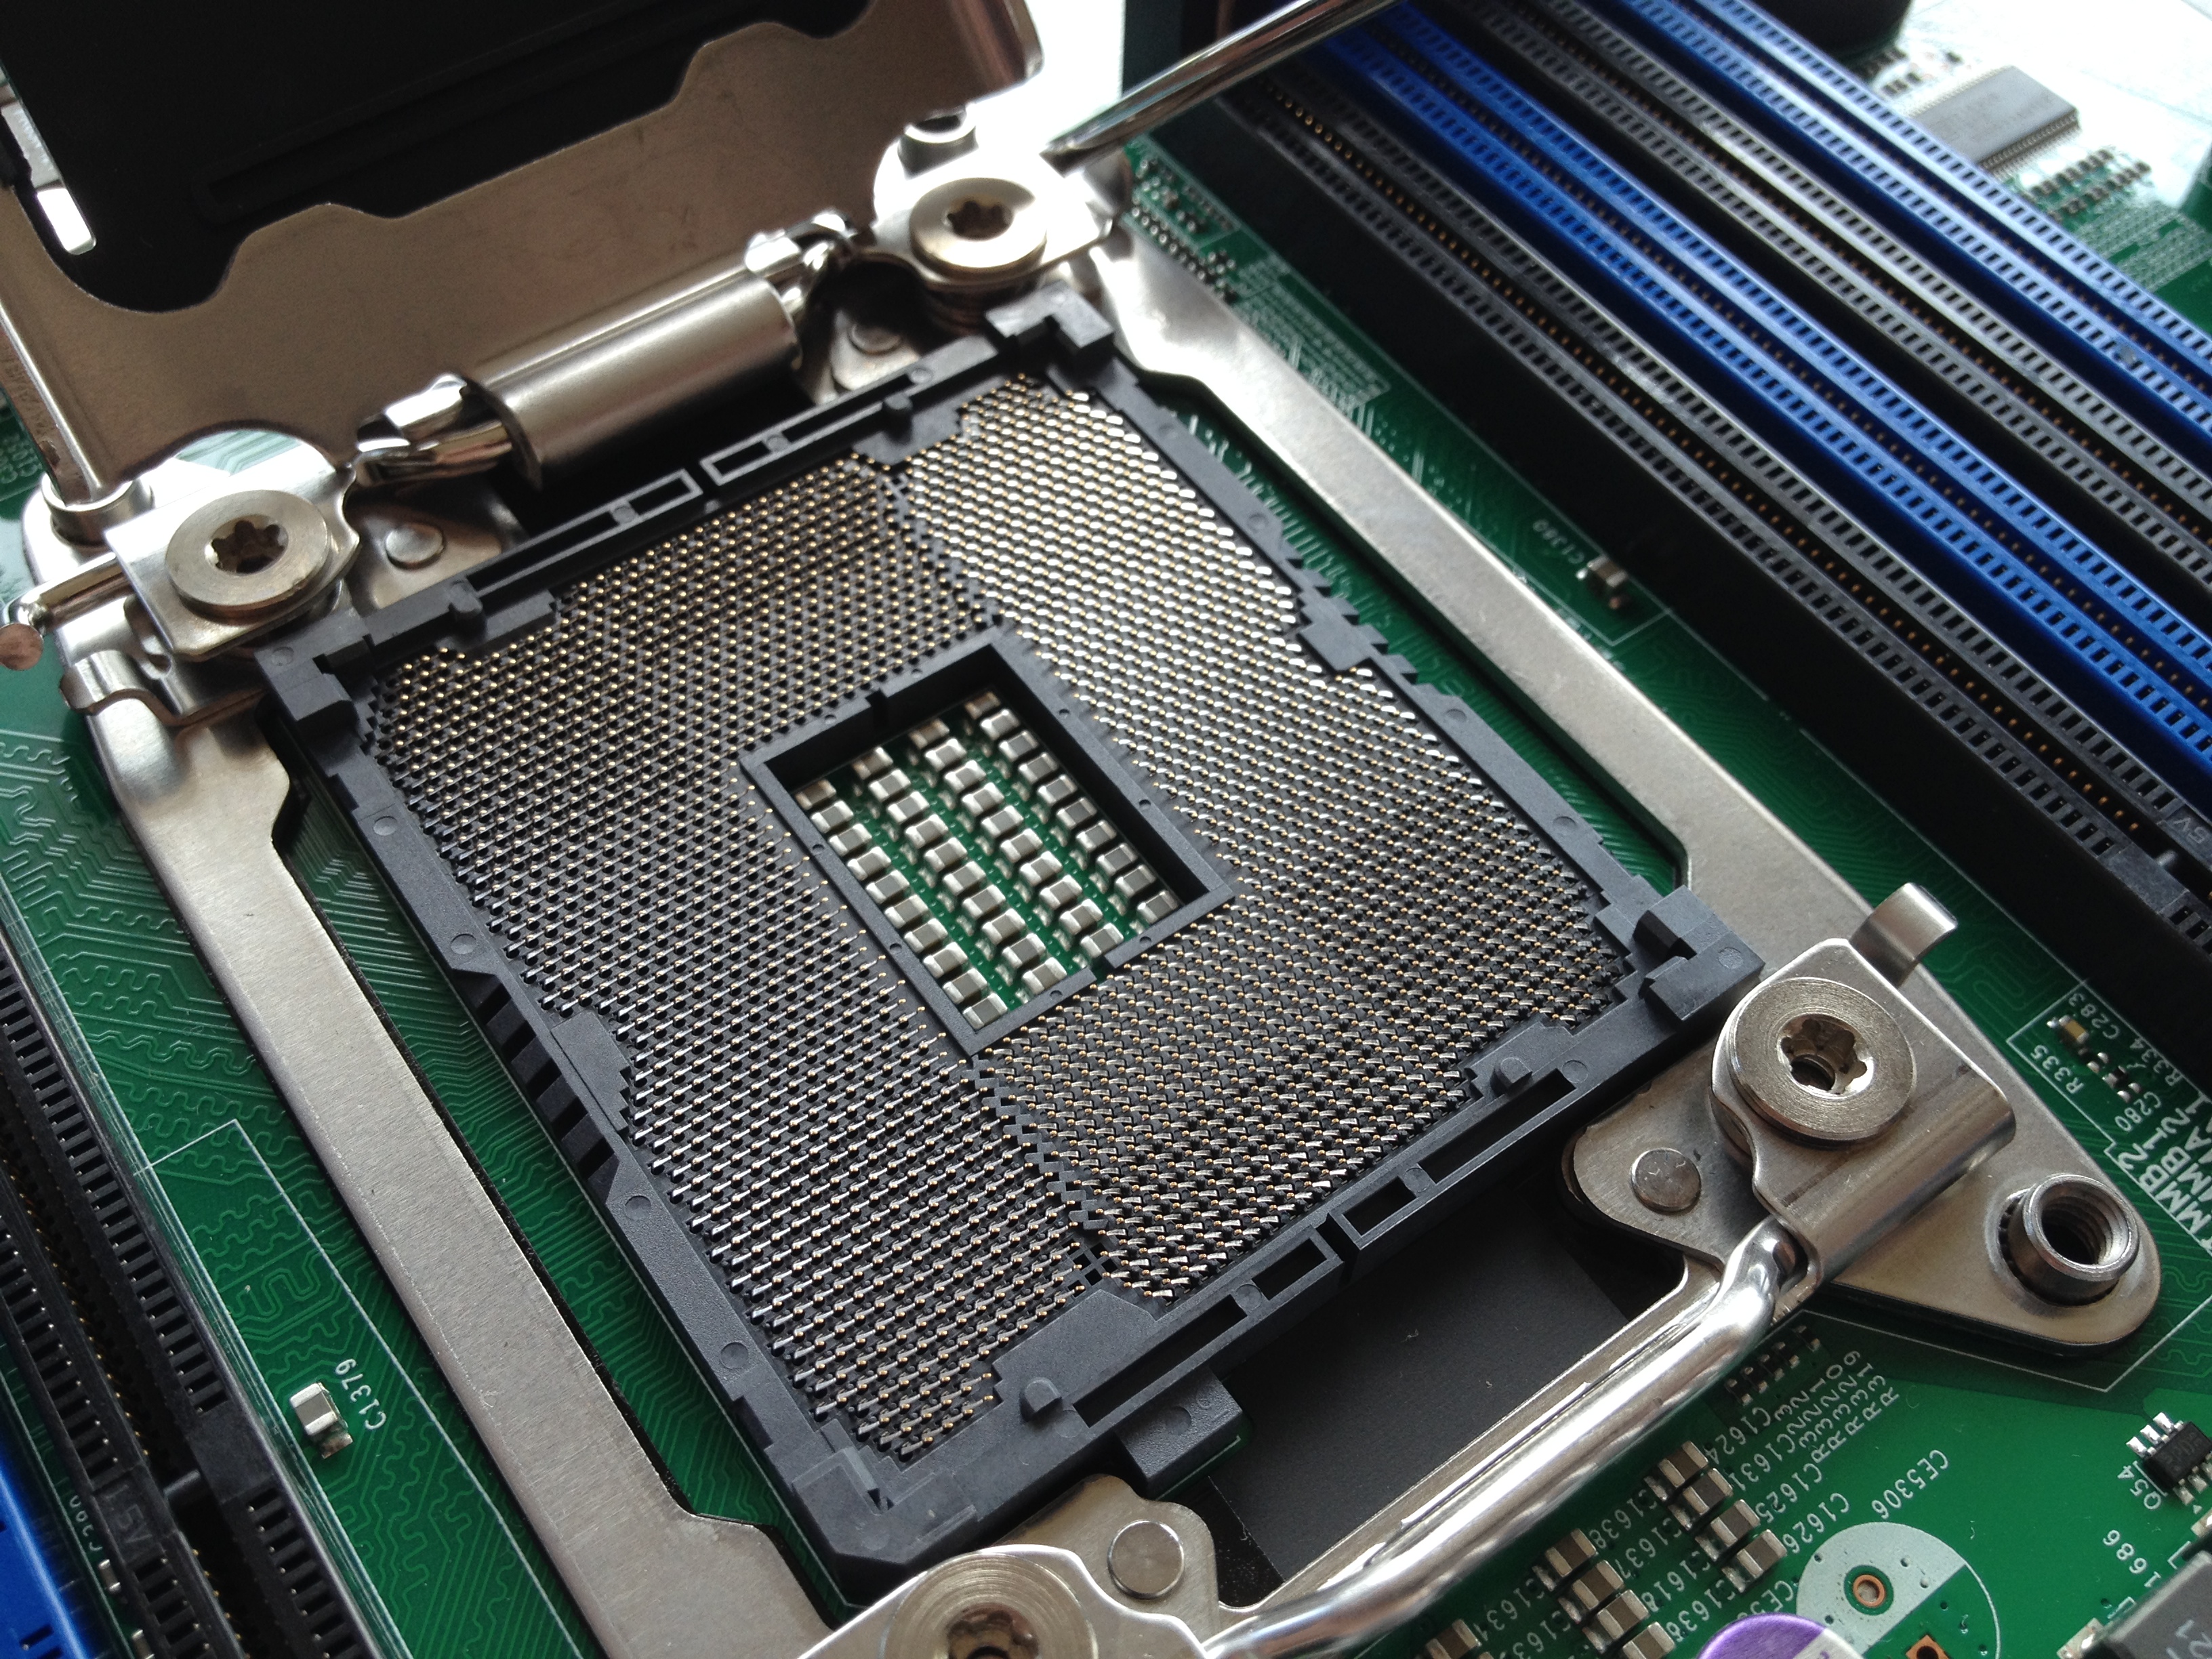
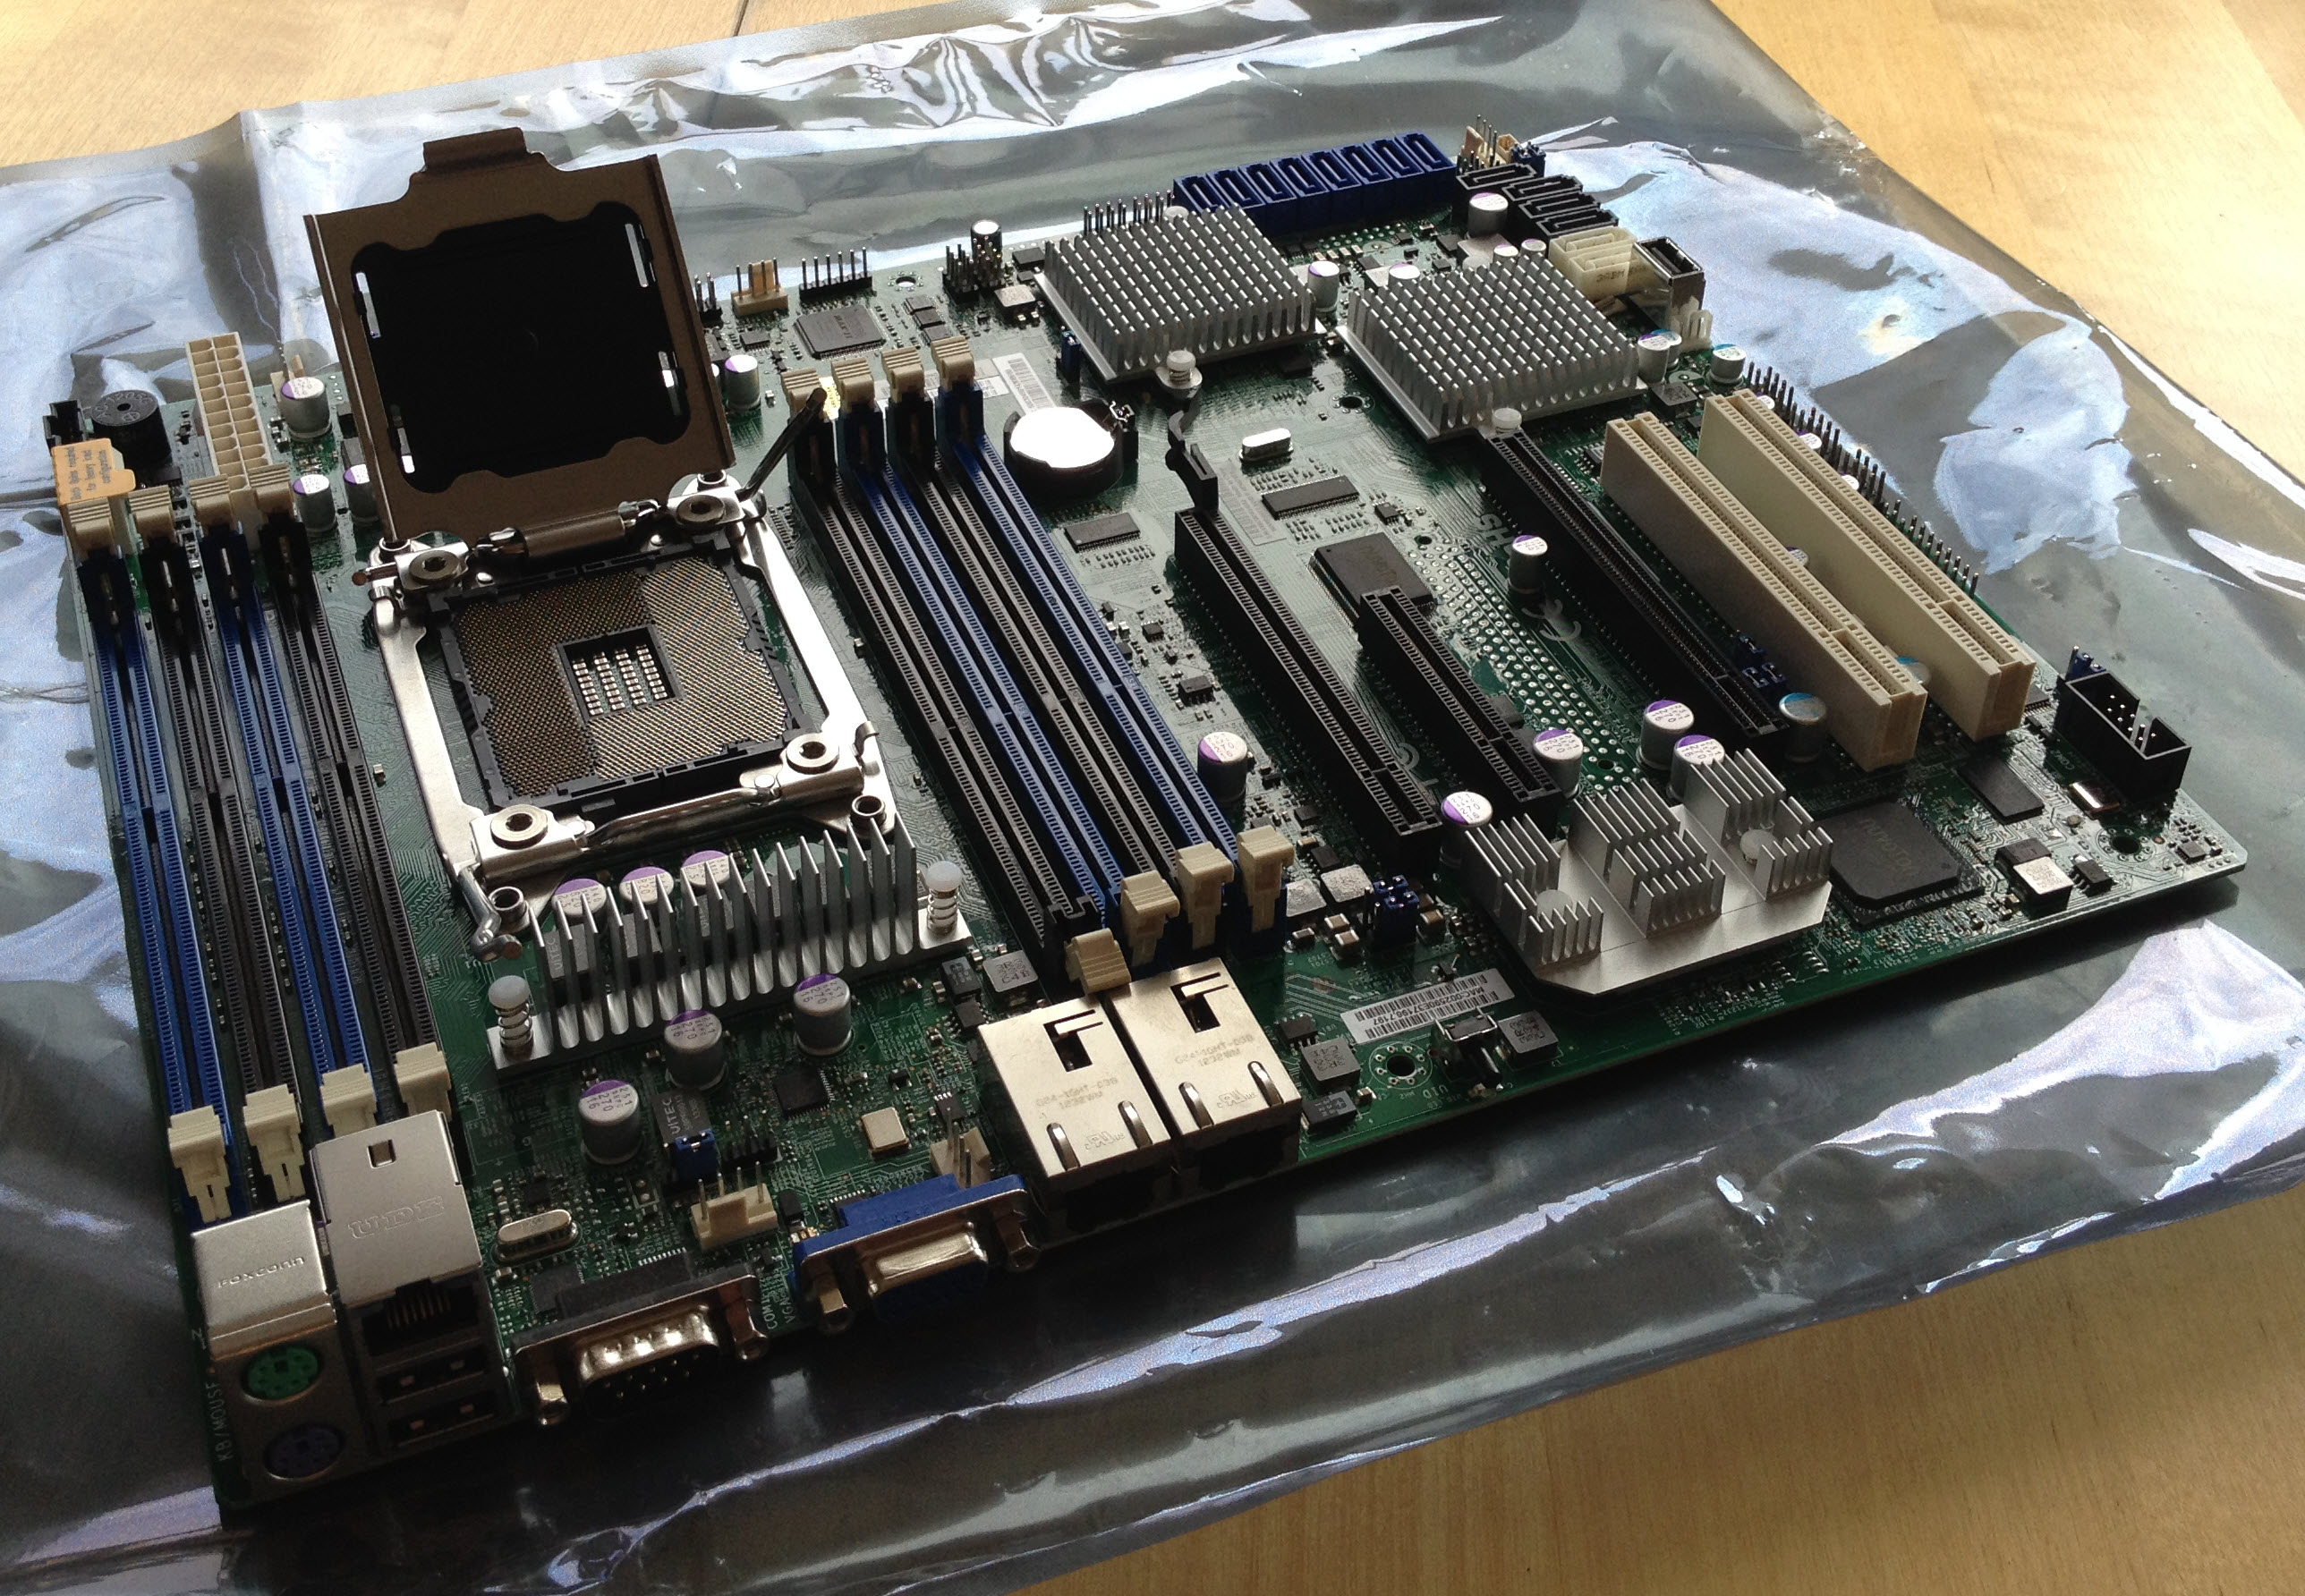
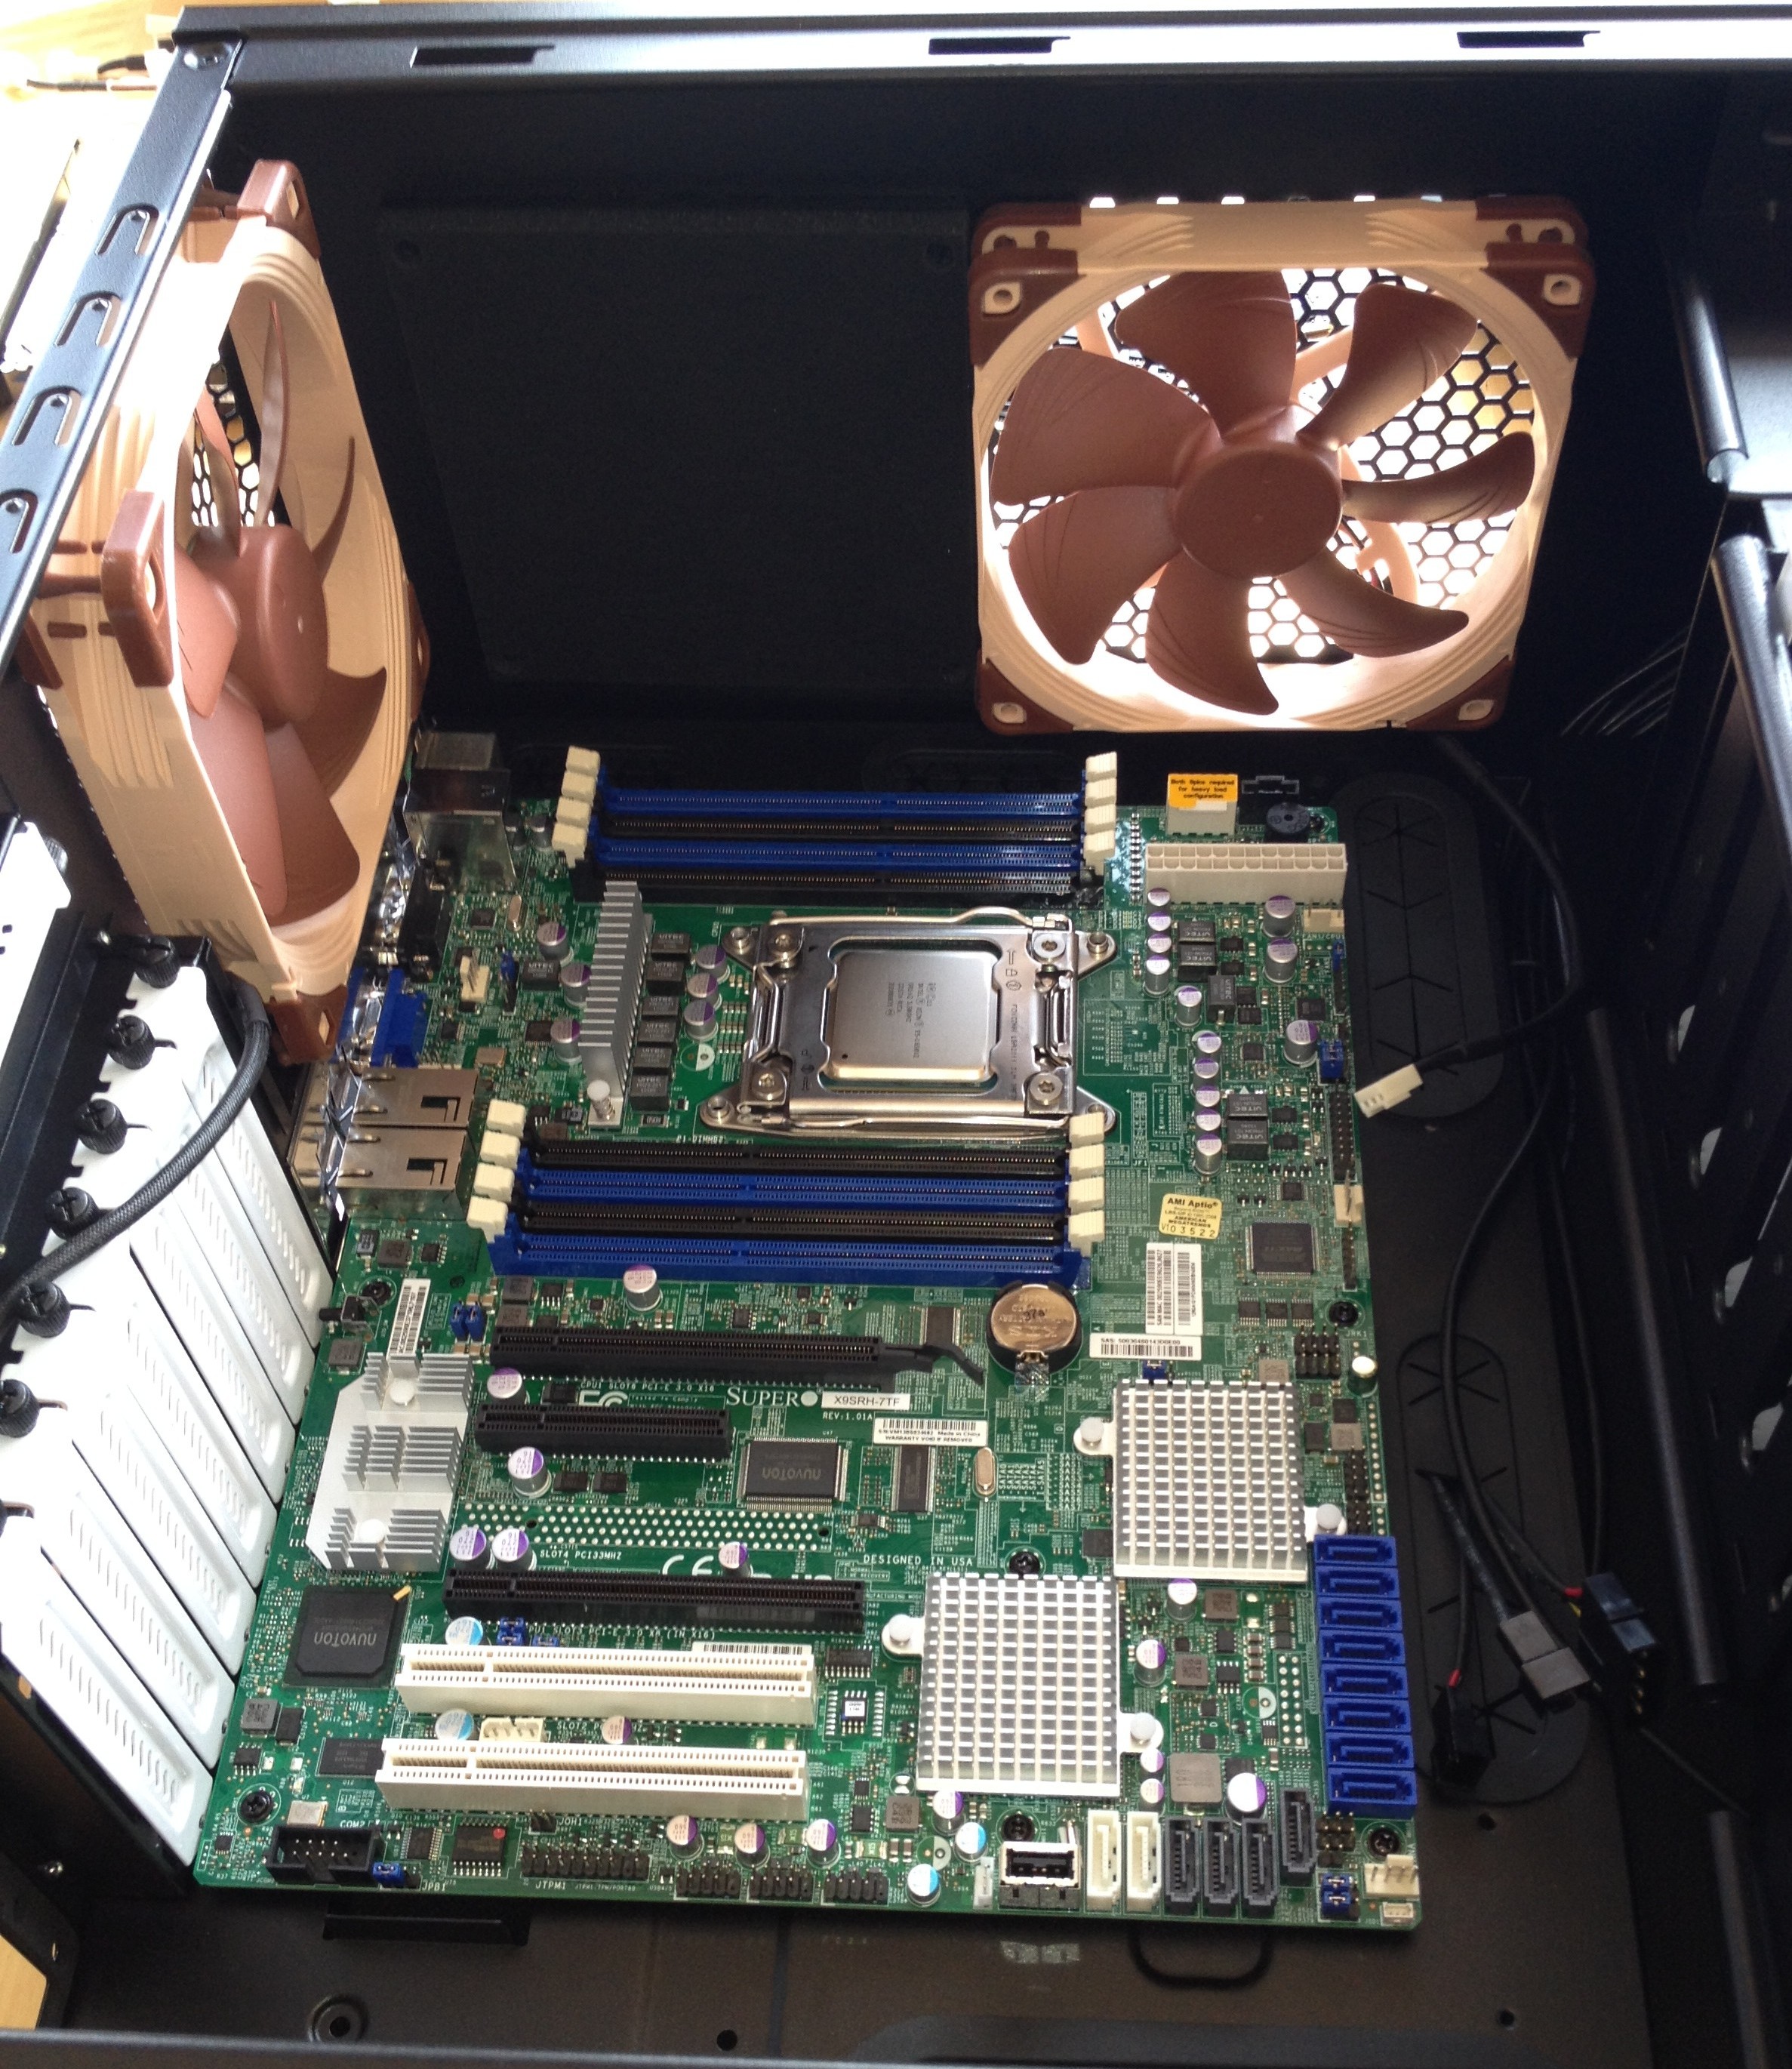
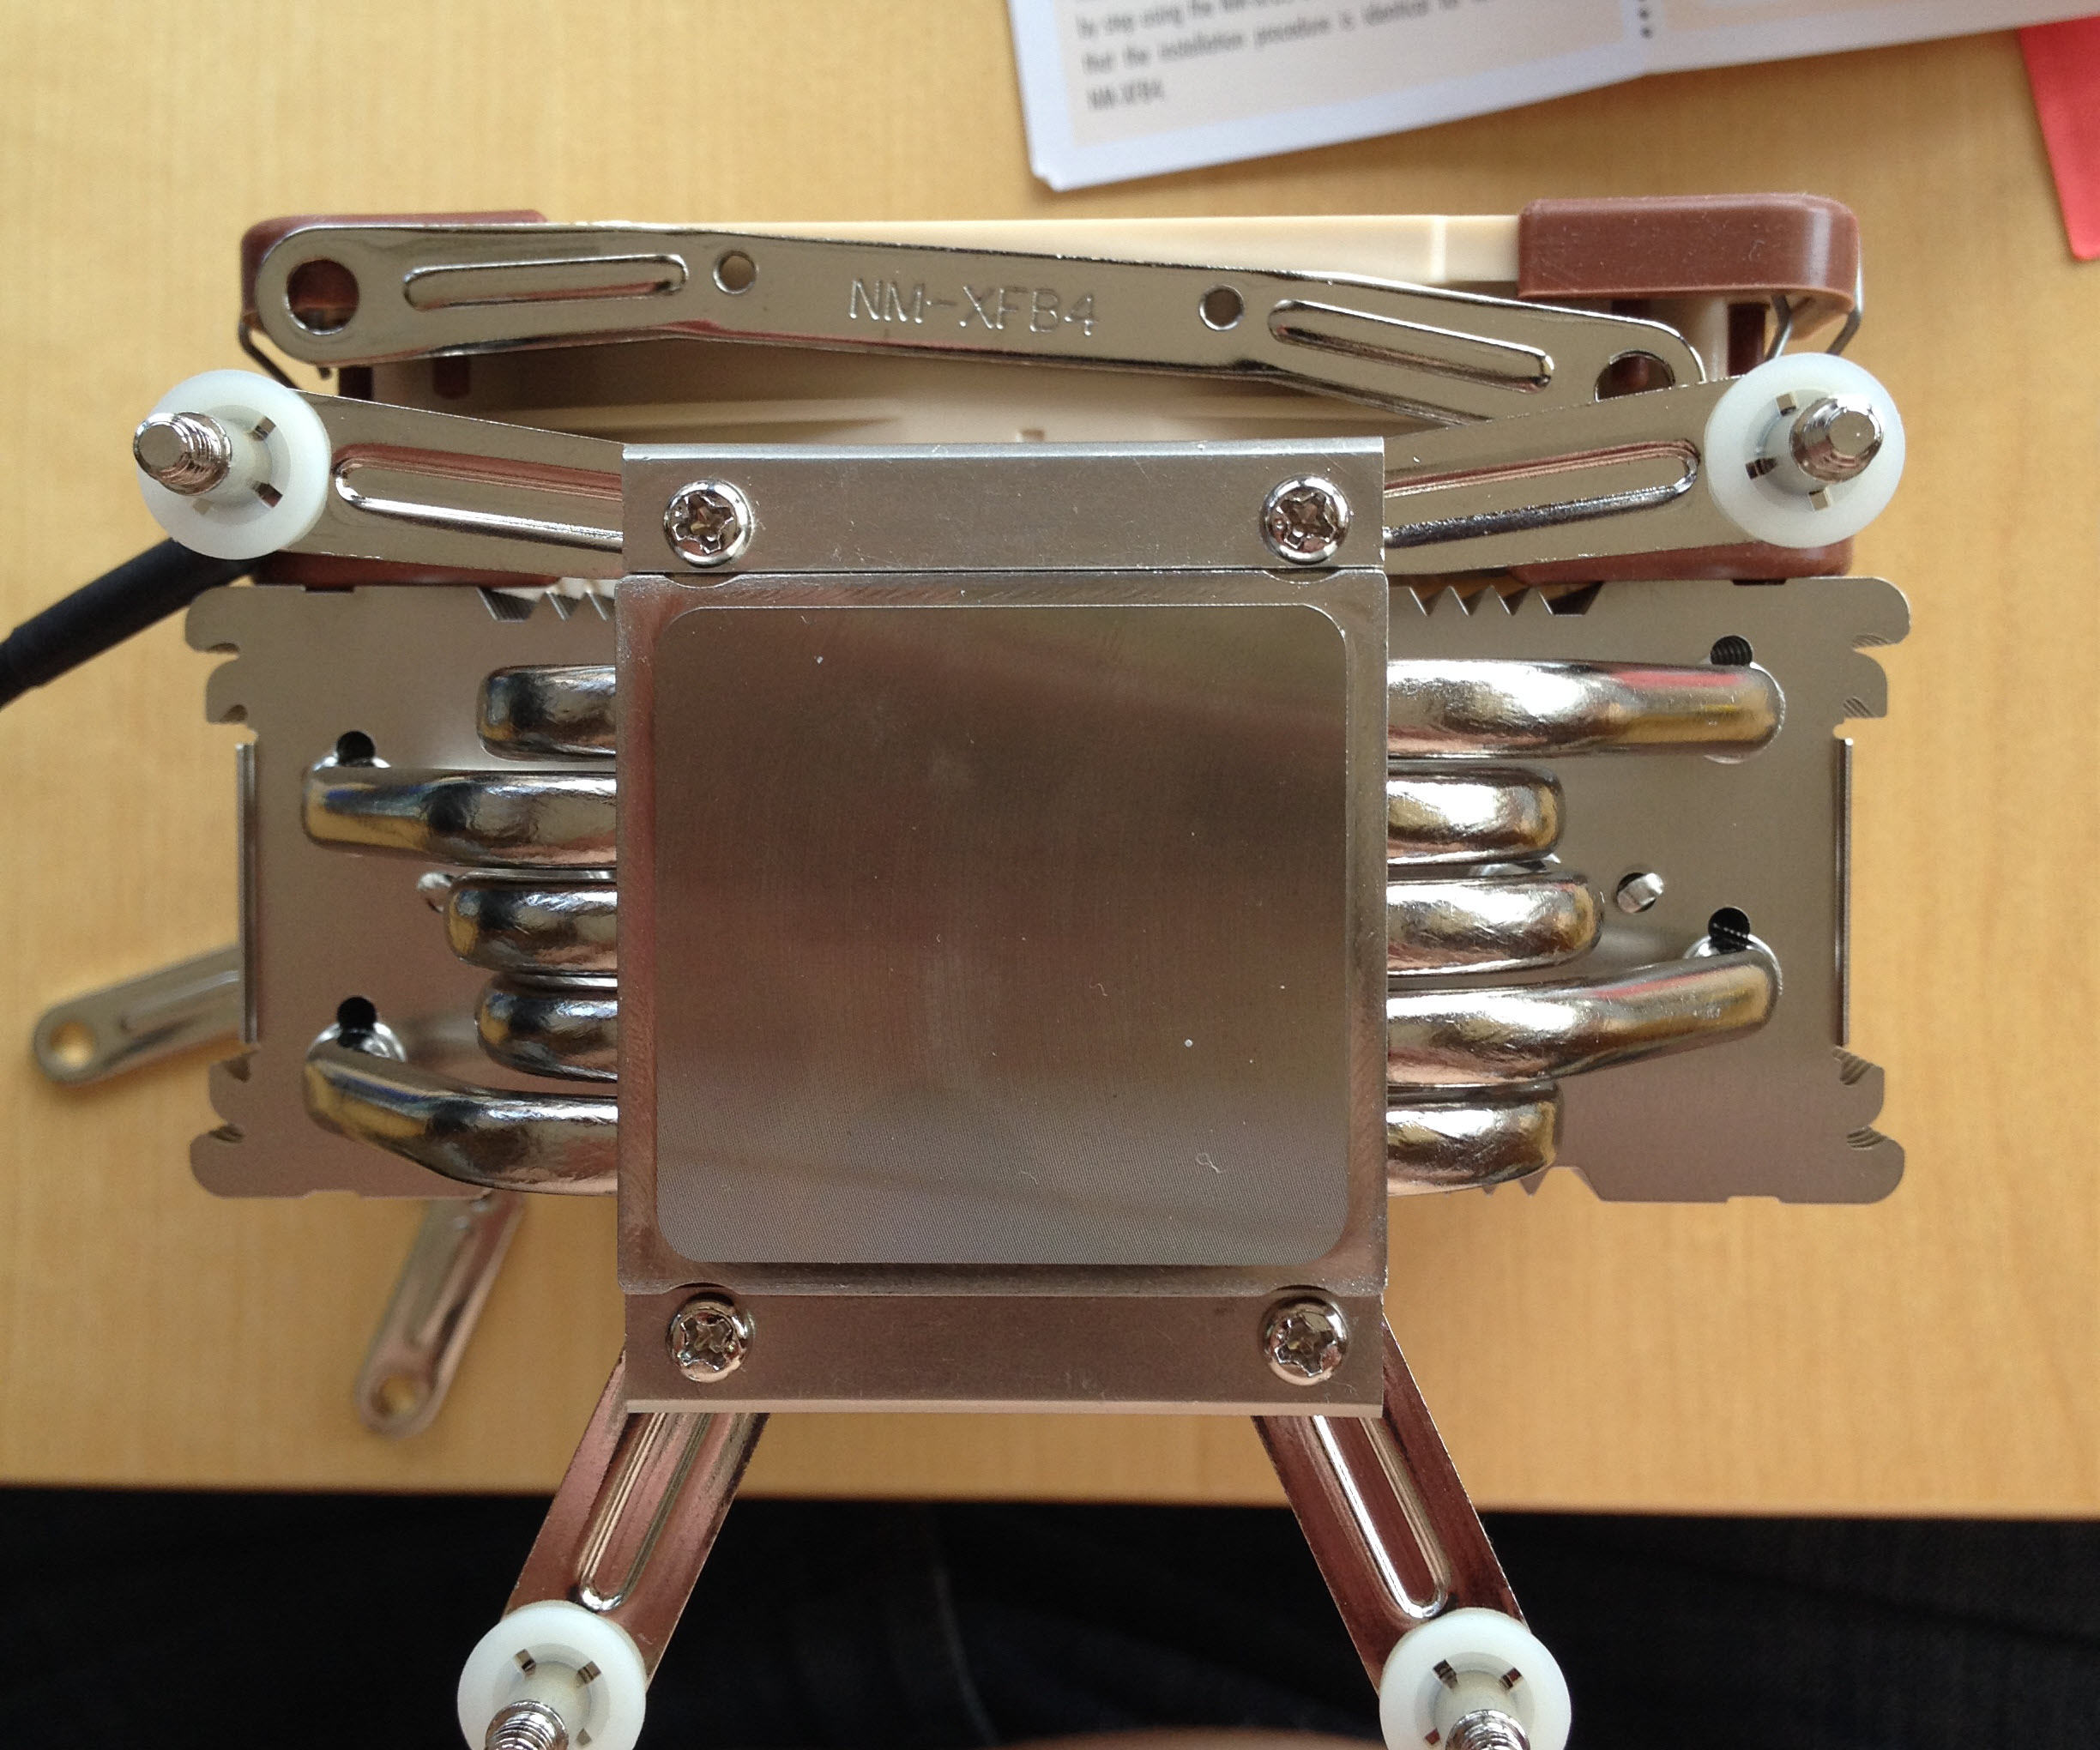
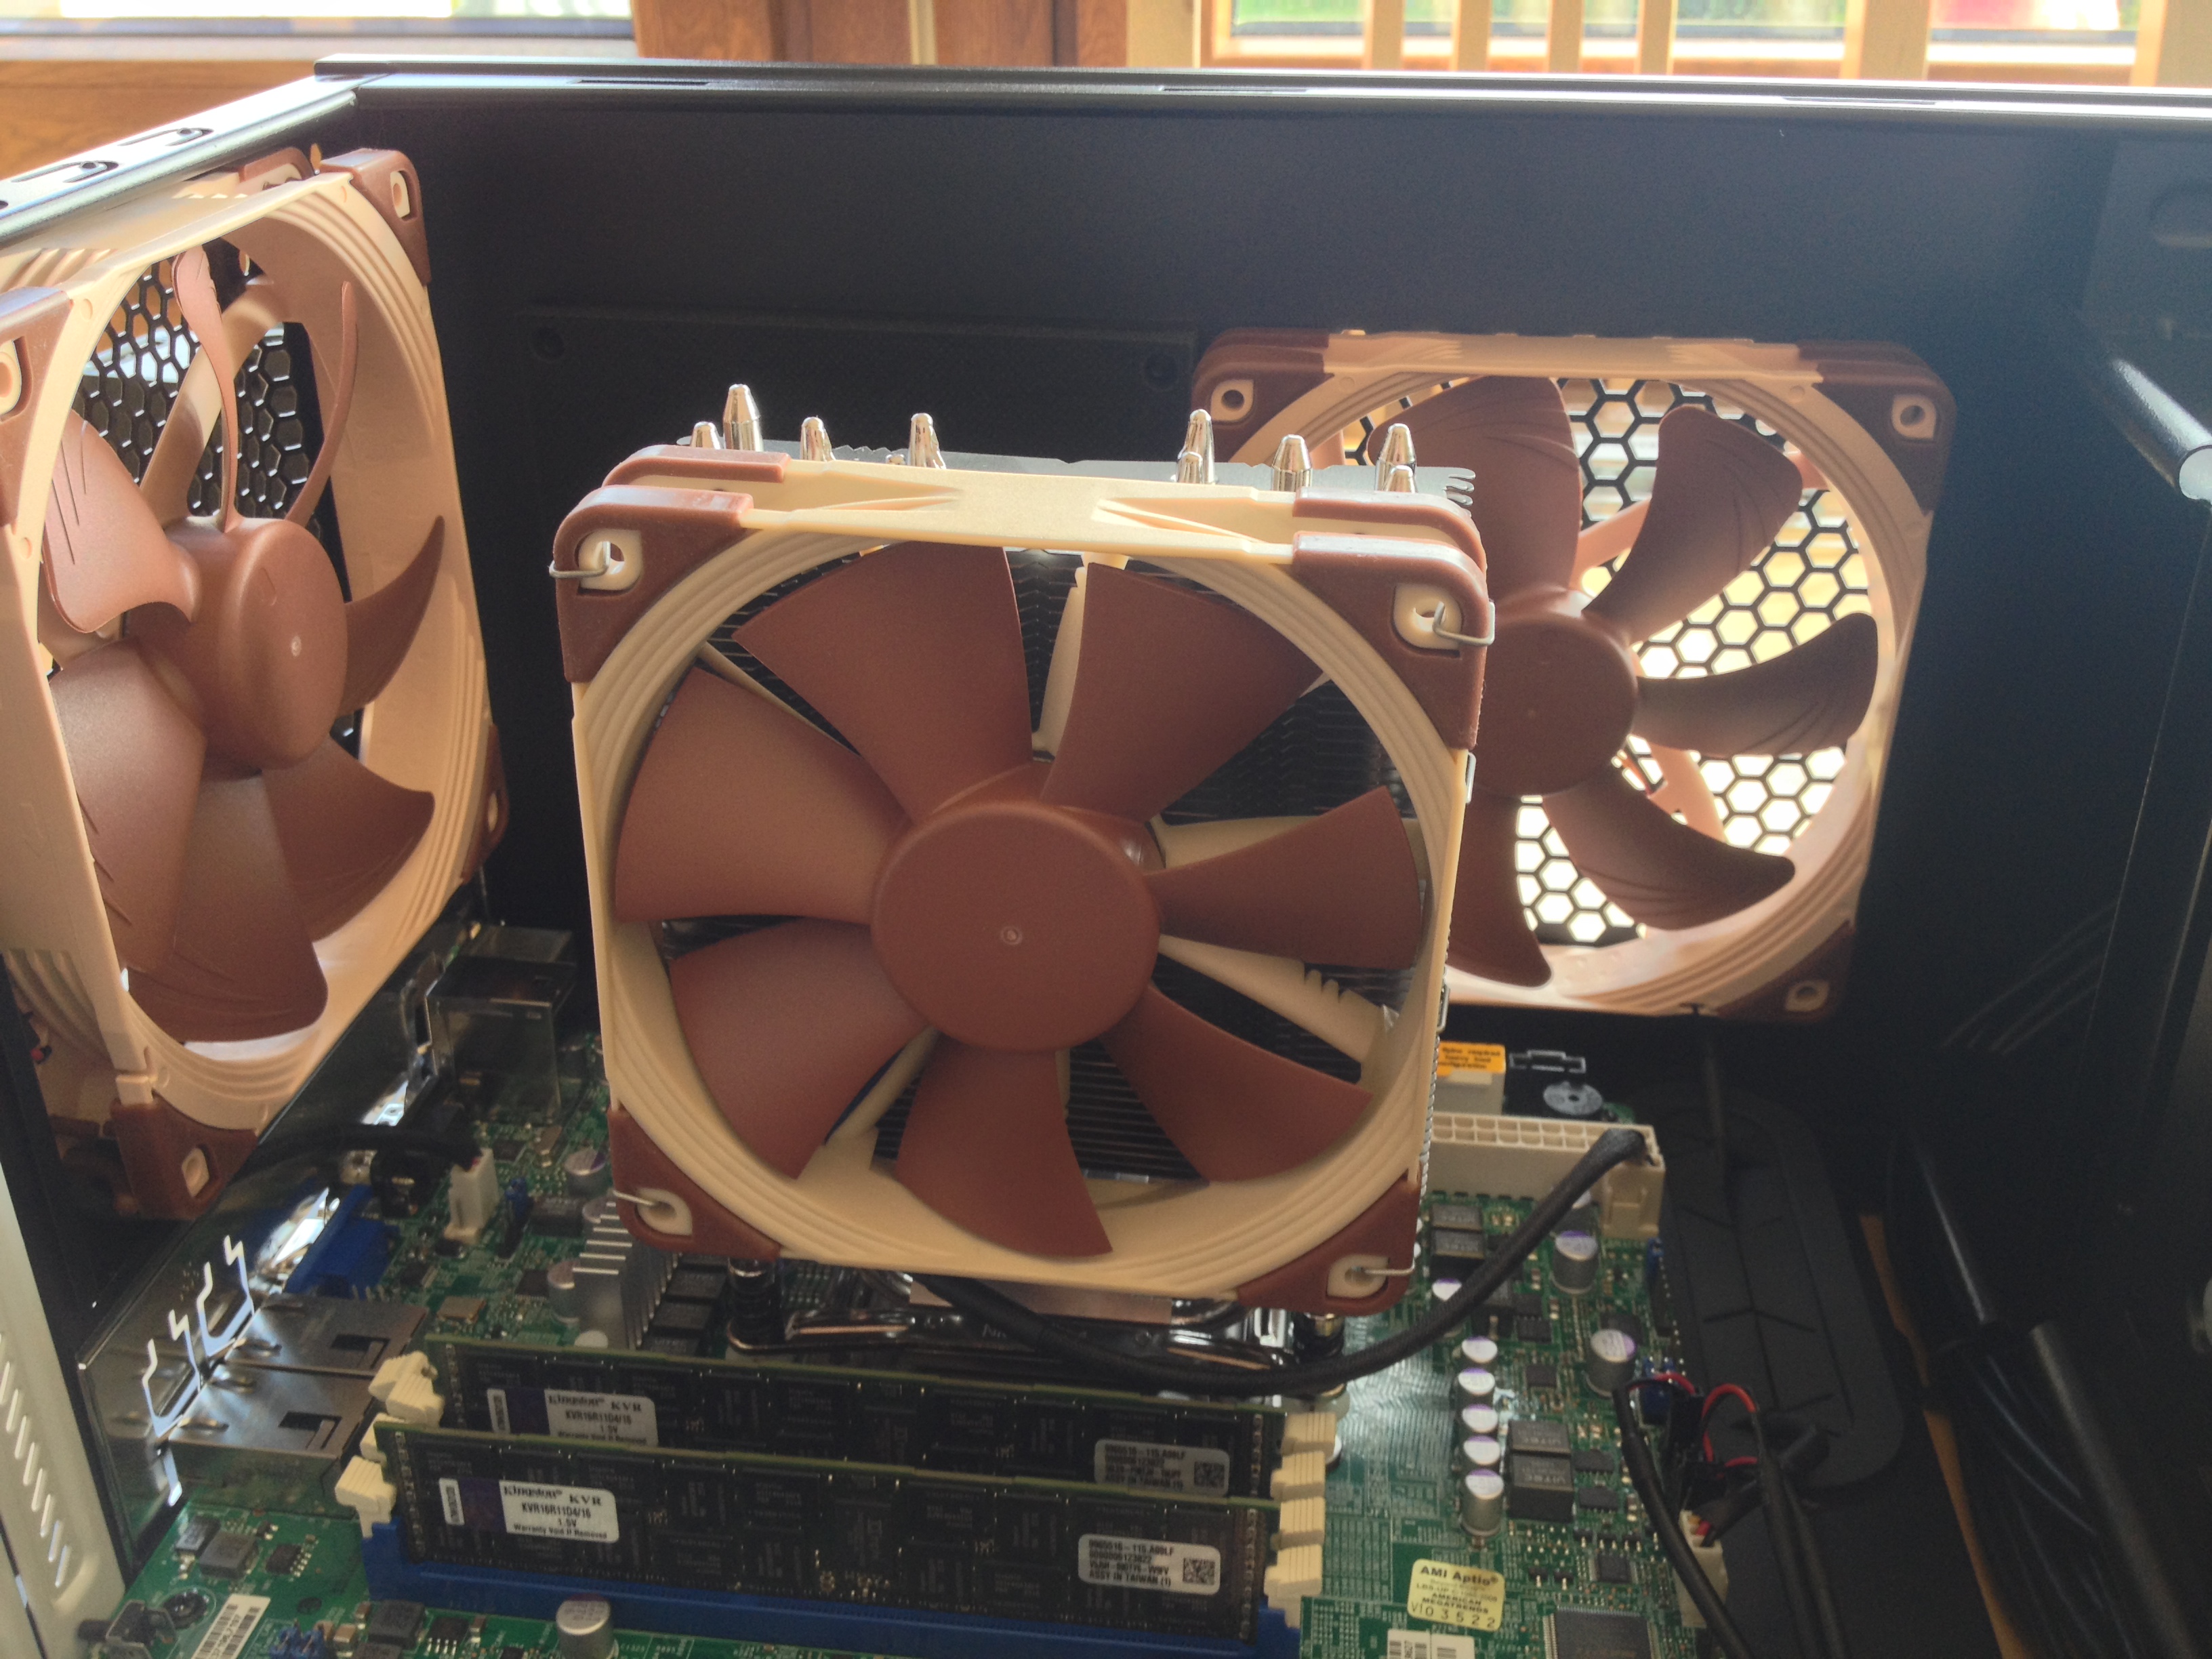
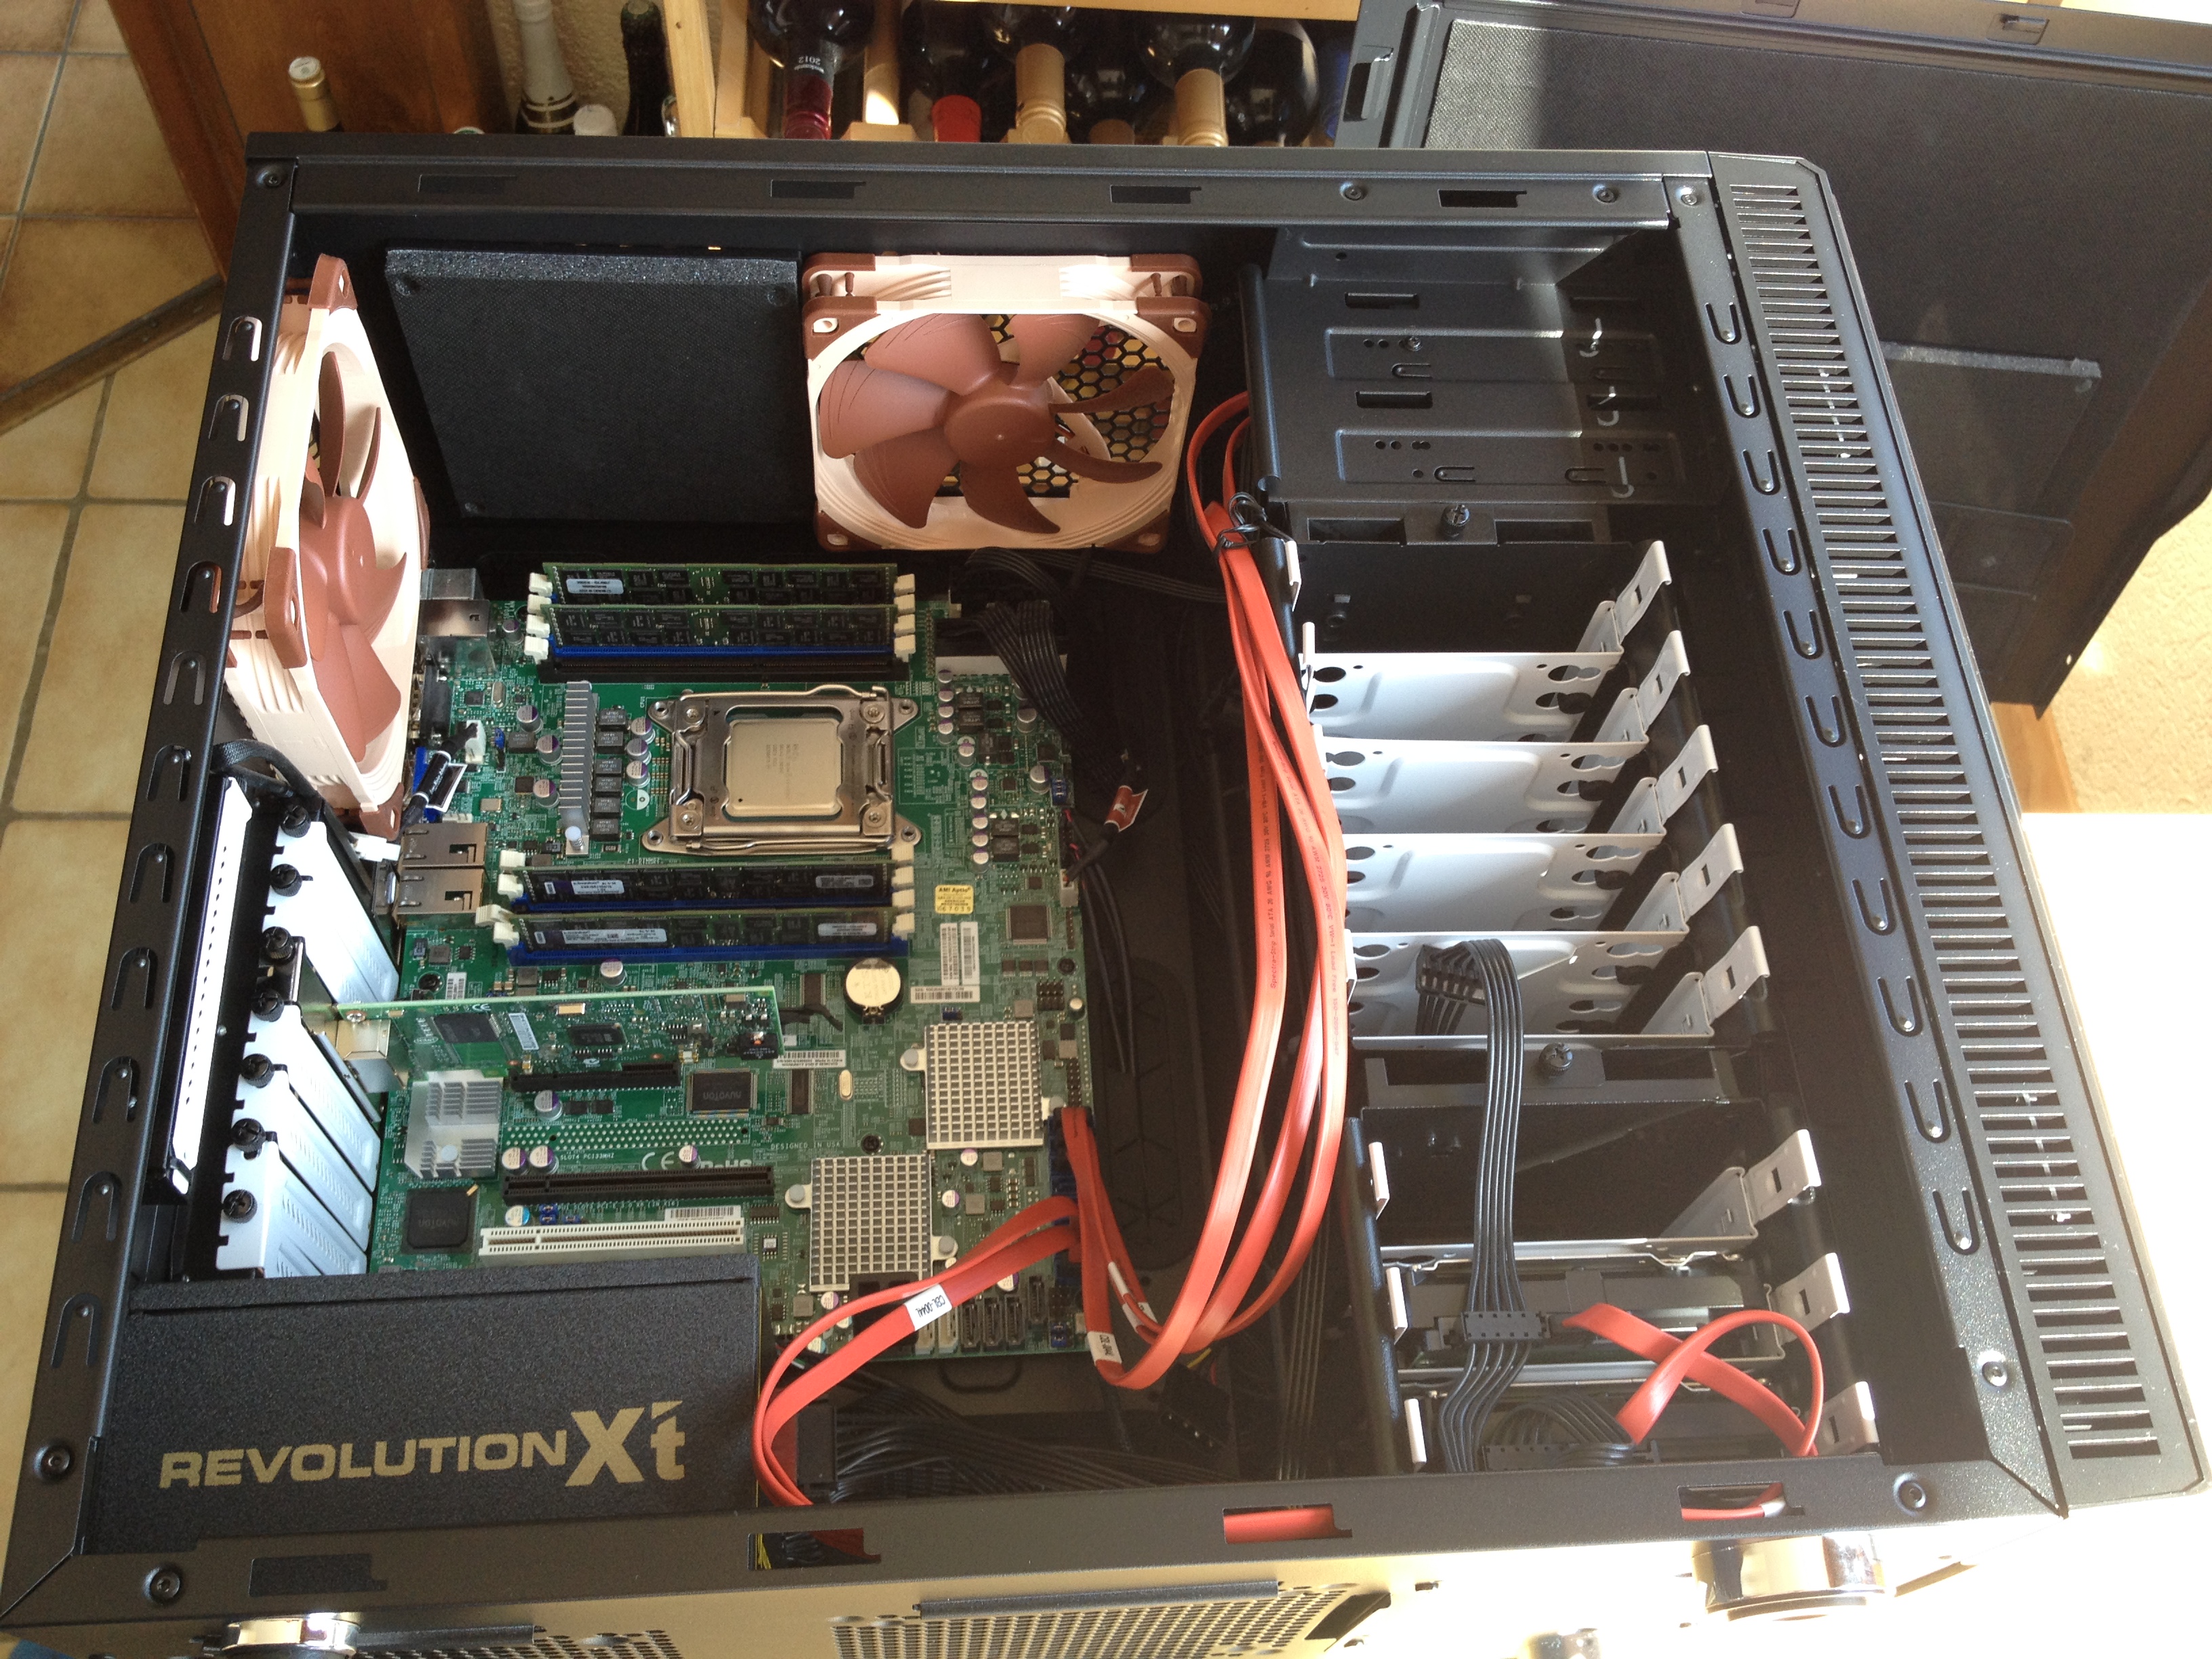
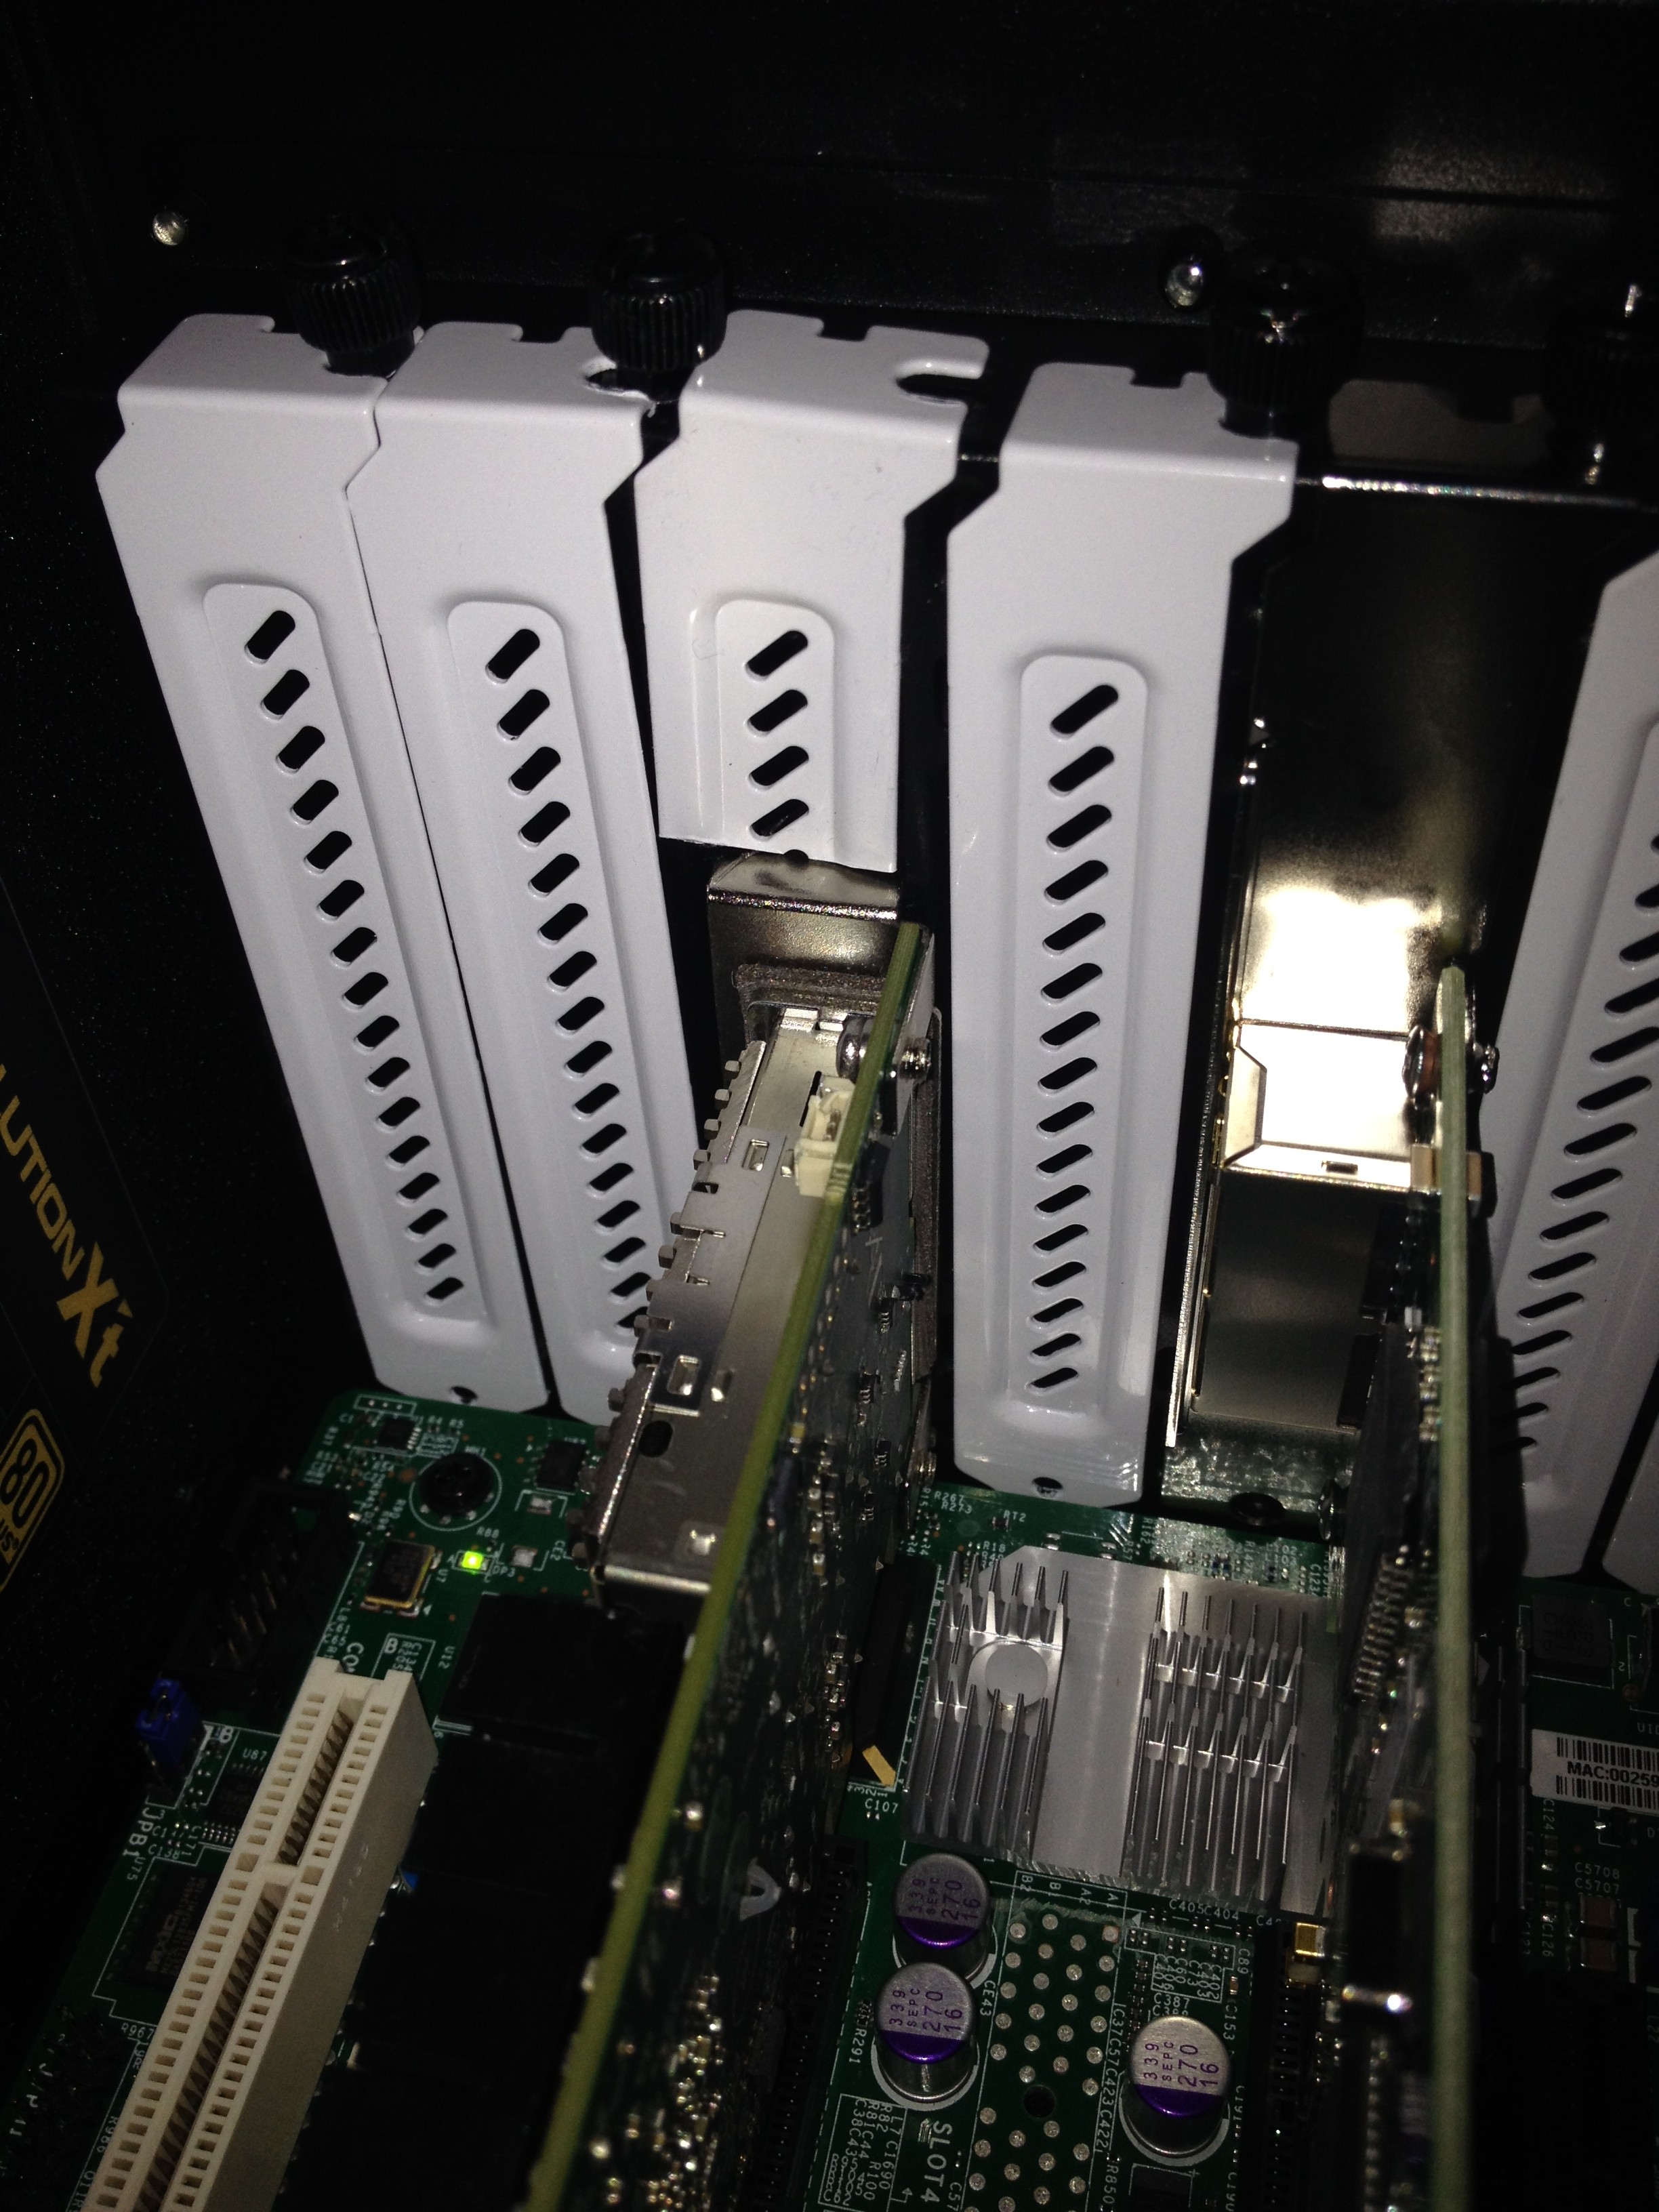
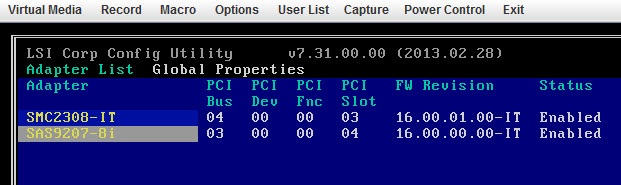
Beginning February I added a single Supermicro X10SRH-CLN4F server with a Intel Xeon E5-2630v3 (8 Cores @2.4Ghz and 64GB of DDR4 memory) to the cluster. This Supermicro X10SRH-CLN4F comes with 4 Intel Gigabit ports, an integrated LSI 3008 SAS 12Gb/s adapter. I also added an Intel X540-T2 dual 10GbE adapter to bring it in line with the first three nodes.
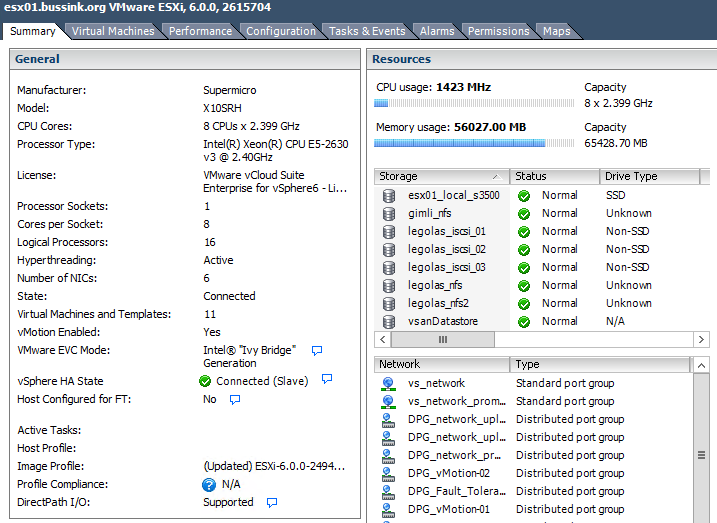
vSphere 6.0 on Supermicro X10SRH-CLN4F
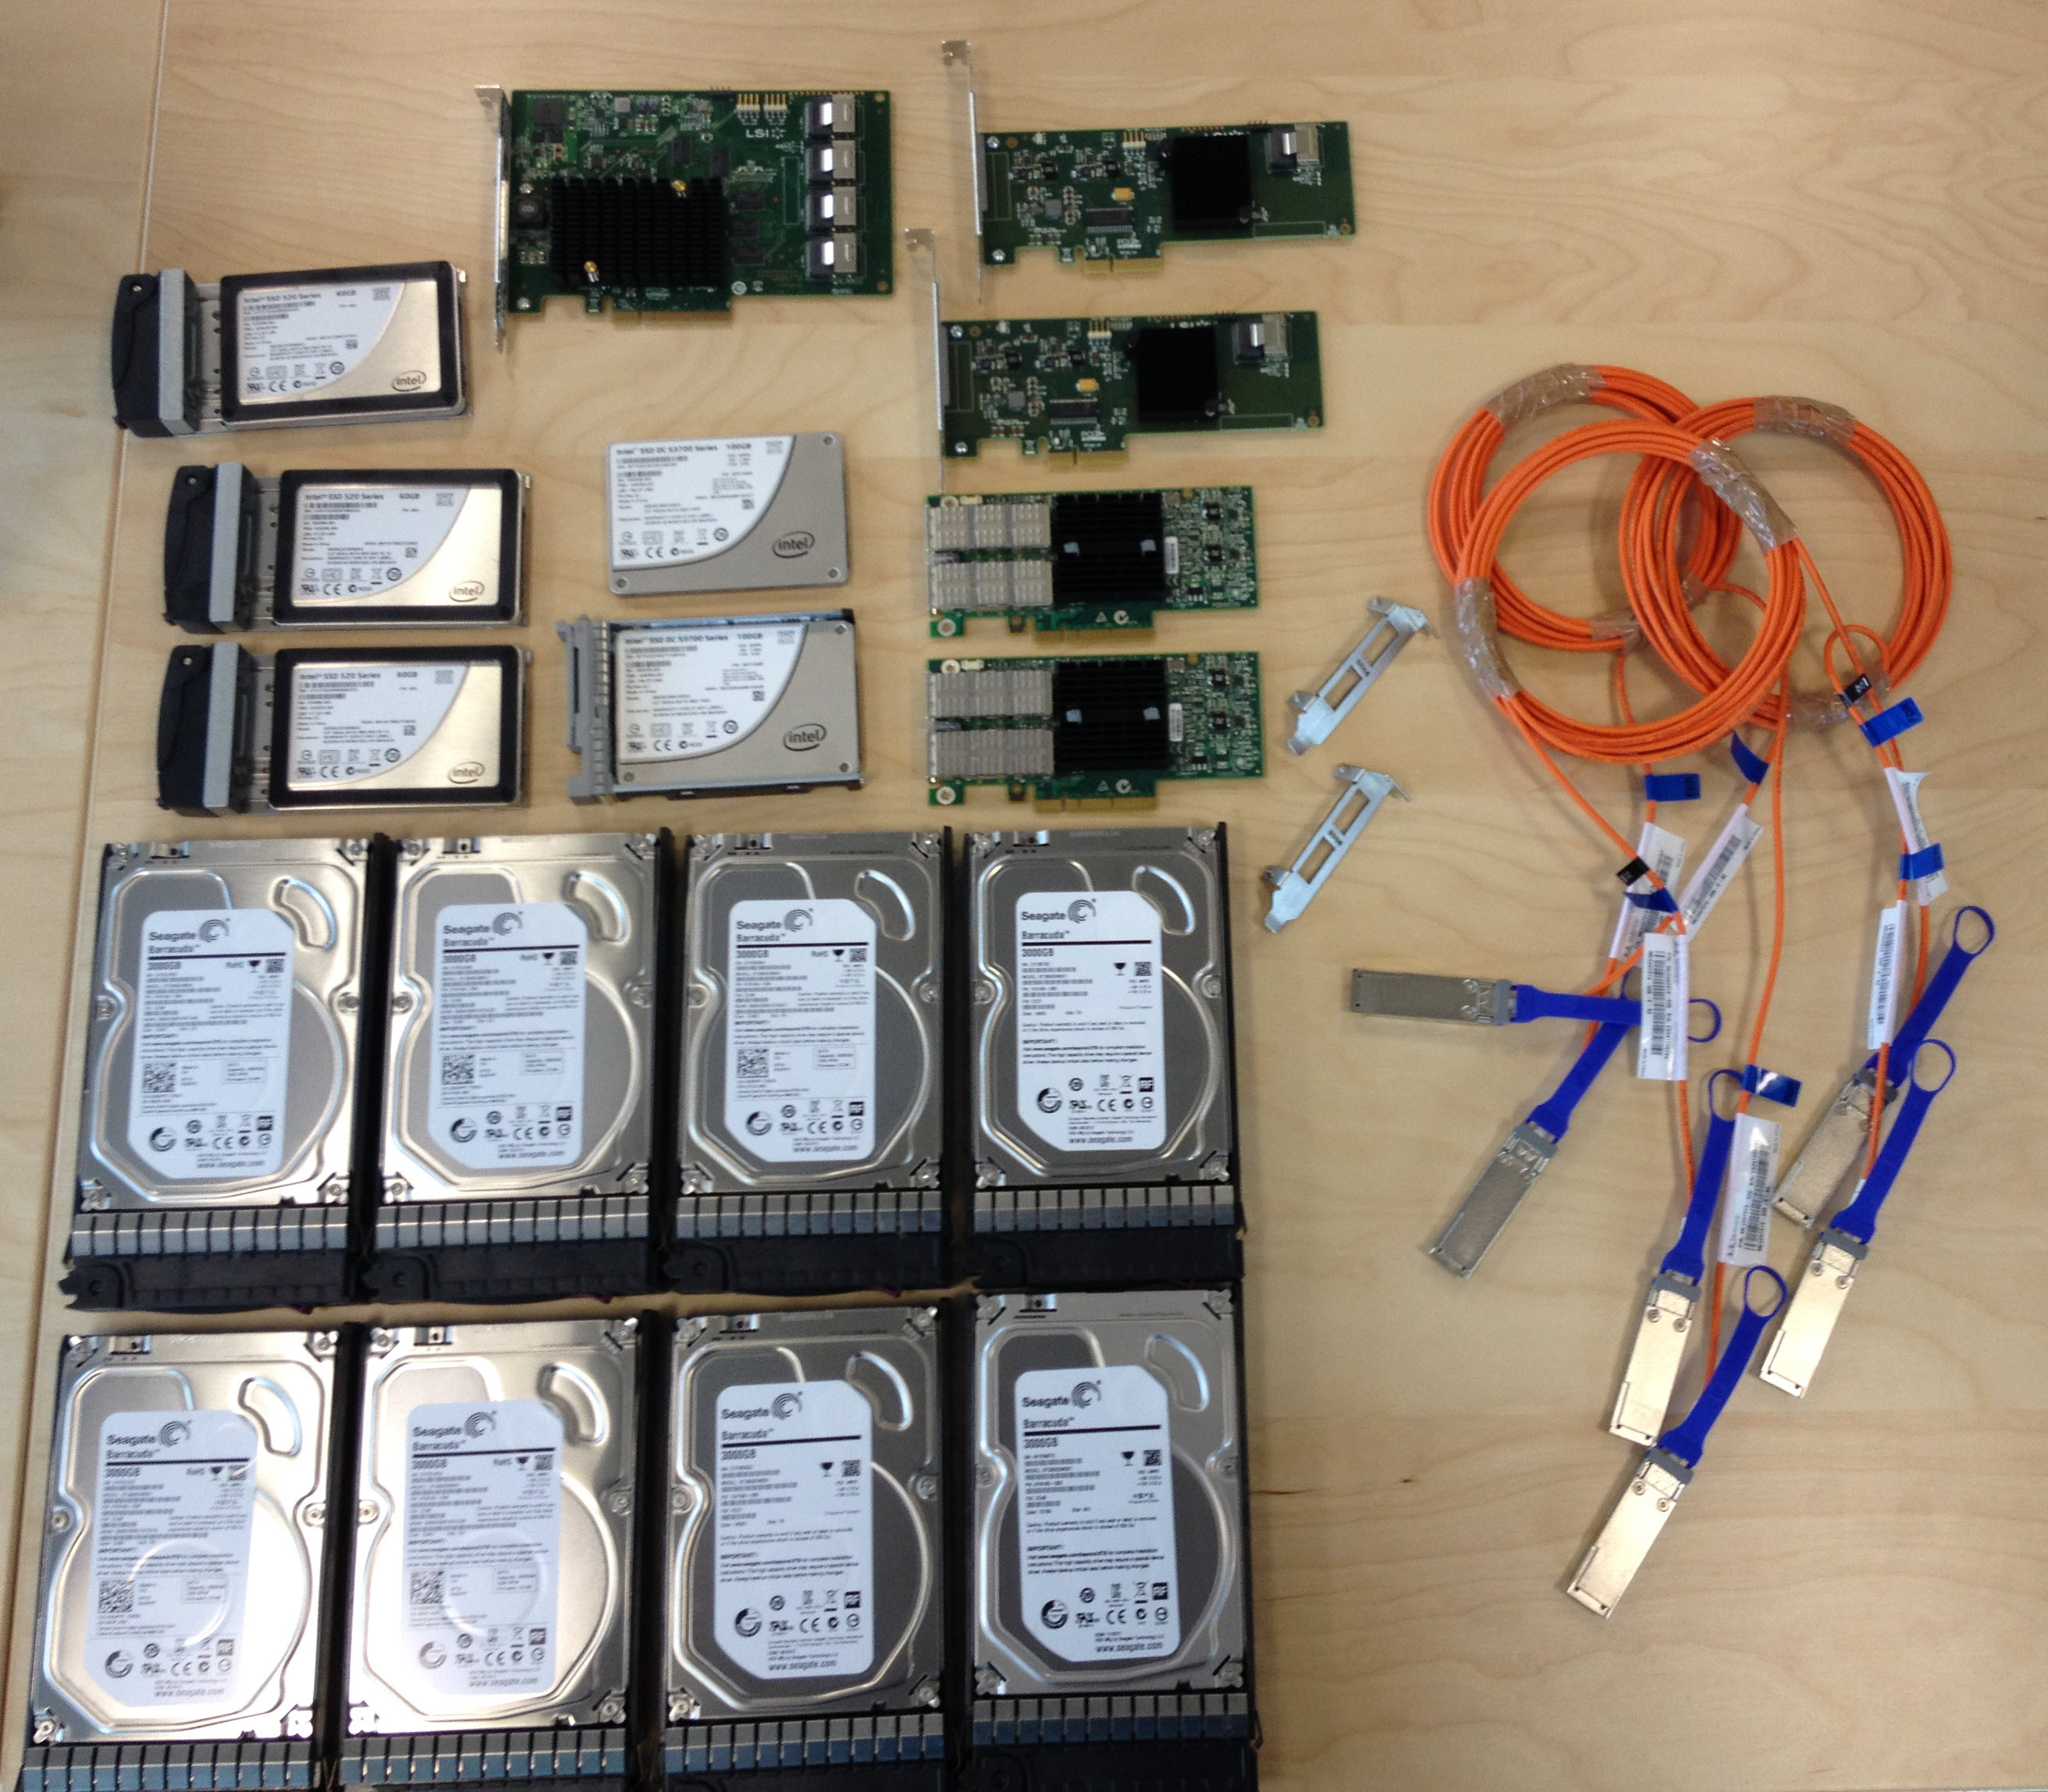
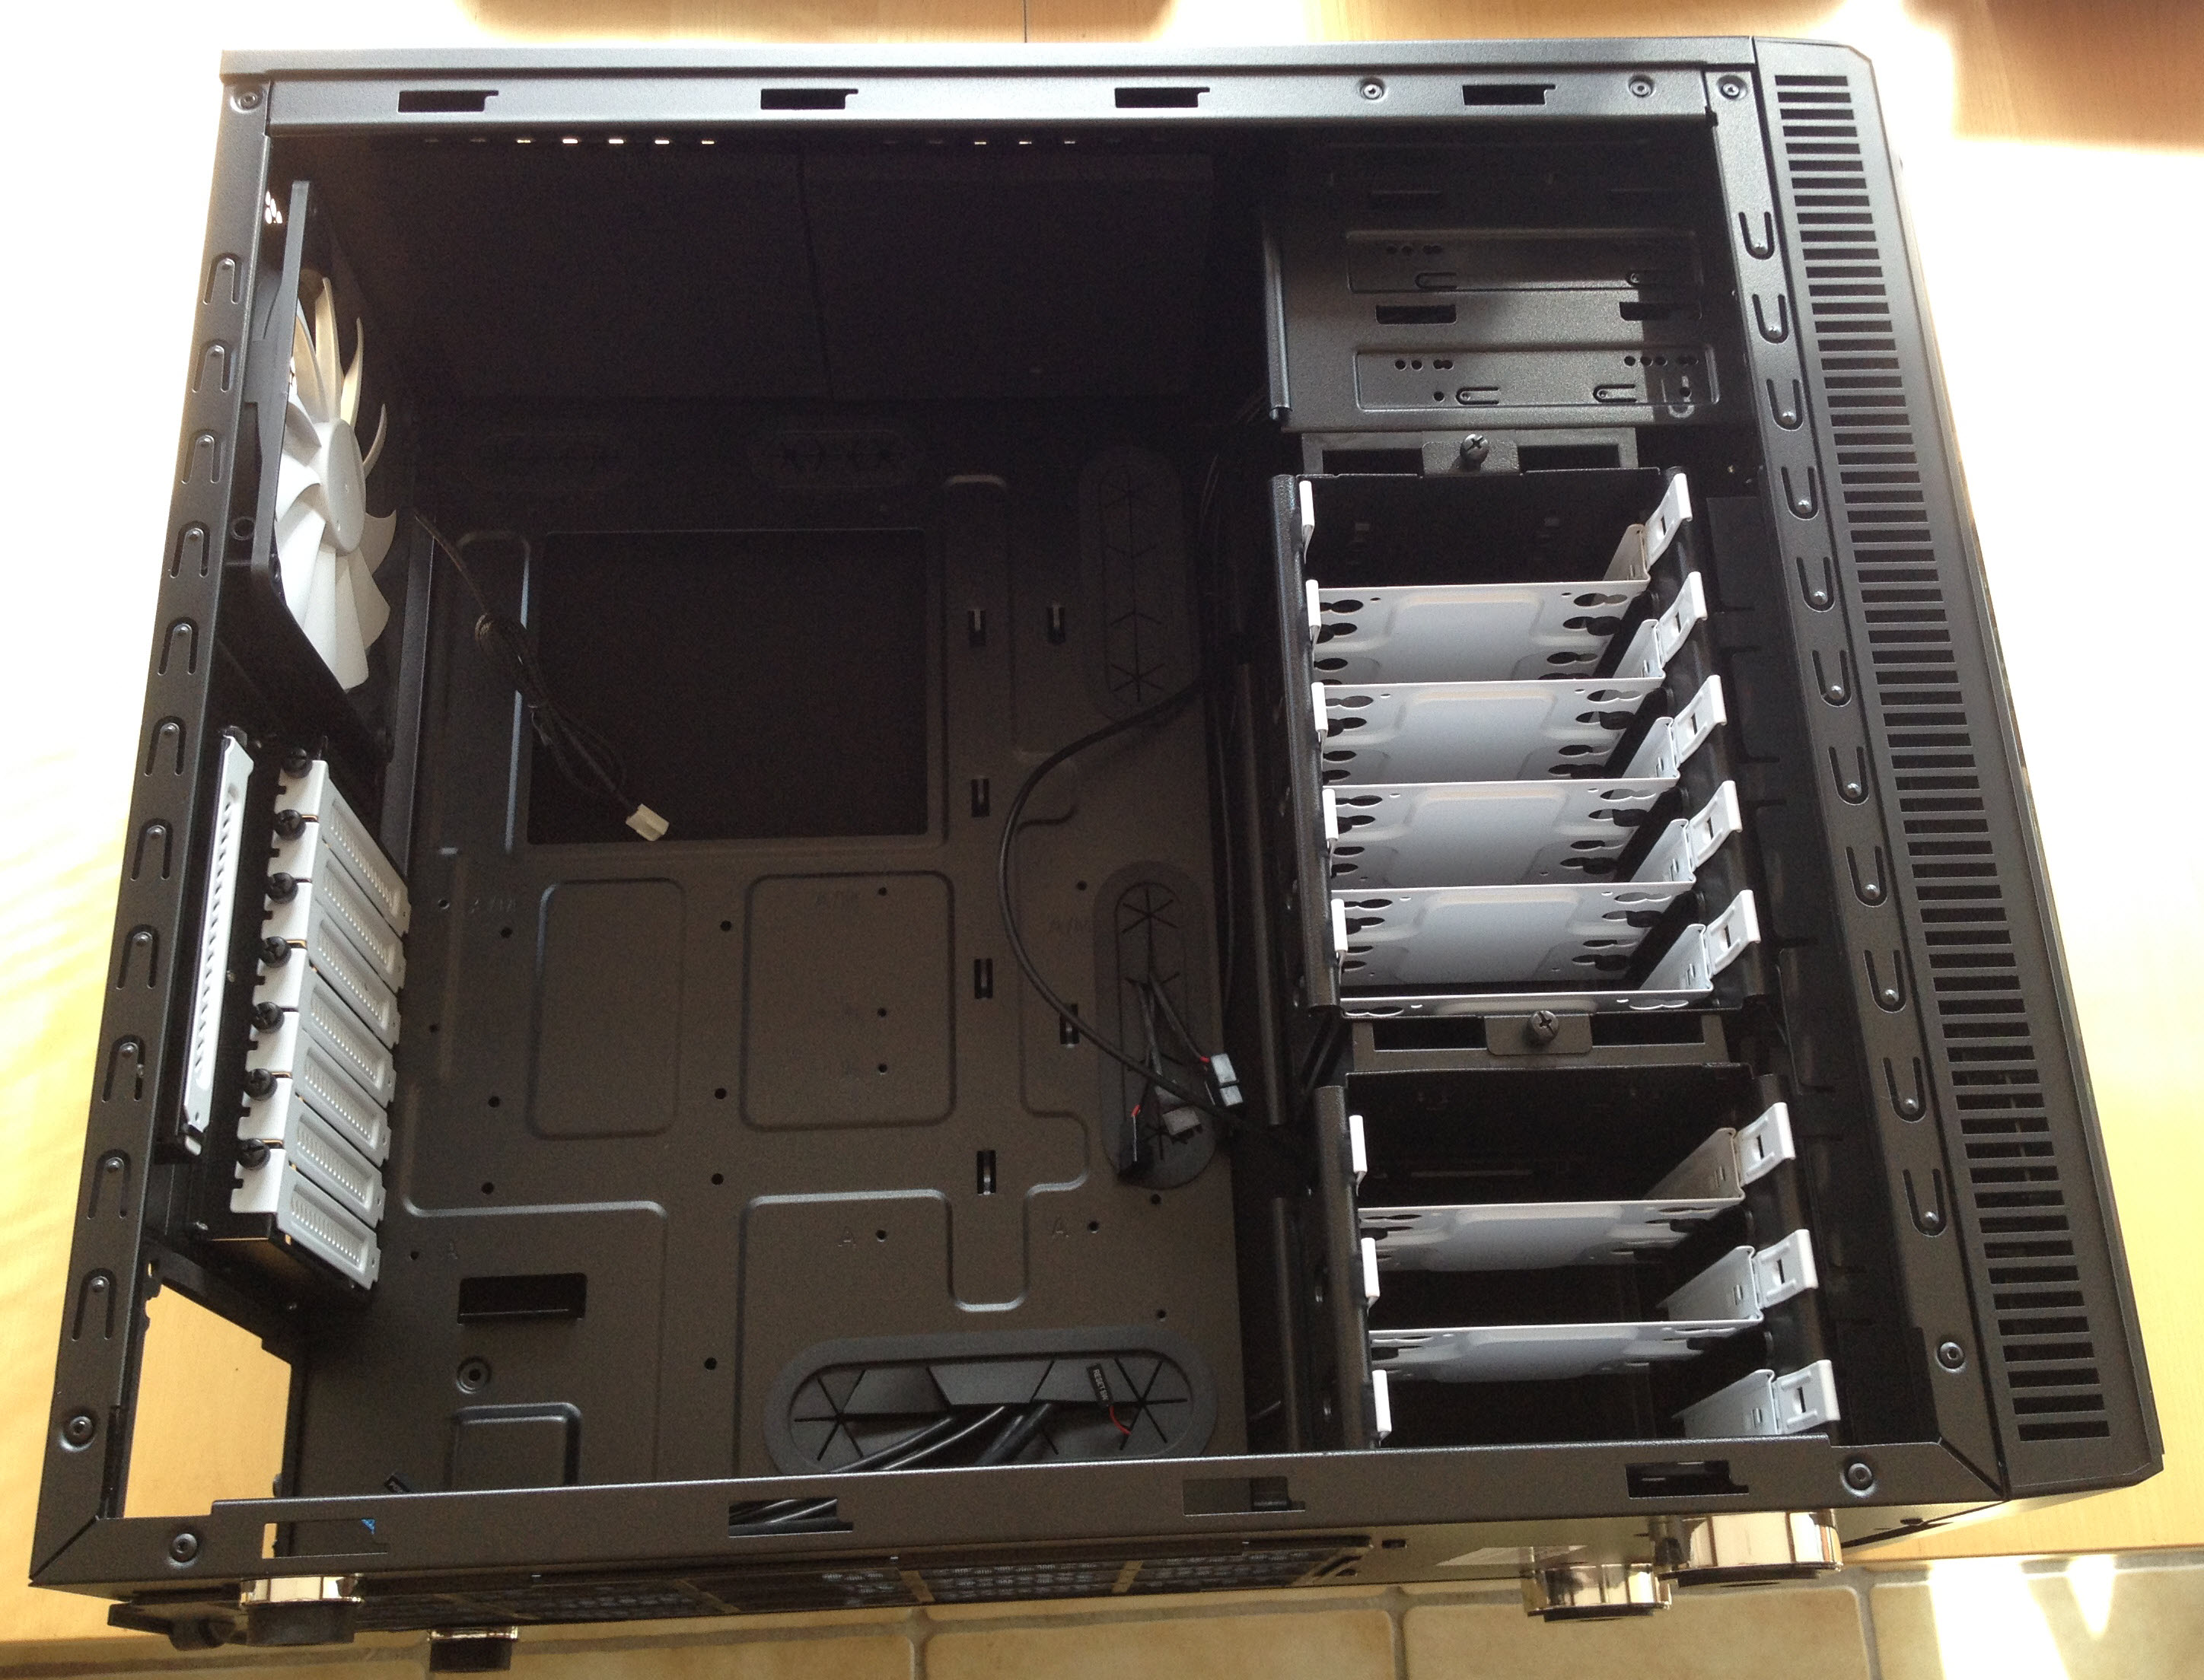
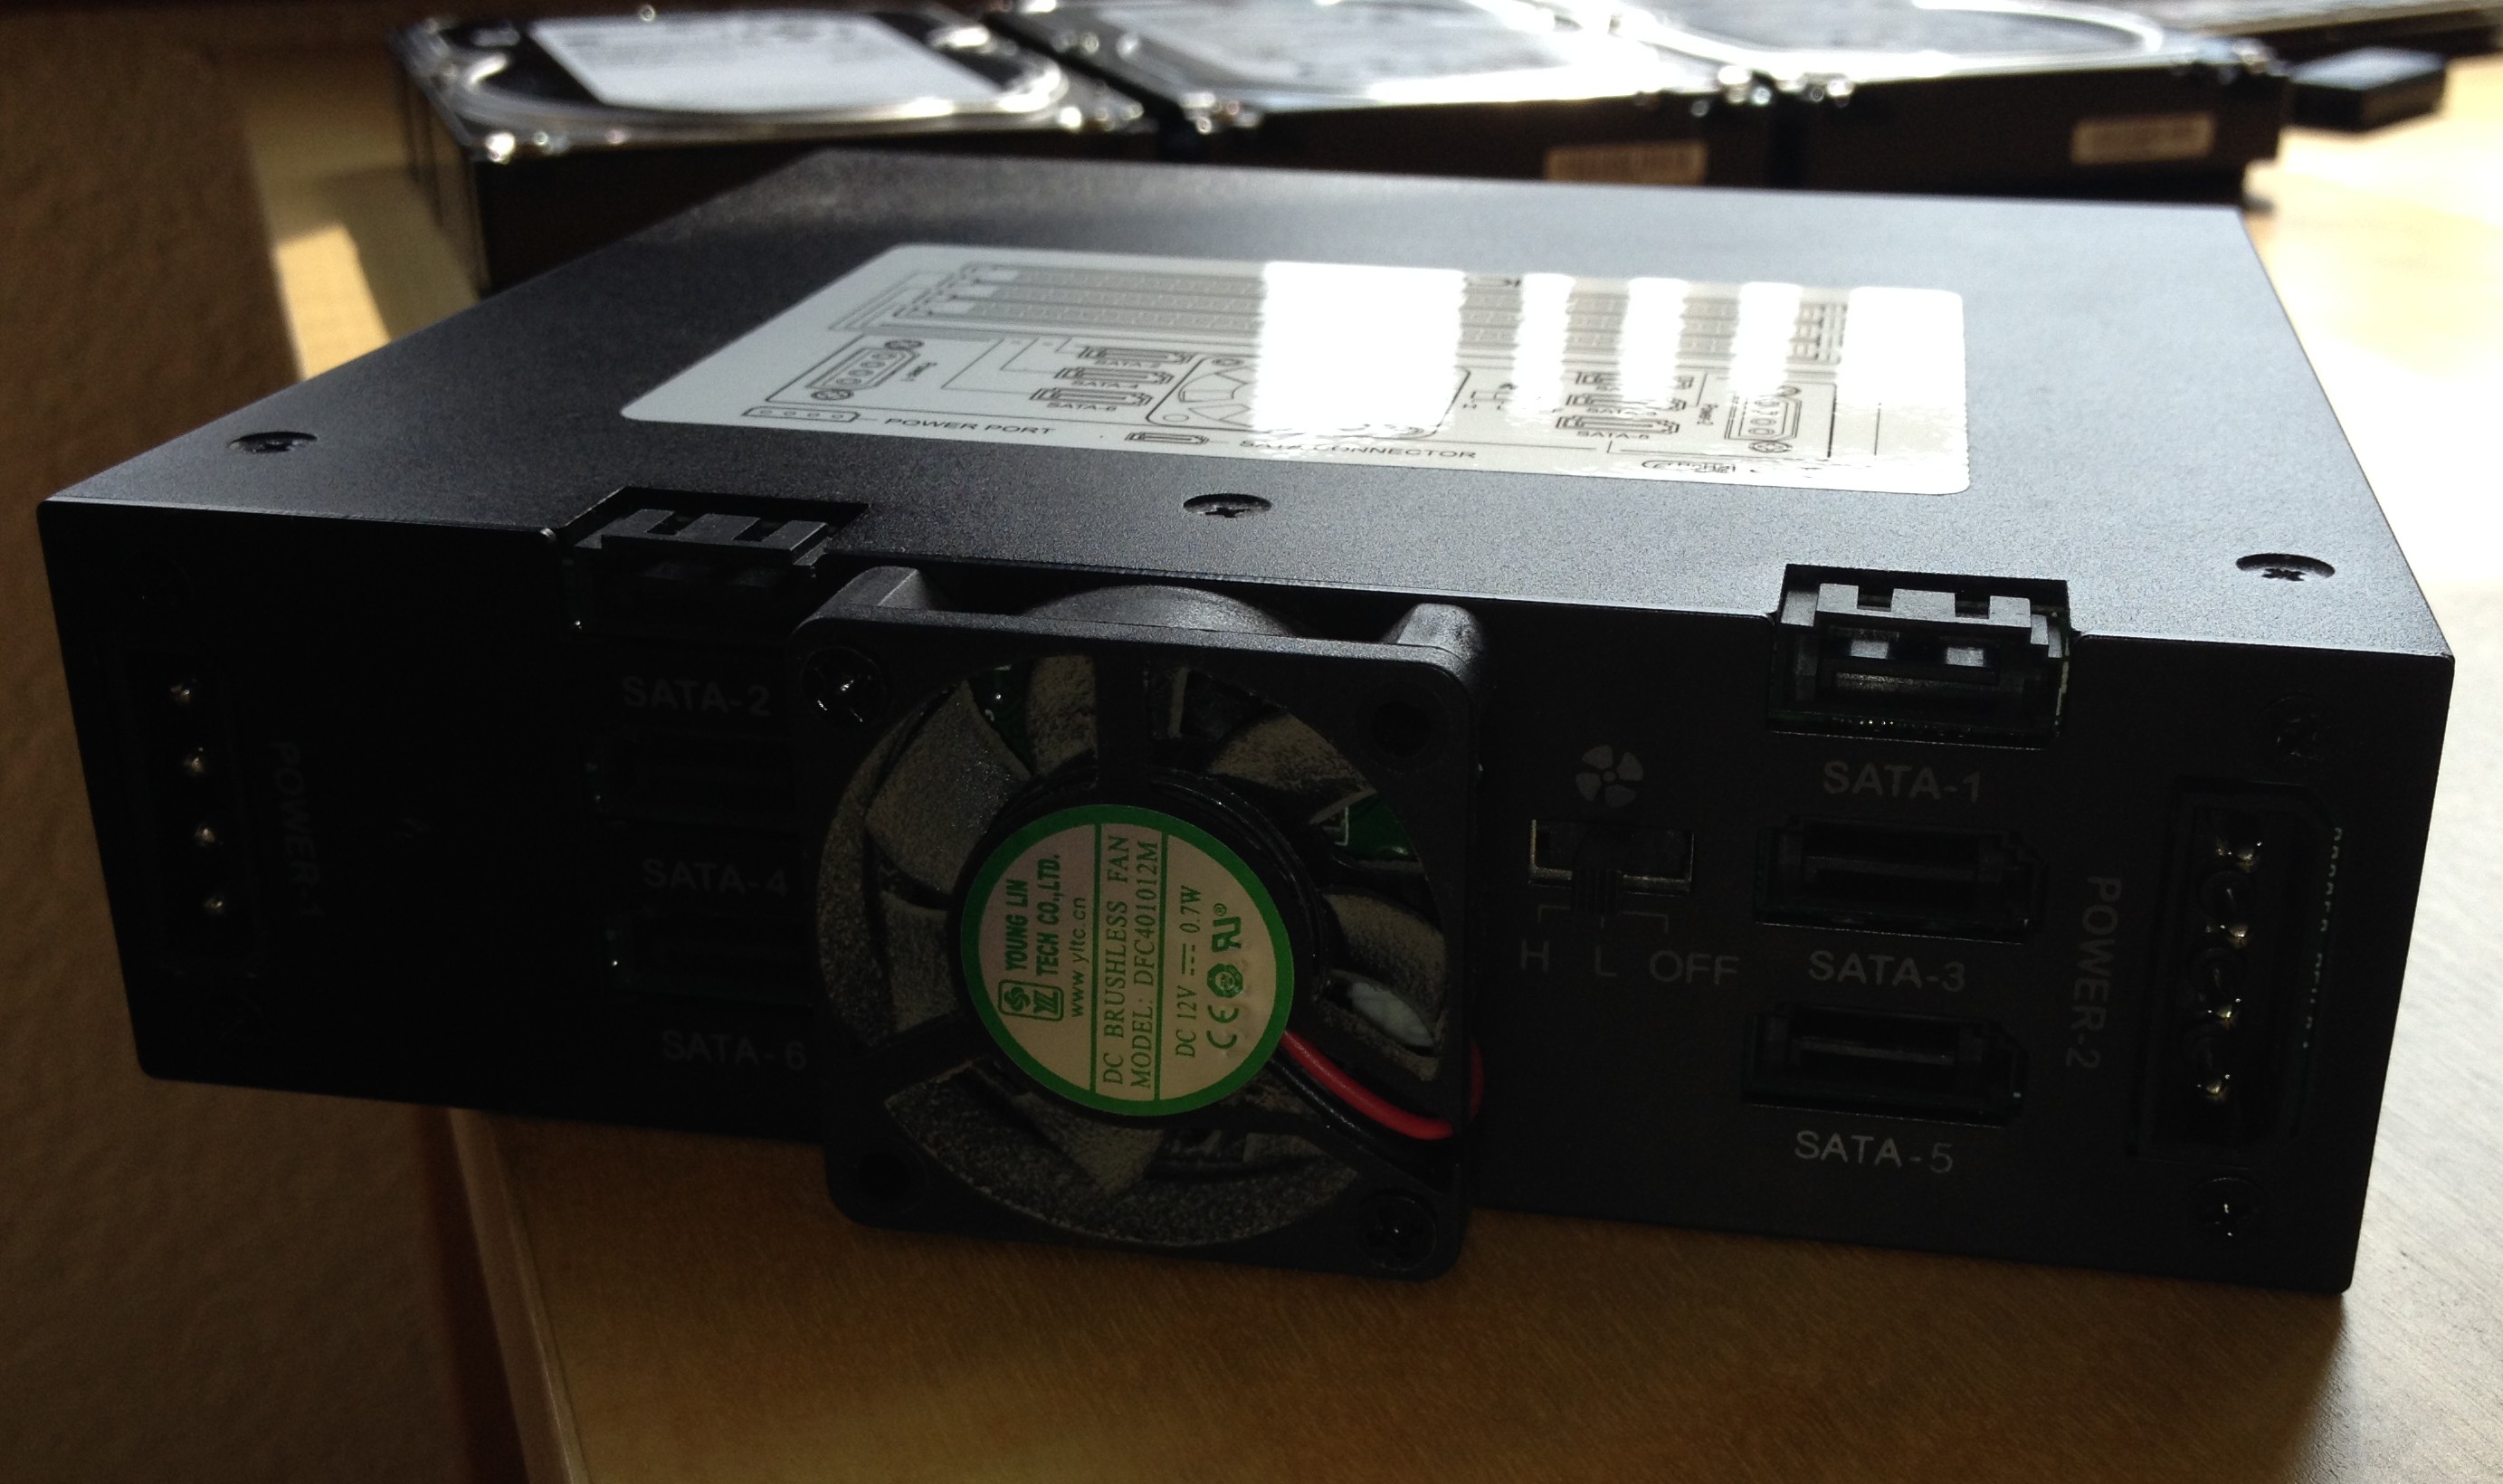
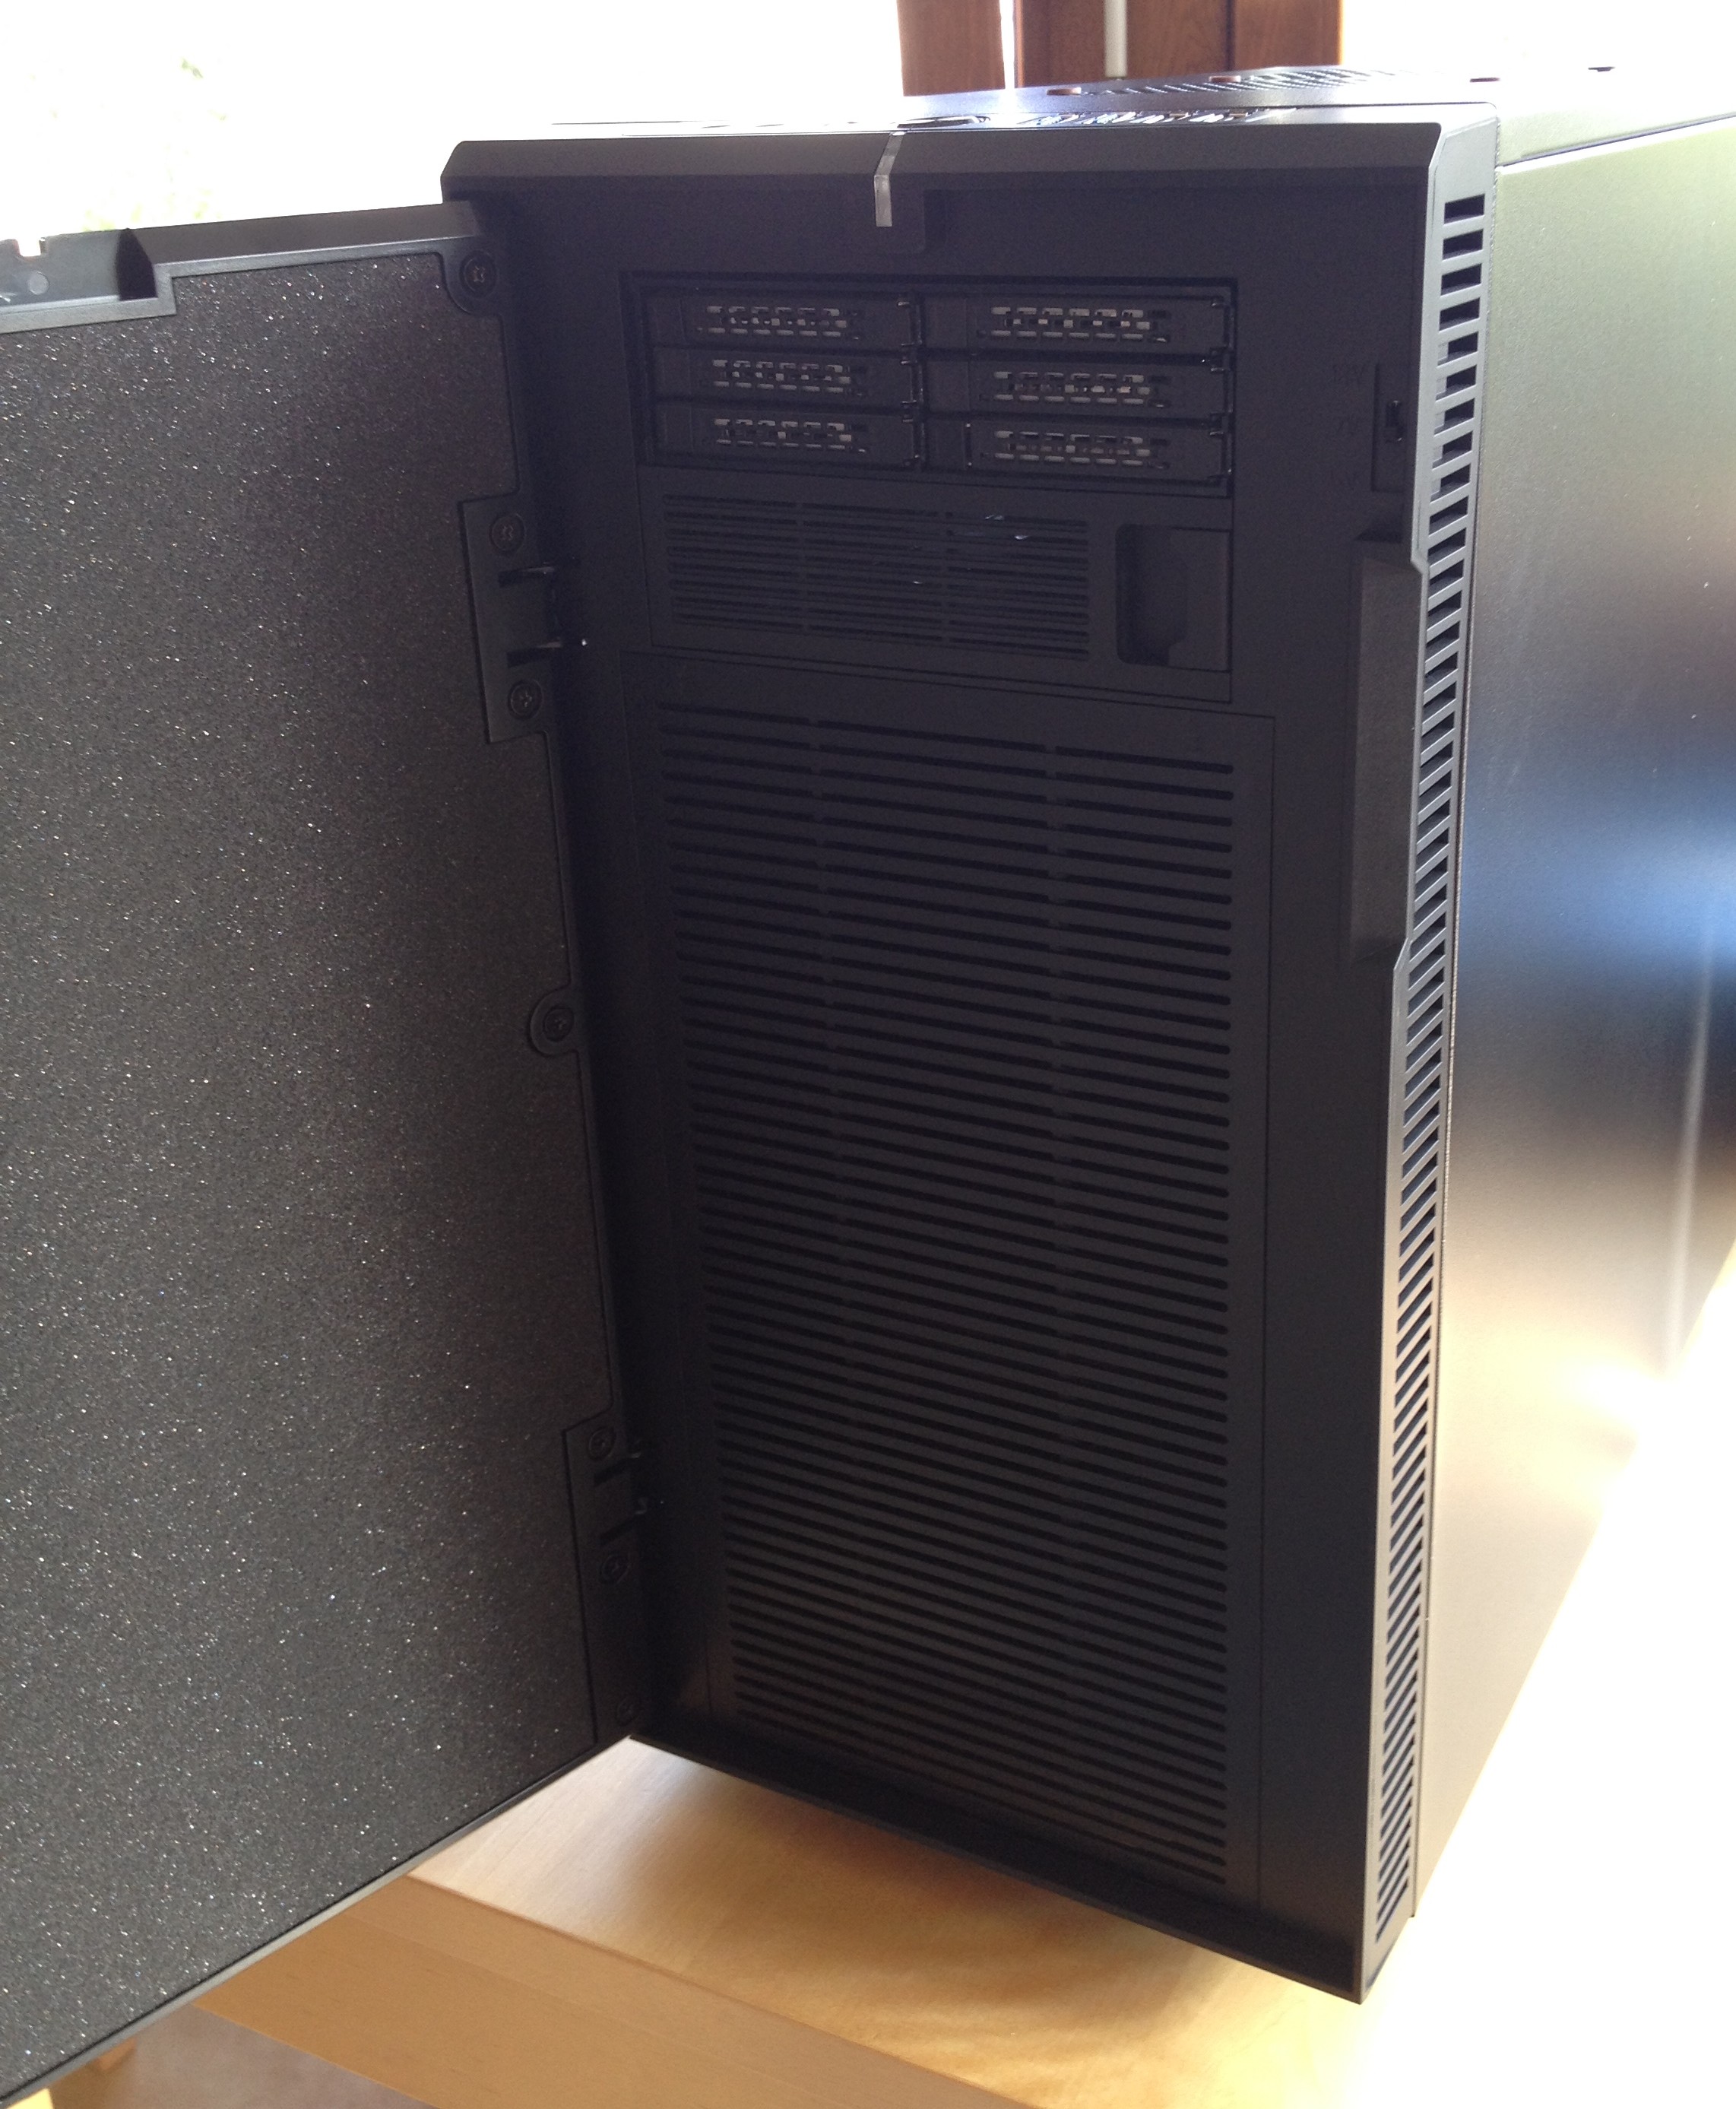
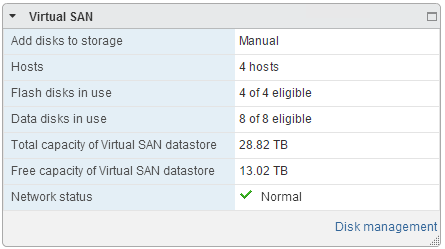
Having a fourth host means scaling up the VSAN Cluster with an additional SSD and two 4TB SAS drives.
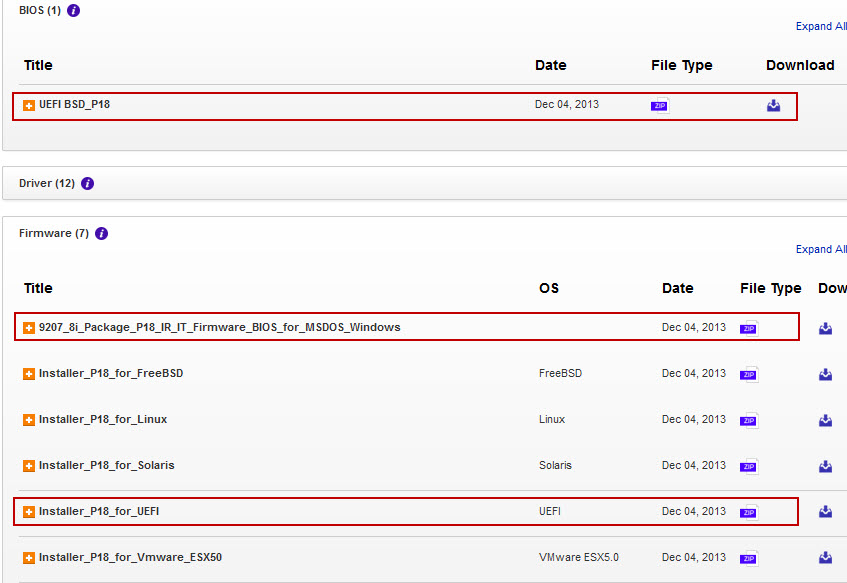
In the past month, the pricing of the Samsung 845DC Pro SSD have drop, to come in the $1/GB range. The Samsung 845DC Pro is rated at 10 DWPD (Disk-Writes-Per-Day) or 7300 TBW (TeraBytes-Written-in-5-years), and its performance is documented at 50’000 Sustained Write IOPS (4K) (Write IOPS Consistency at 95%) [Reference Samsung 845DC Pro PDF, and thessdreview article]. A fair warning for other poeple looking at the Samsung SSD 845DC Pro, it is not on the VMware VSAN Hardware Compatibility List.
Here is a screenshot of the disk group layout of the VSAN Cluster.
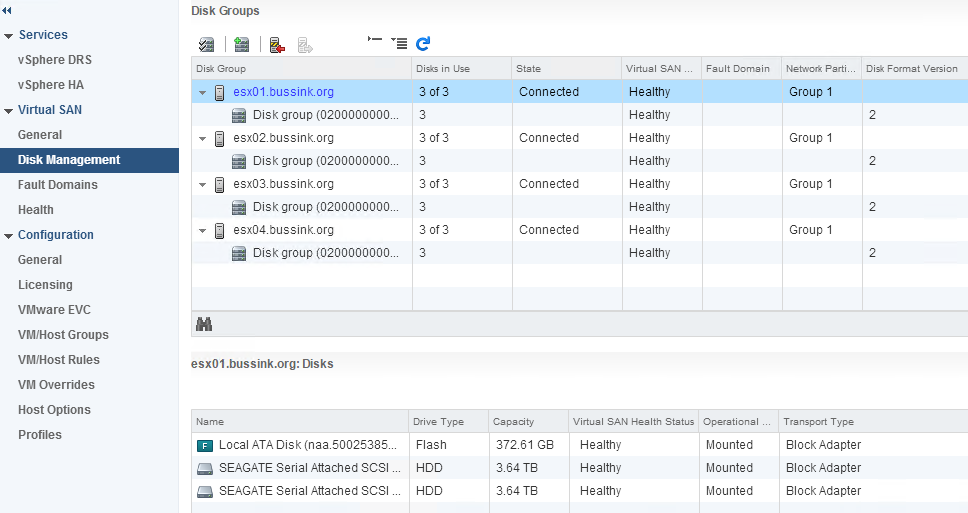
VSAN Disk Management
The resulting VSAN configuration is now 28TB usable space.
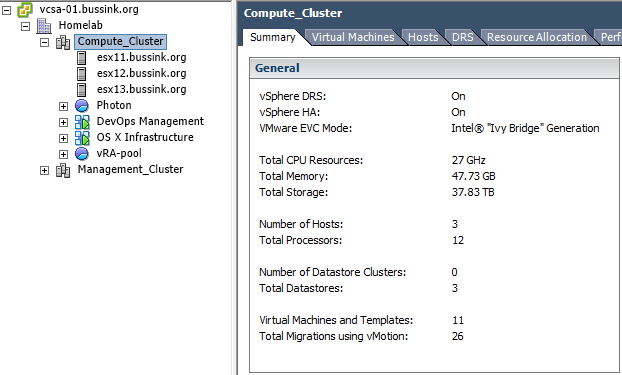
Here is a screenshot of the current Management Cluster.
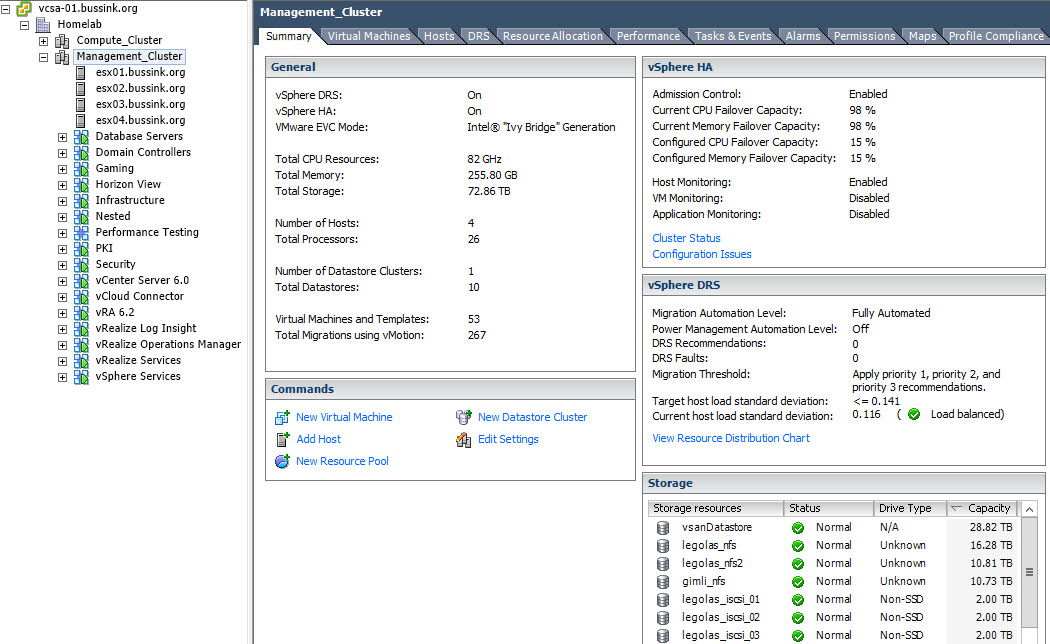
Management Cluster
This cluster having grown, is now also generating additional heat. It’s been relocated in a colder room, and I had a Three Phase 240V 16A electricity line put in.
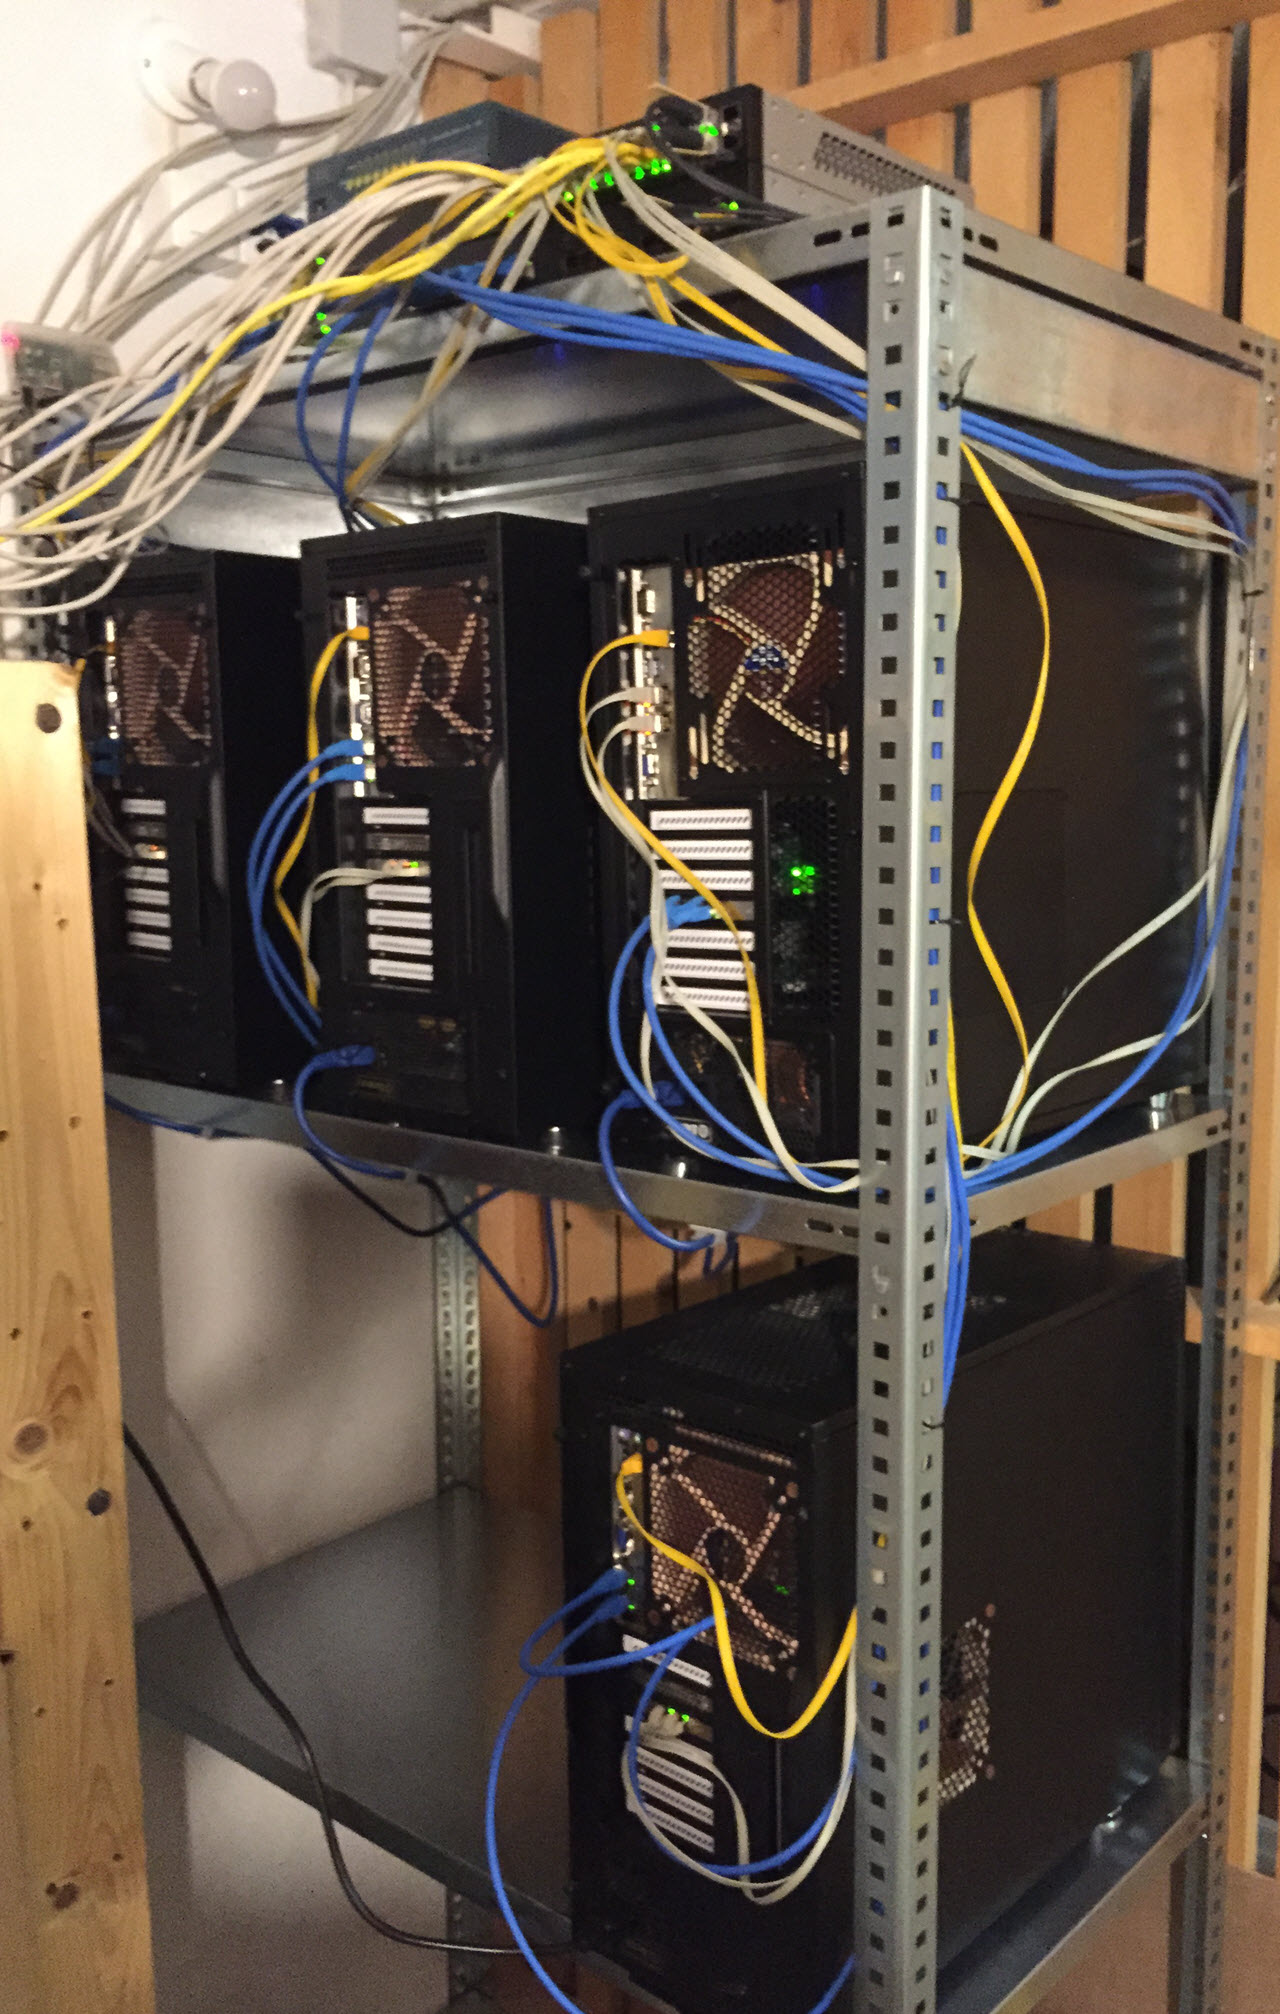
Management Cluster (April 2015)
My external storage is still composed of two Synology arrays. An old DS1010+ and a more recent DS1813+ with a DX513 extension. At this point, 70% of my virtual machine datasets are located on the VSAN datastore.
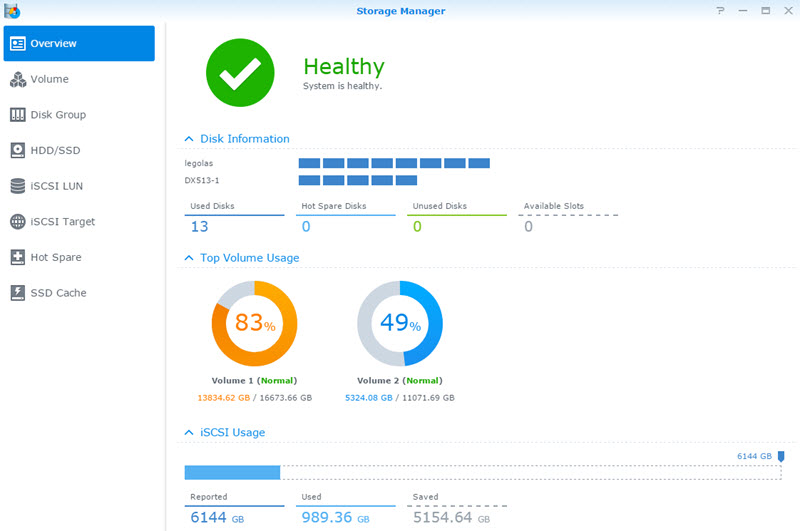
Synology DS1813+ Storage Manager
Reviewing this article, I realize this cannot quantify as a homelab anymore… its a home datacenter… guess I need a new #HomeDC hashtag…