Here is my new network core switch for the Home Datacenter, a Cisco Nexus 3064PQ-10GE.
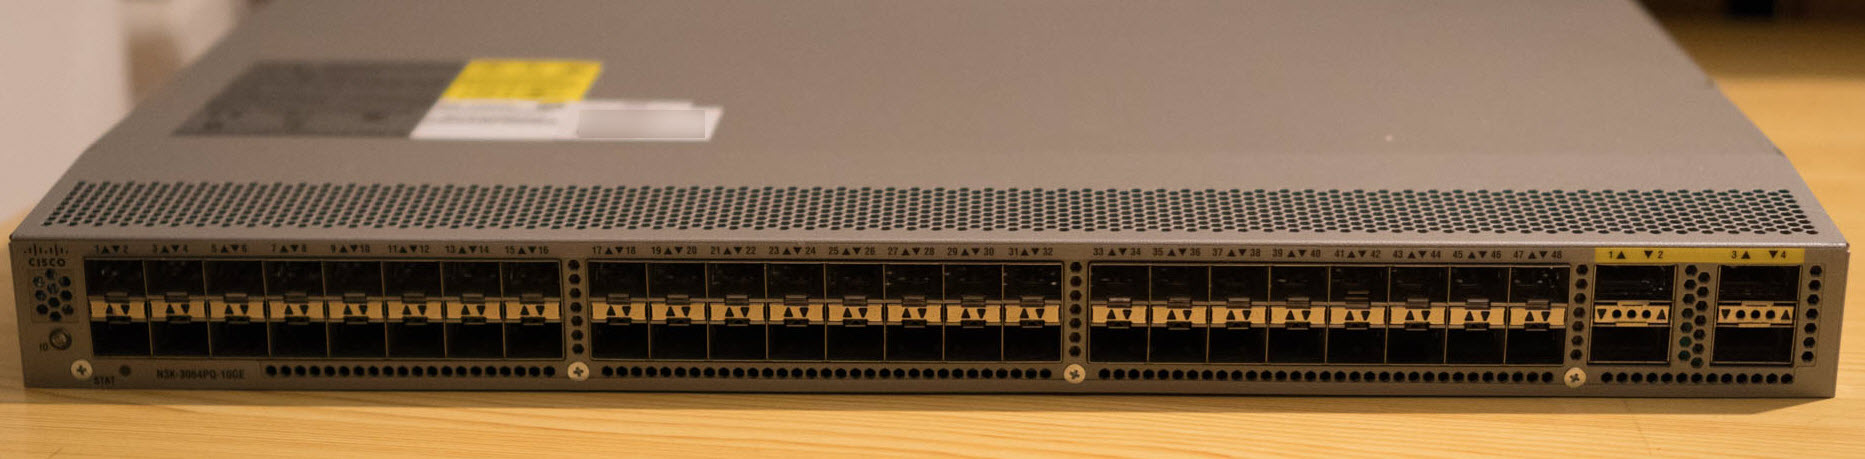
Cisco Nexus 3064PQ-10GE (48x SFP+ & 4x QSFP+)
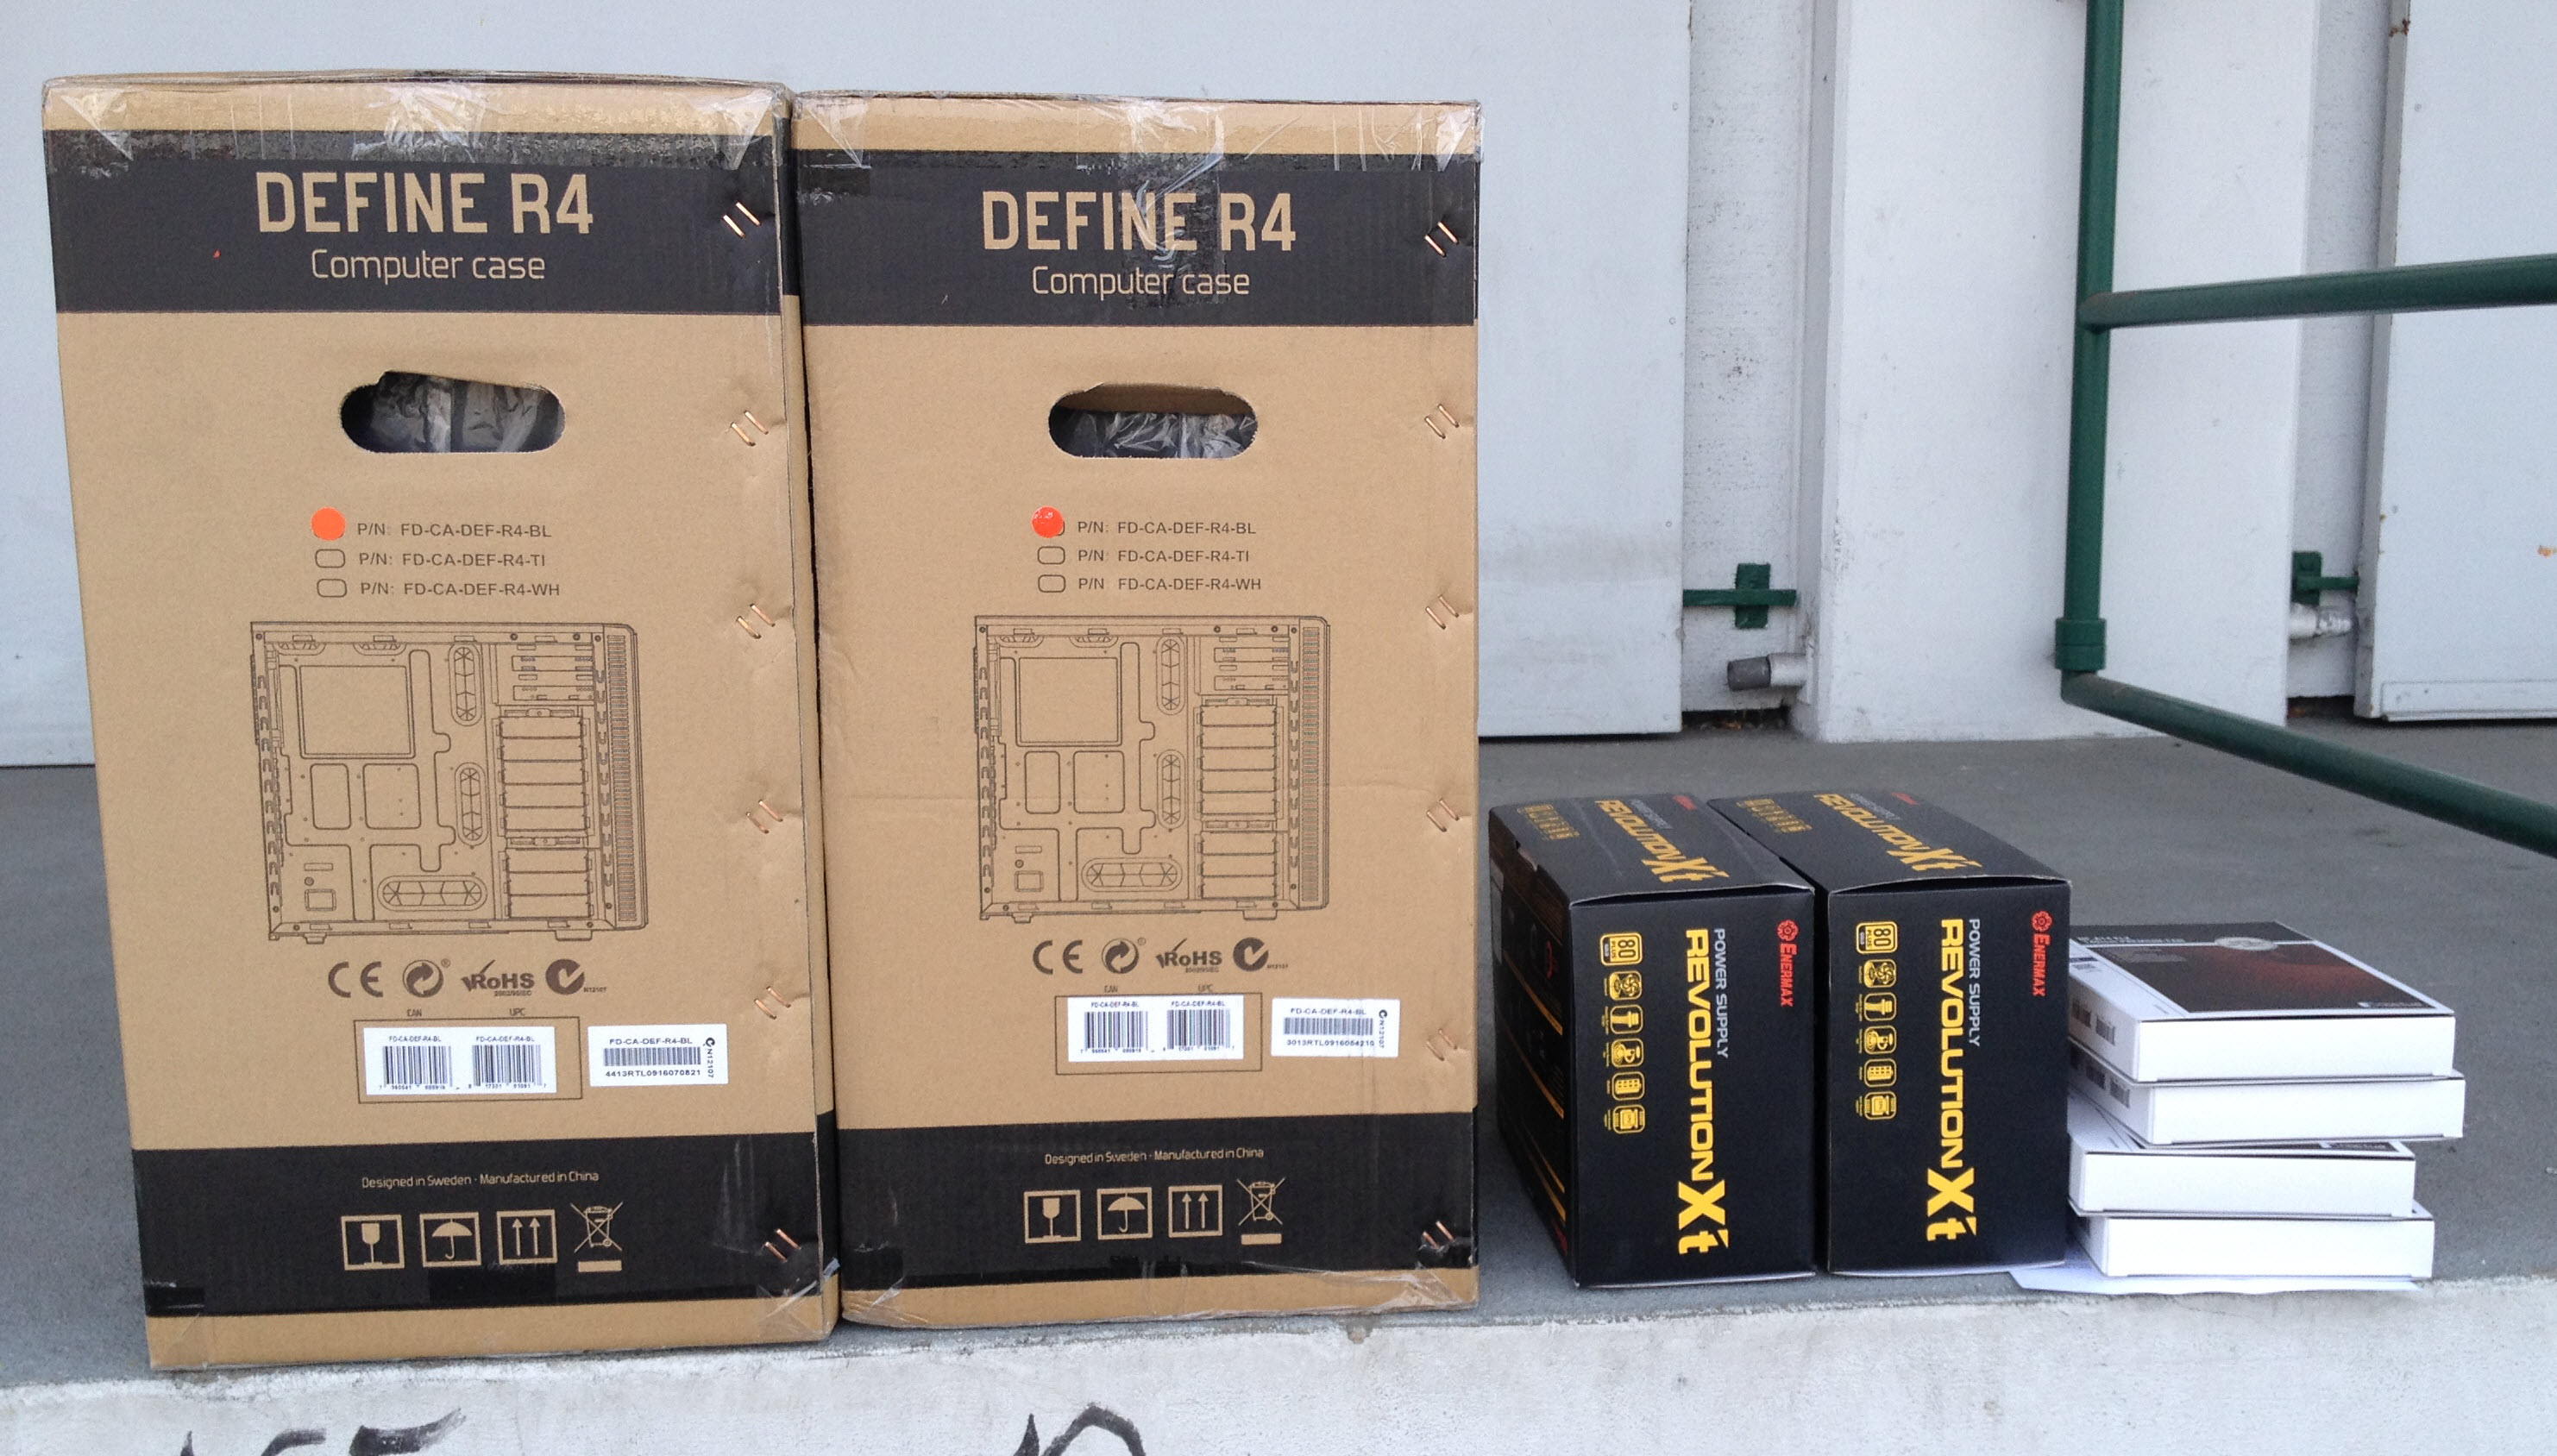
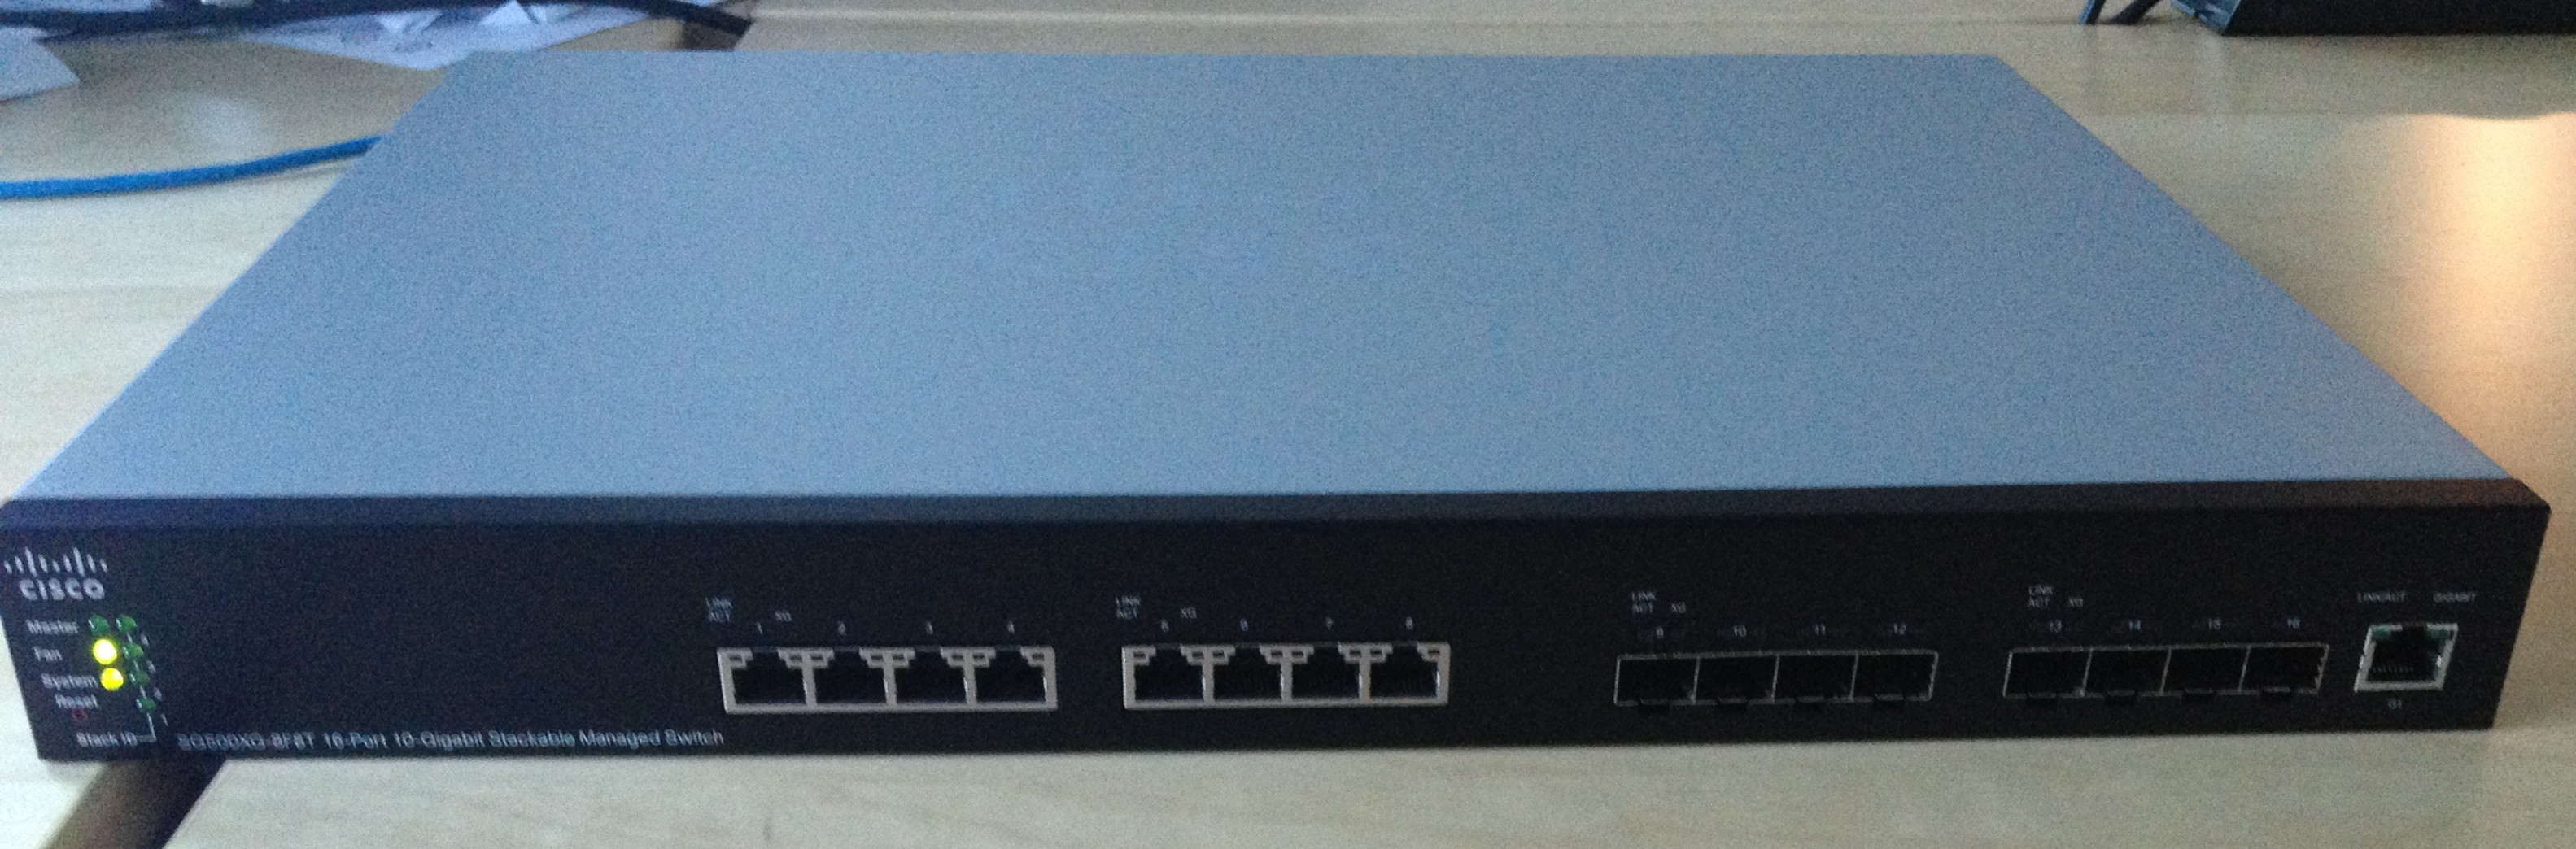
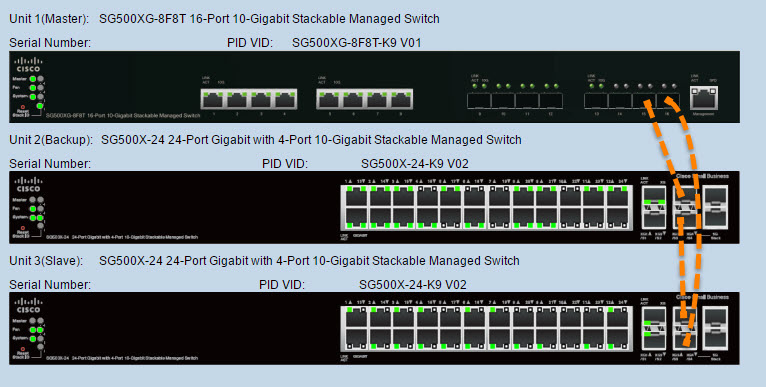
But before I speak more about the Cisco Nexus 3064PQ-10GE, let me just bring you back in time… Two years ago, I purchased a Cisco SG500XG-8F8T 16-port 10-Gigabit Stackable Managed Switch. This was first described in my Homelab 2014 build. This was my most expensive networking investment I ever did. During the past two years, as the lab grew, I used the SG500XG and two SG500X-24 for my networking stack. This stack is still running on the 1.4.0.88 firmware.
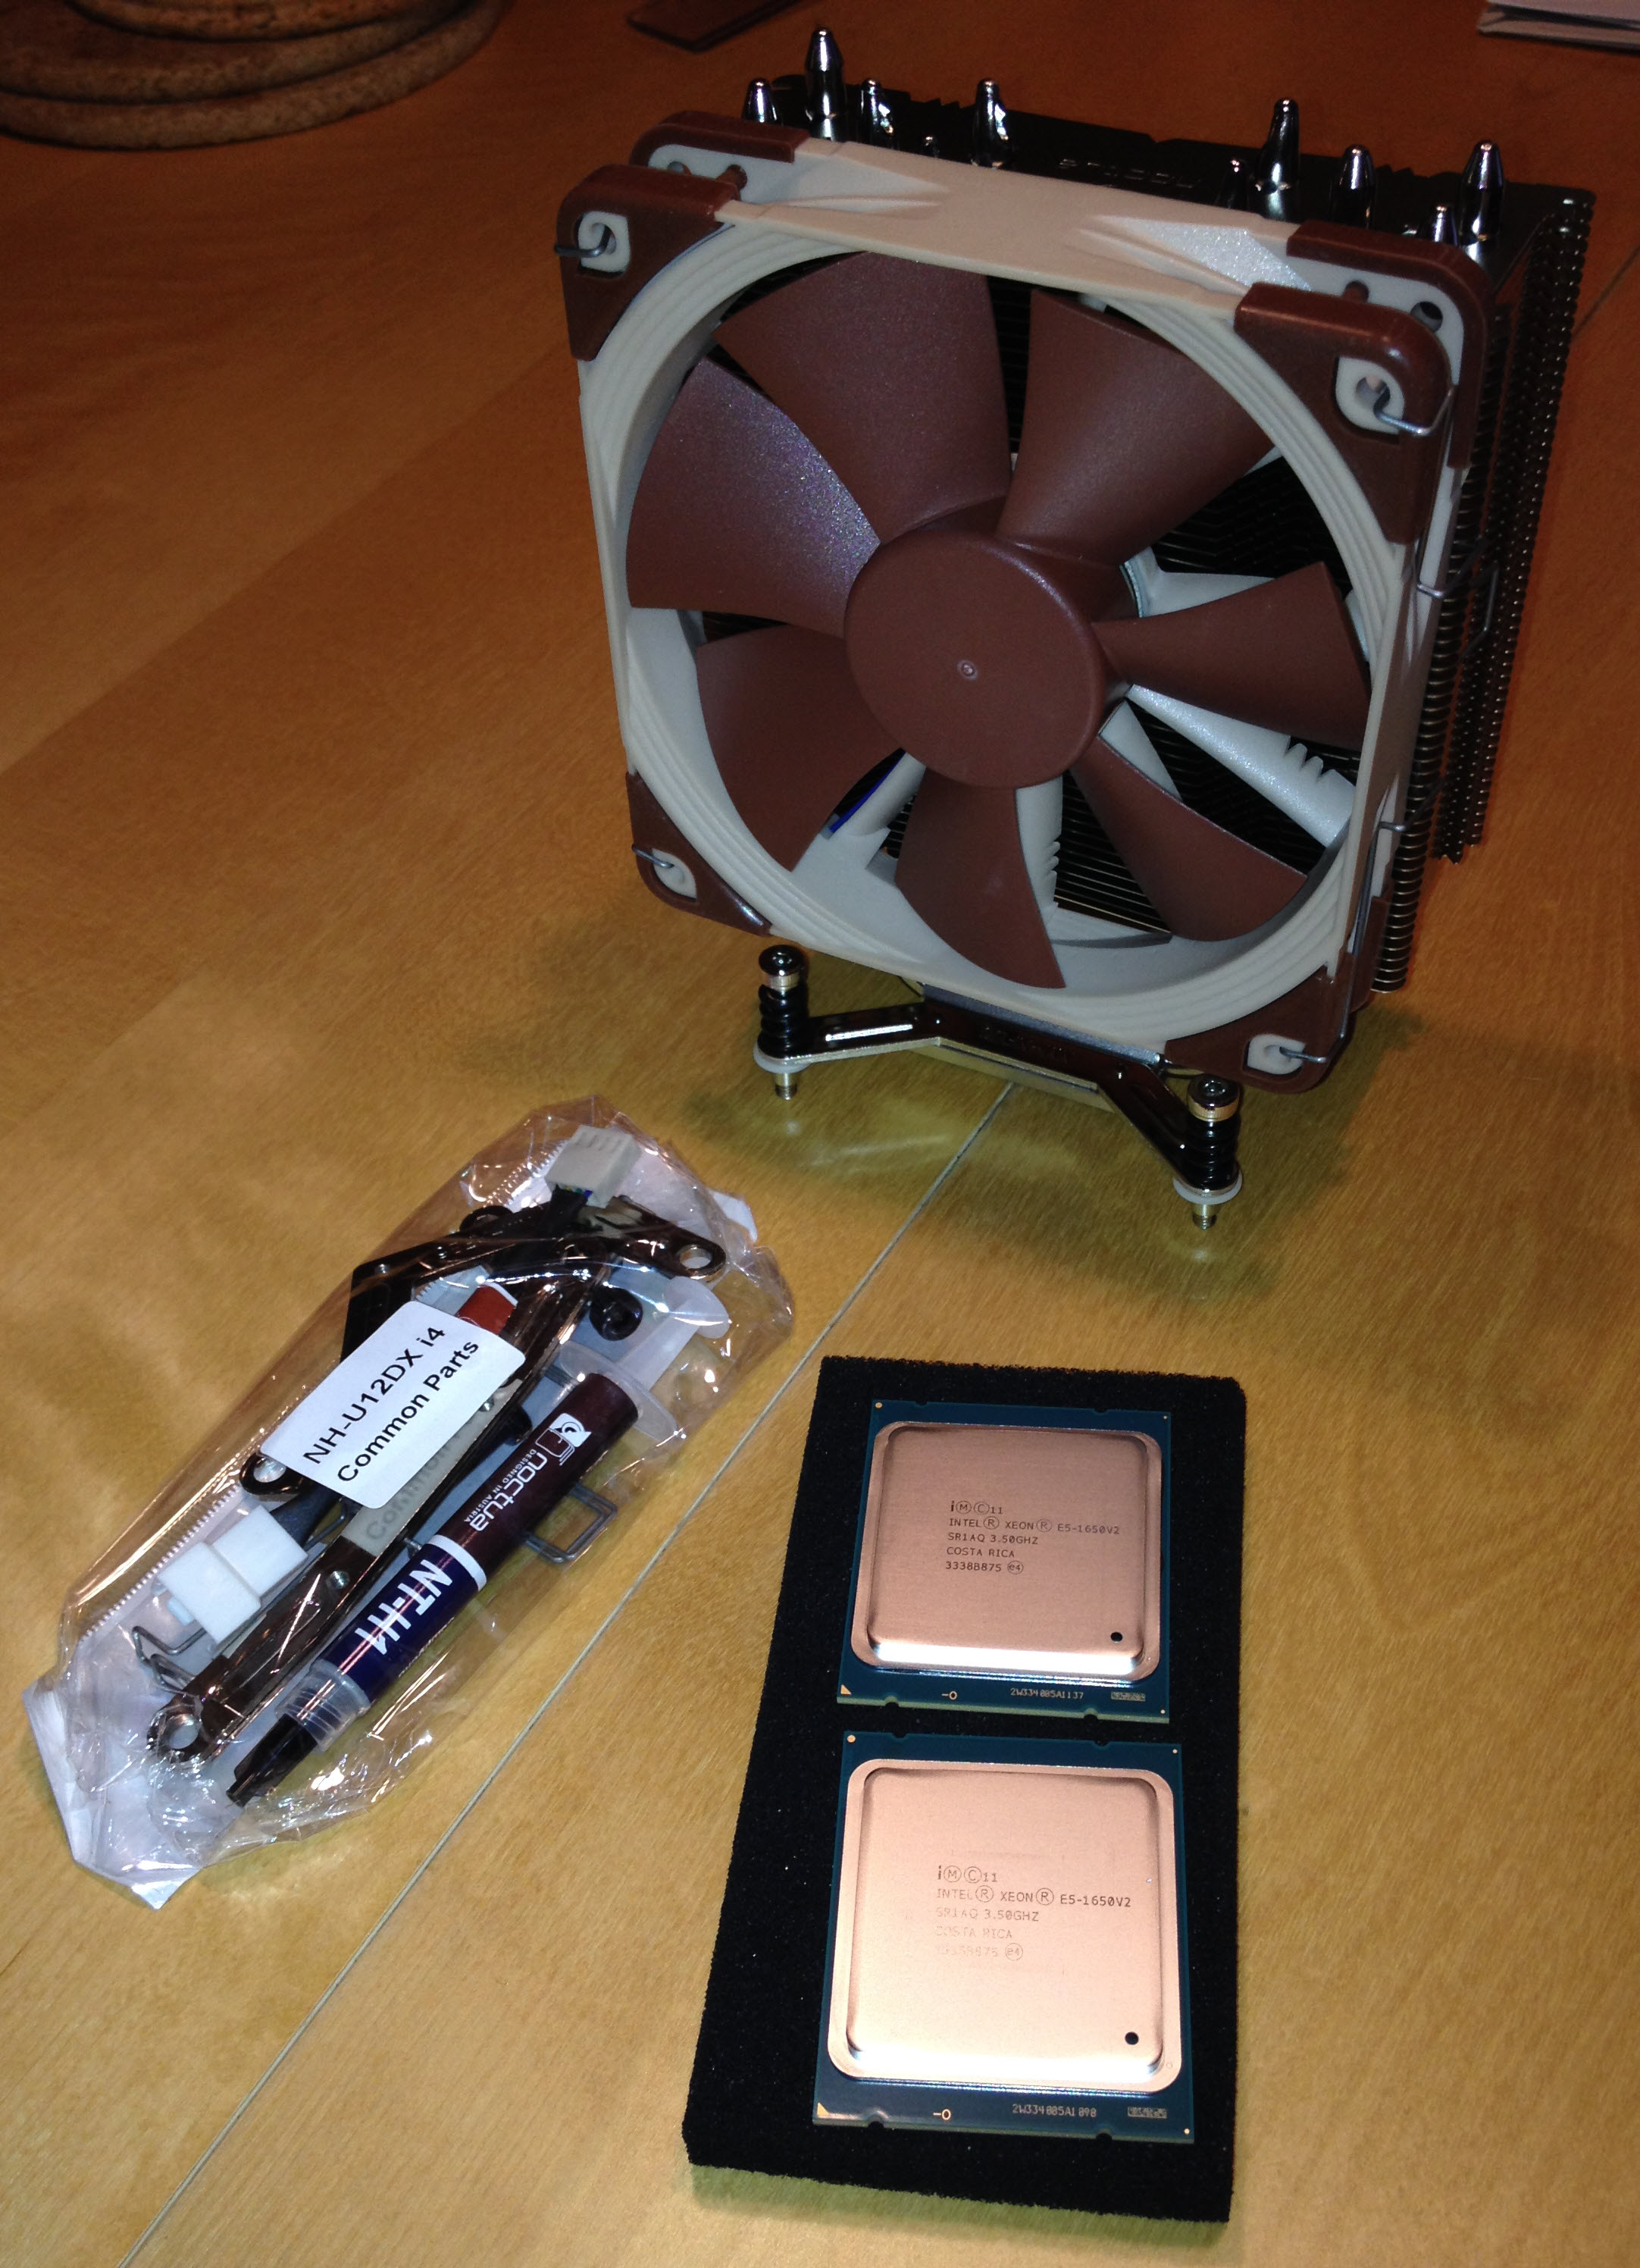
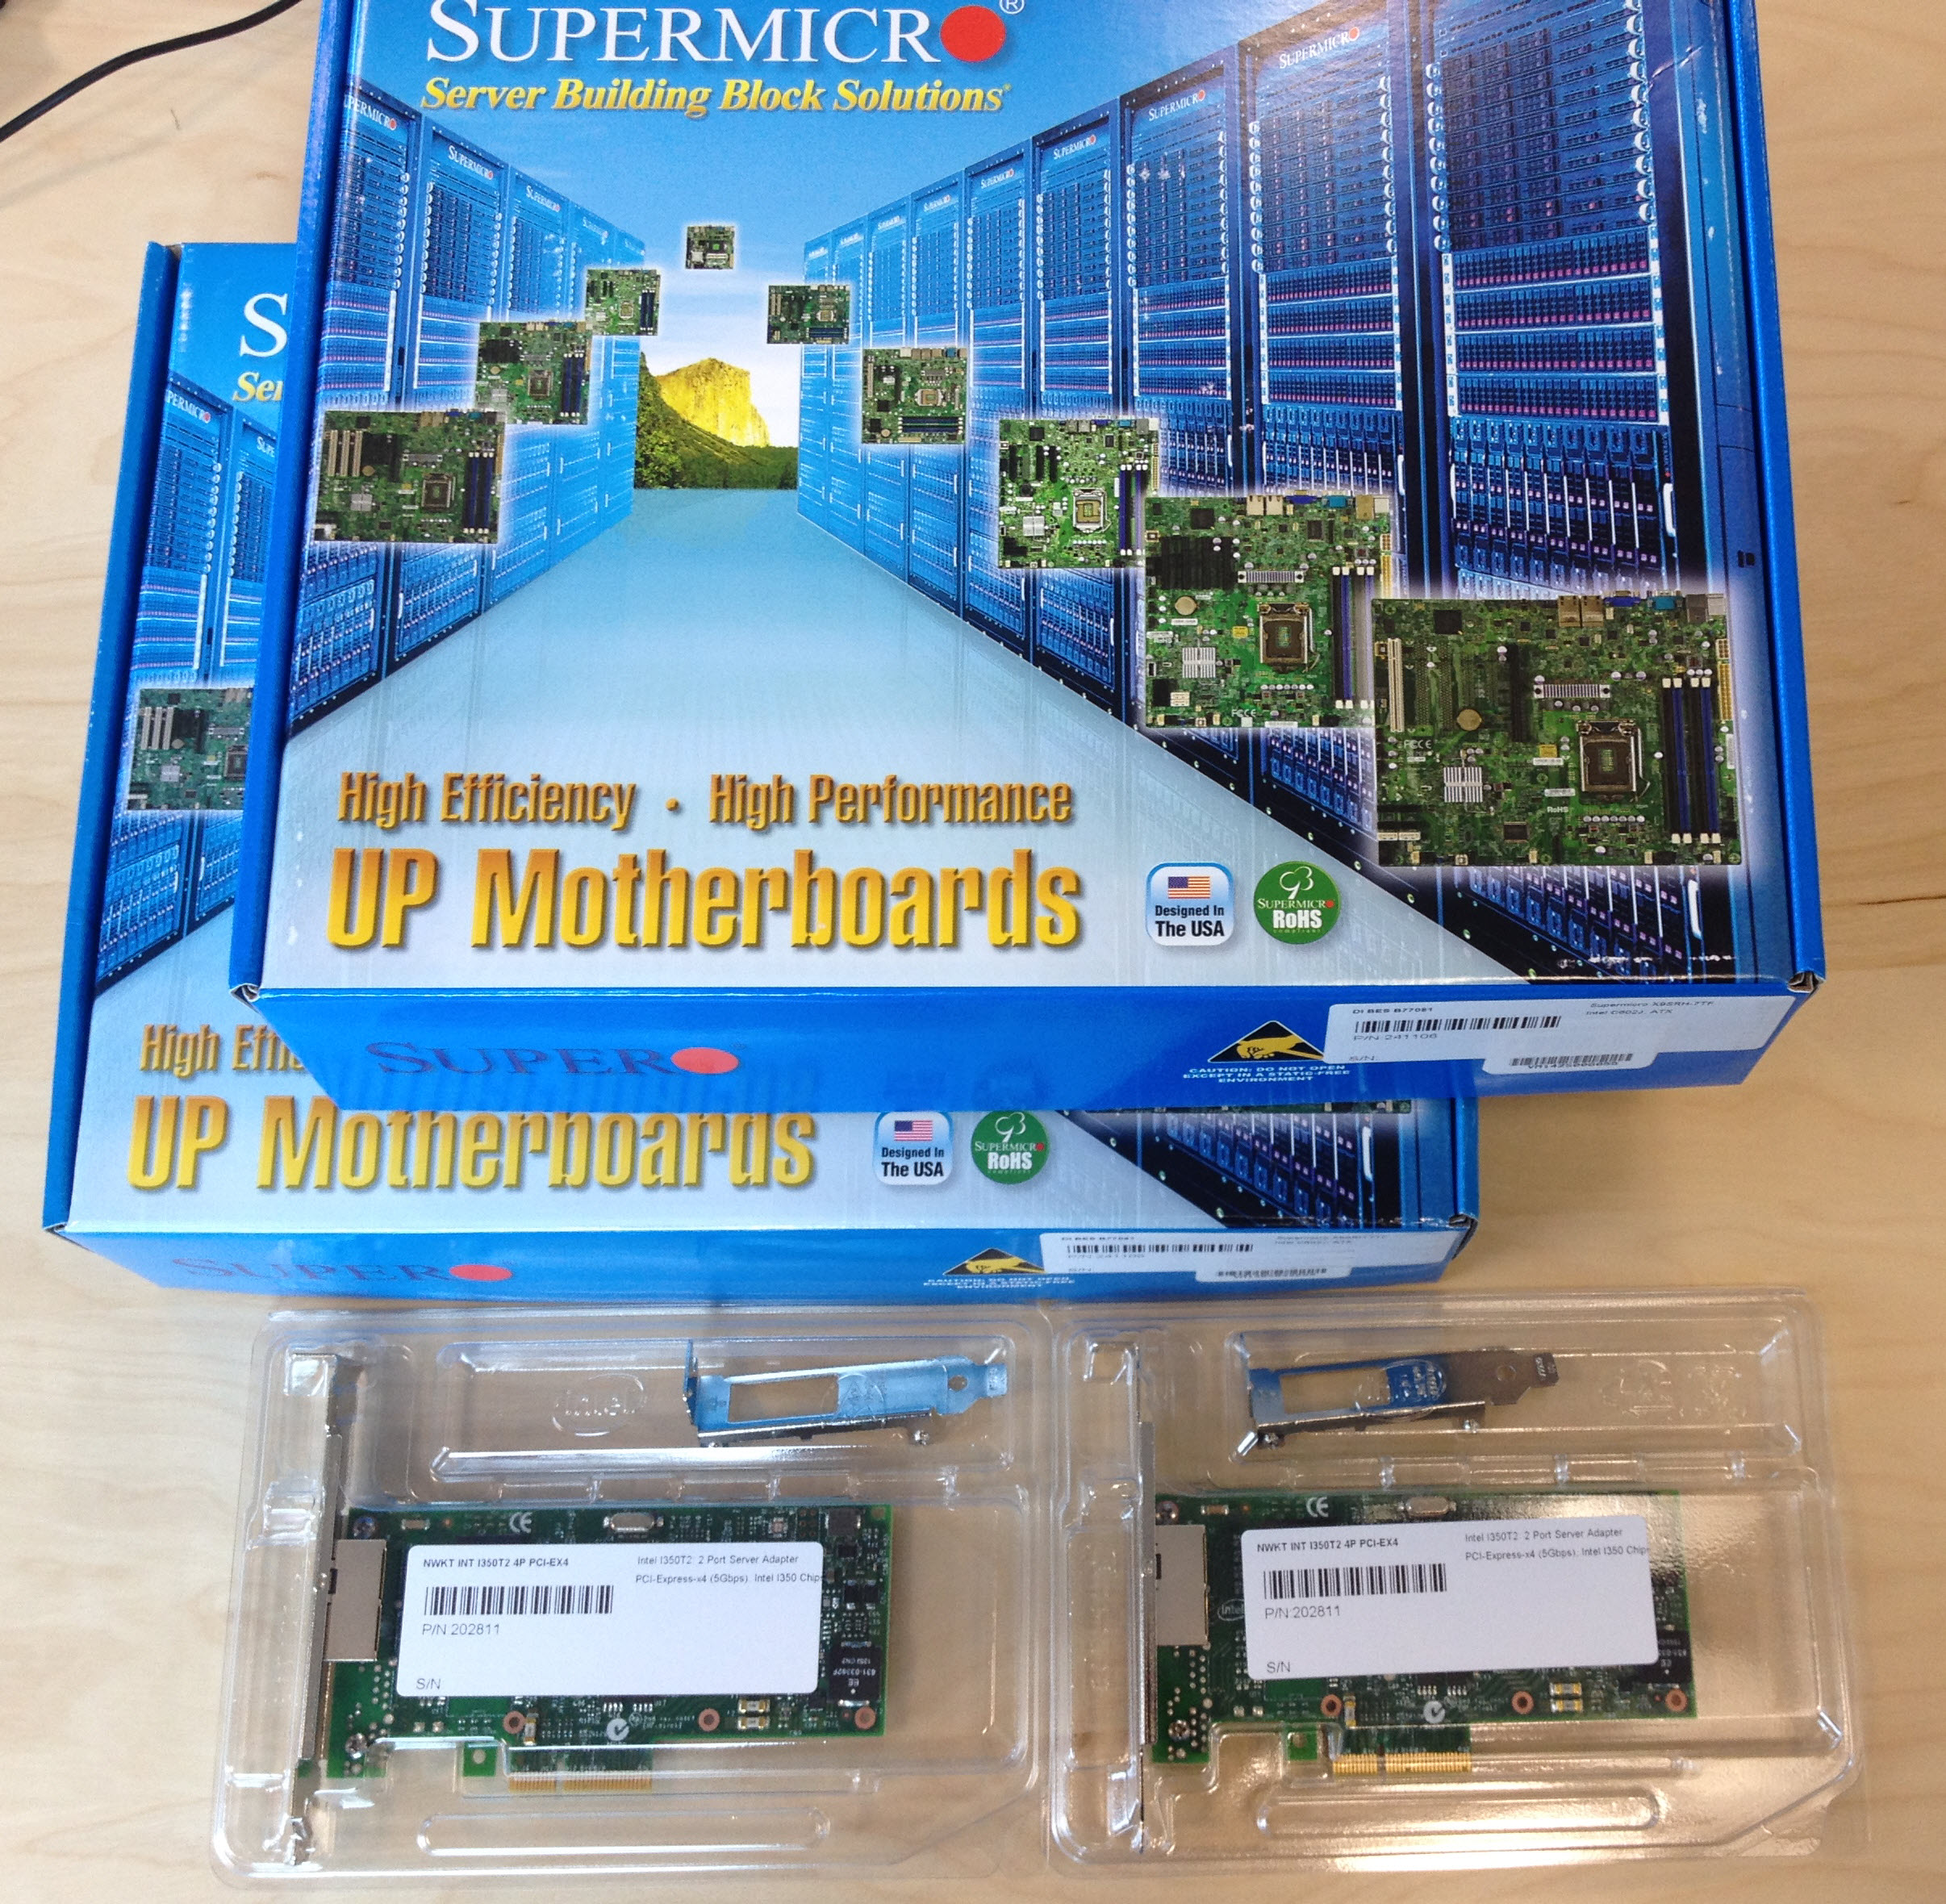
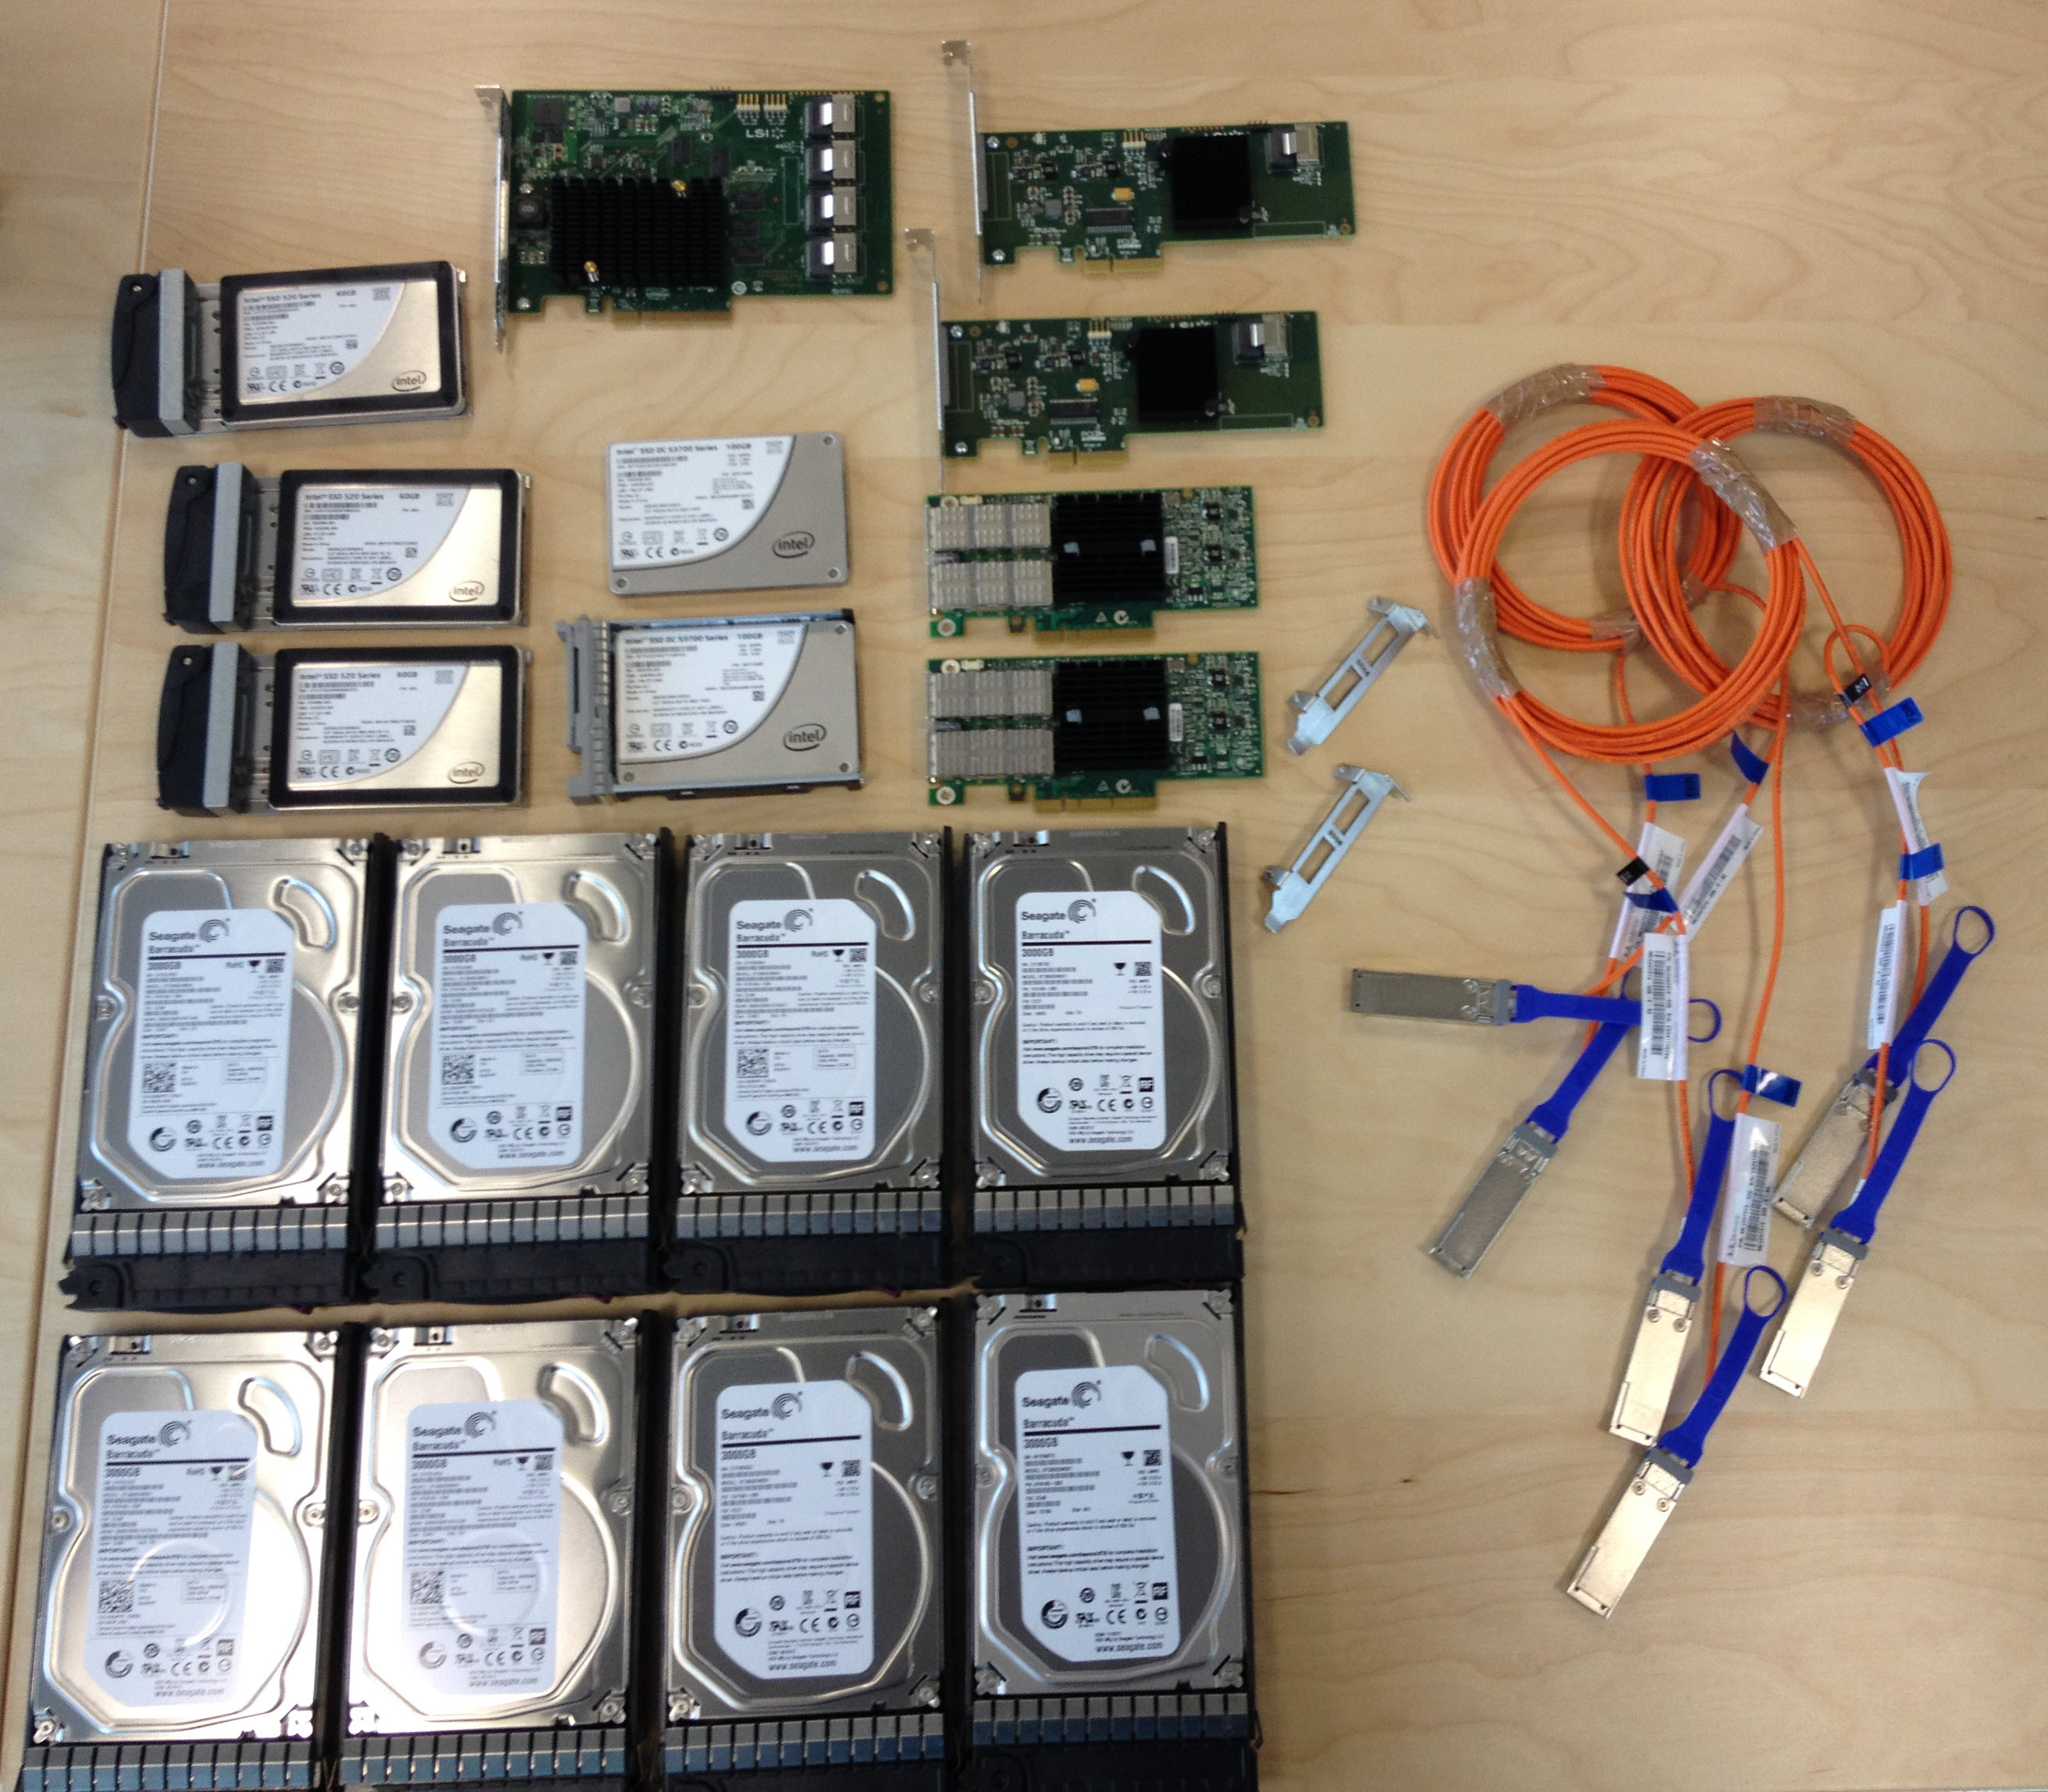
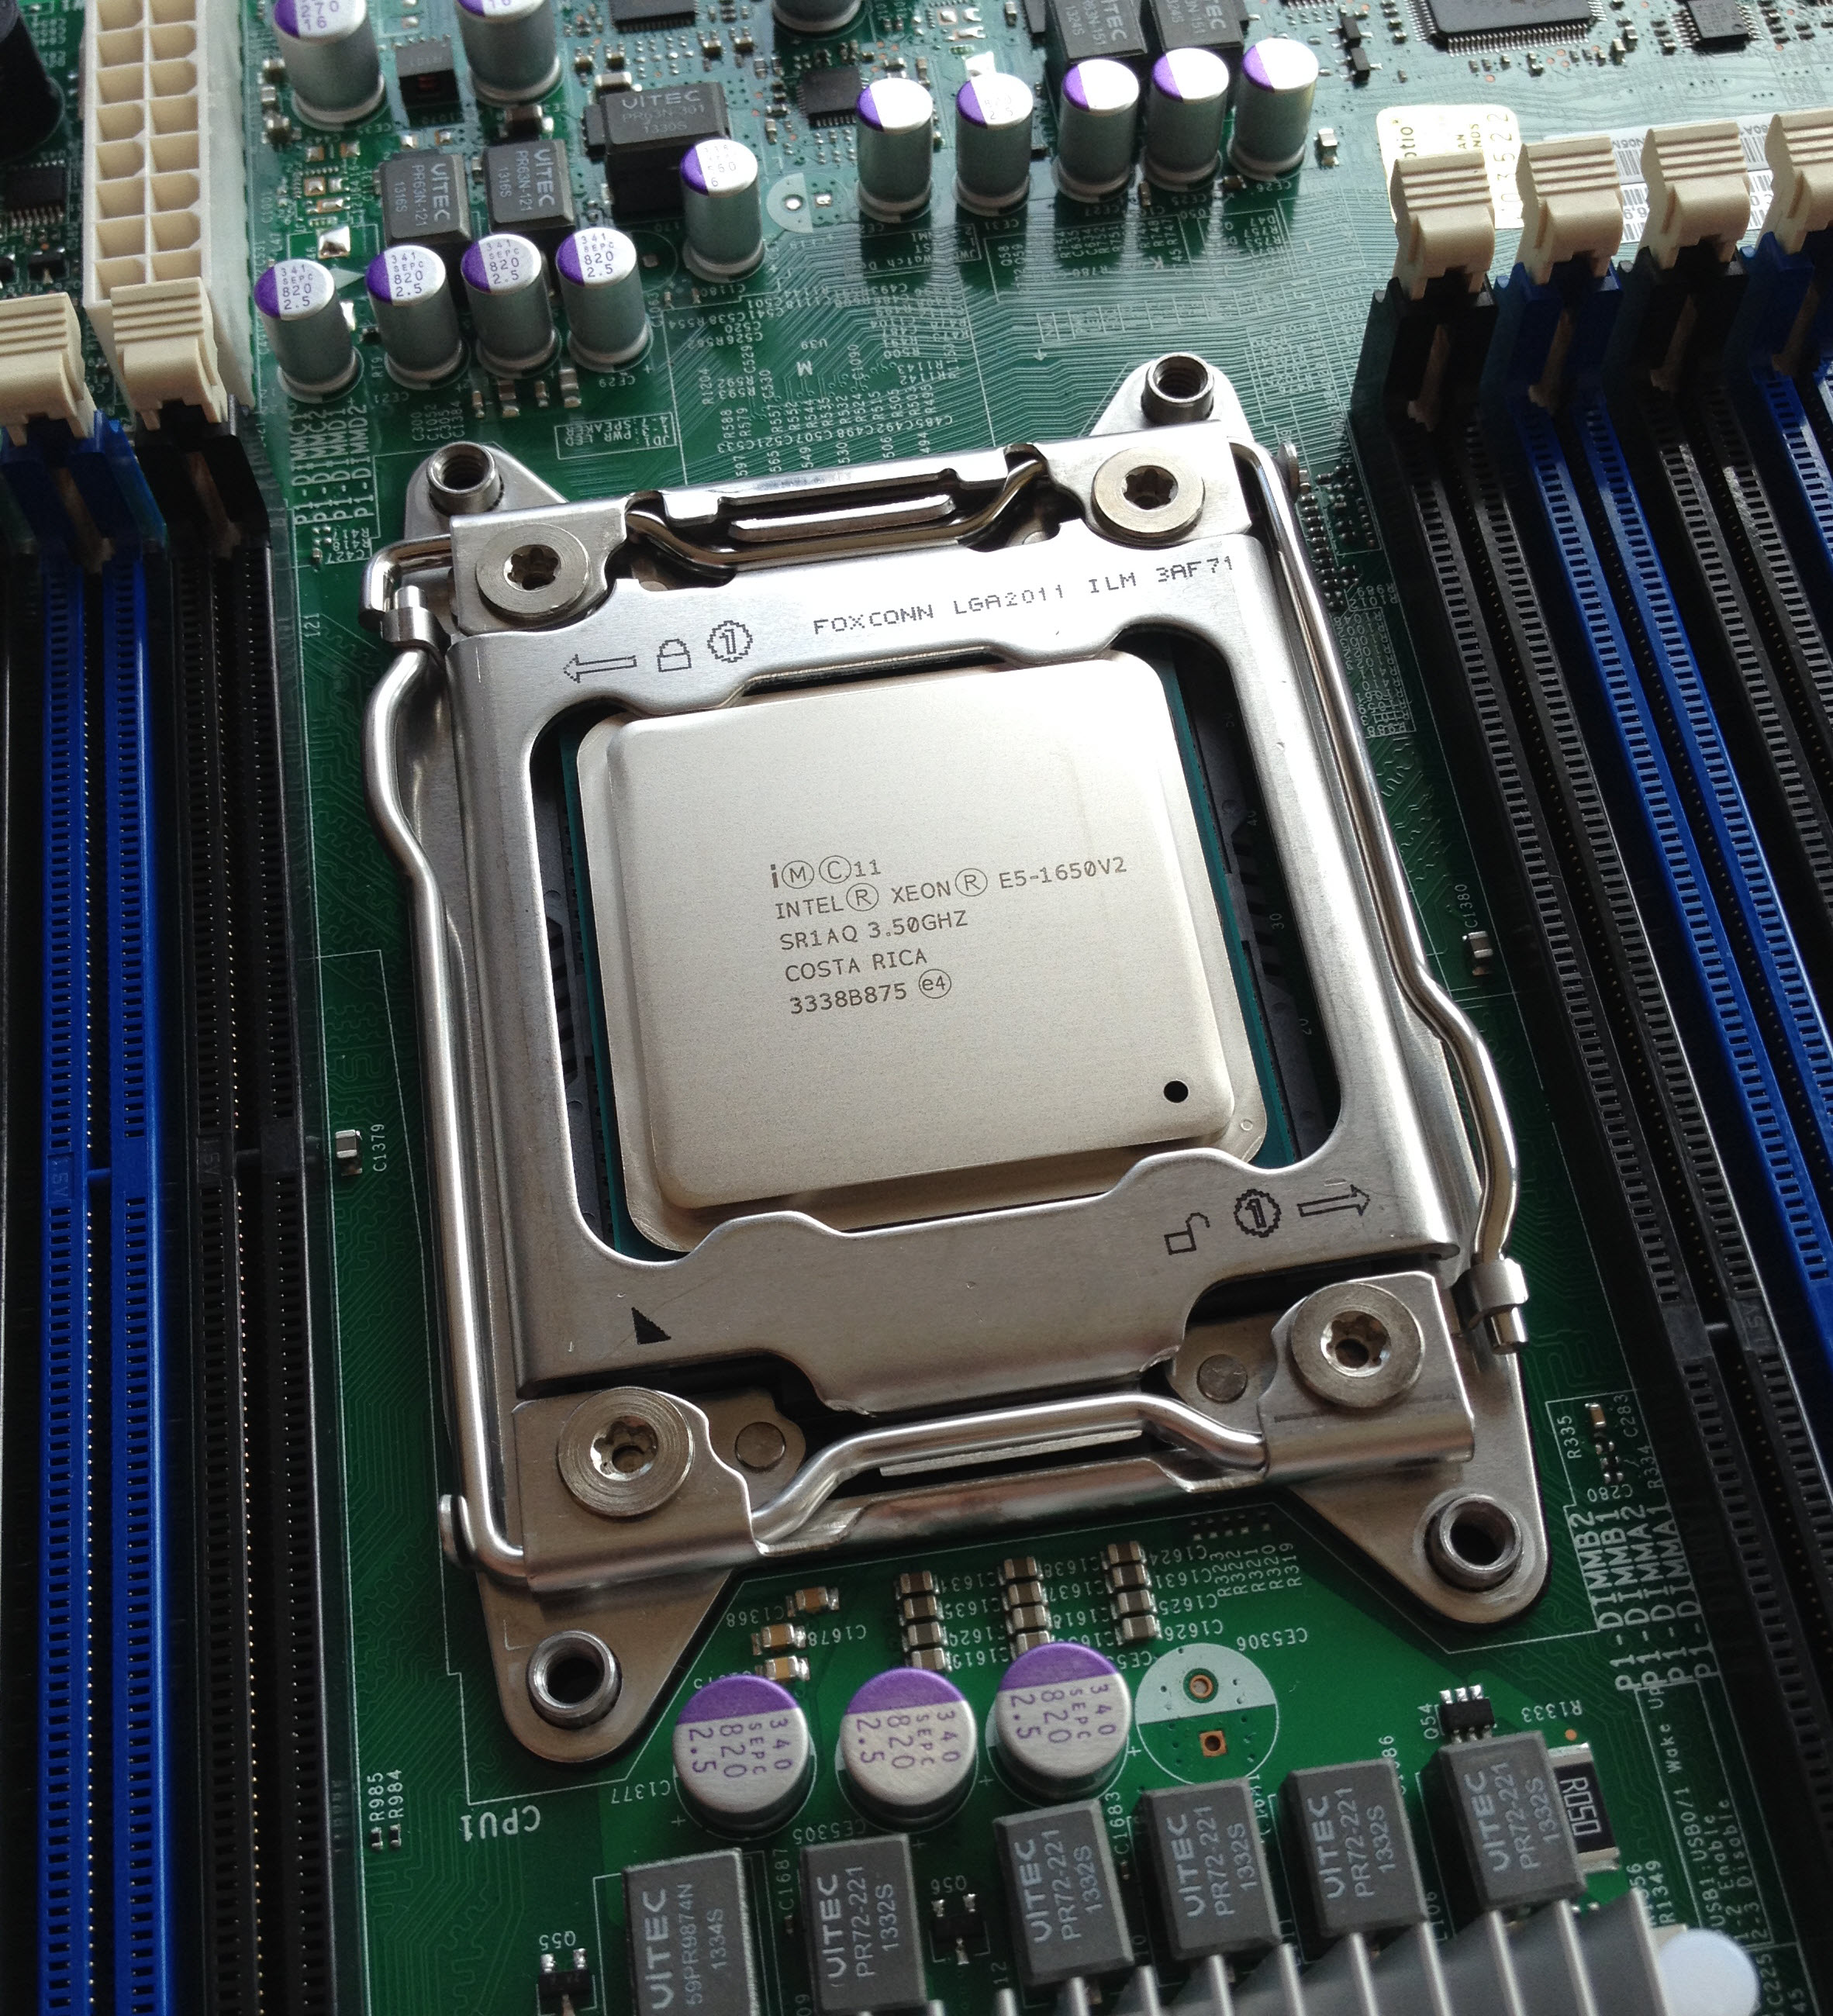
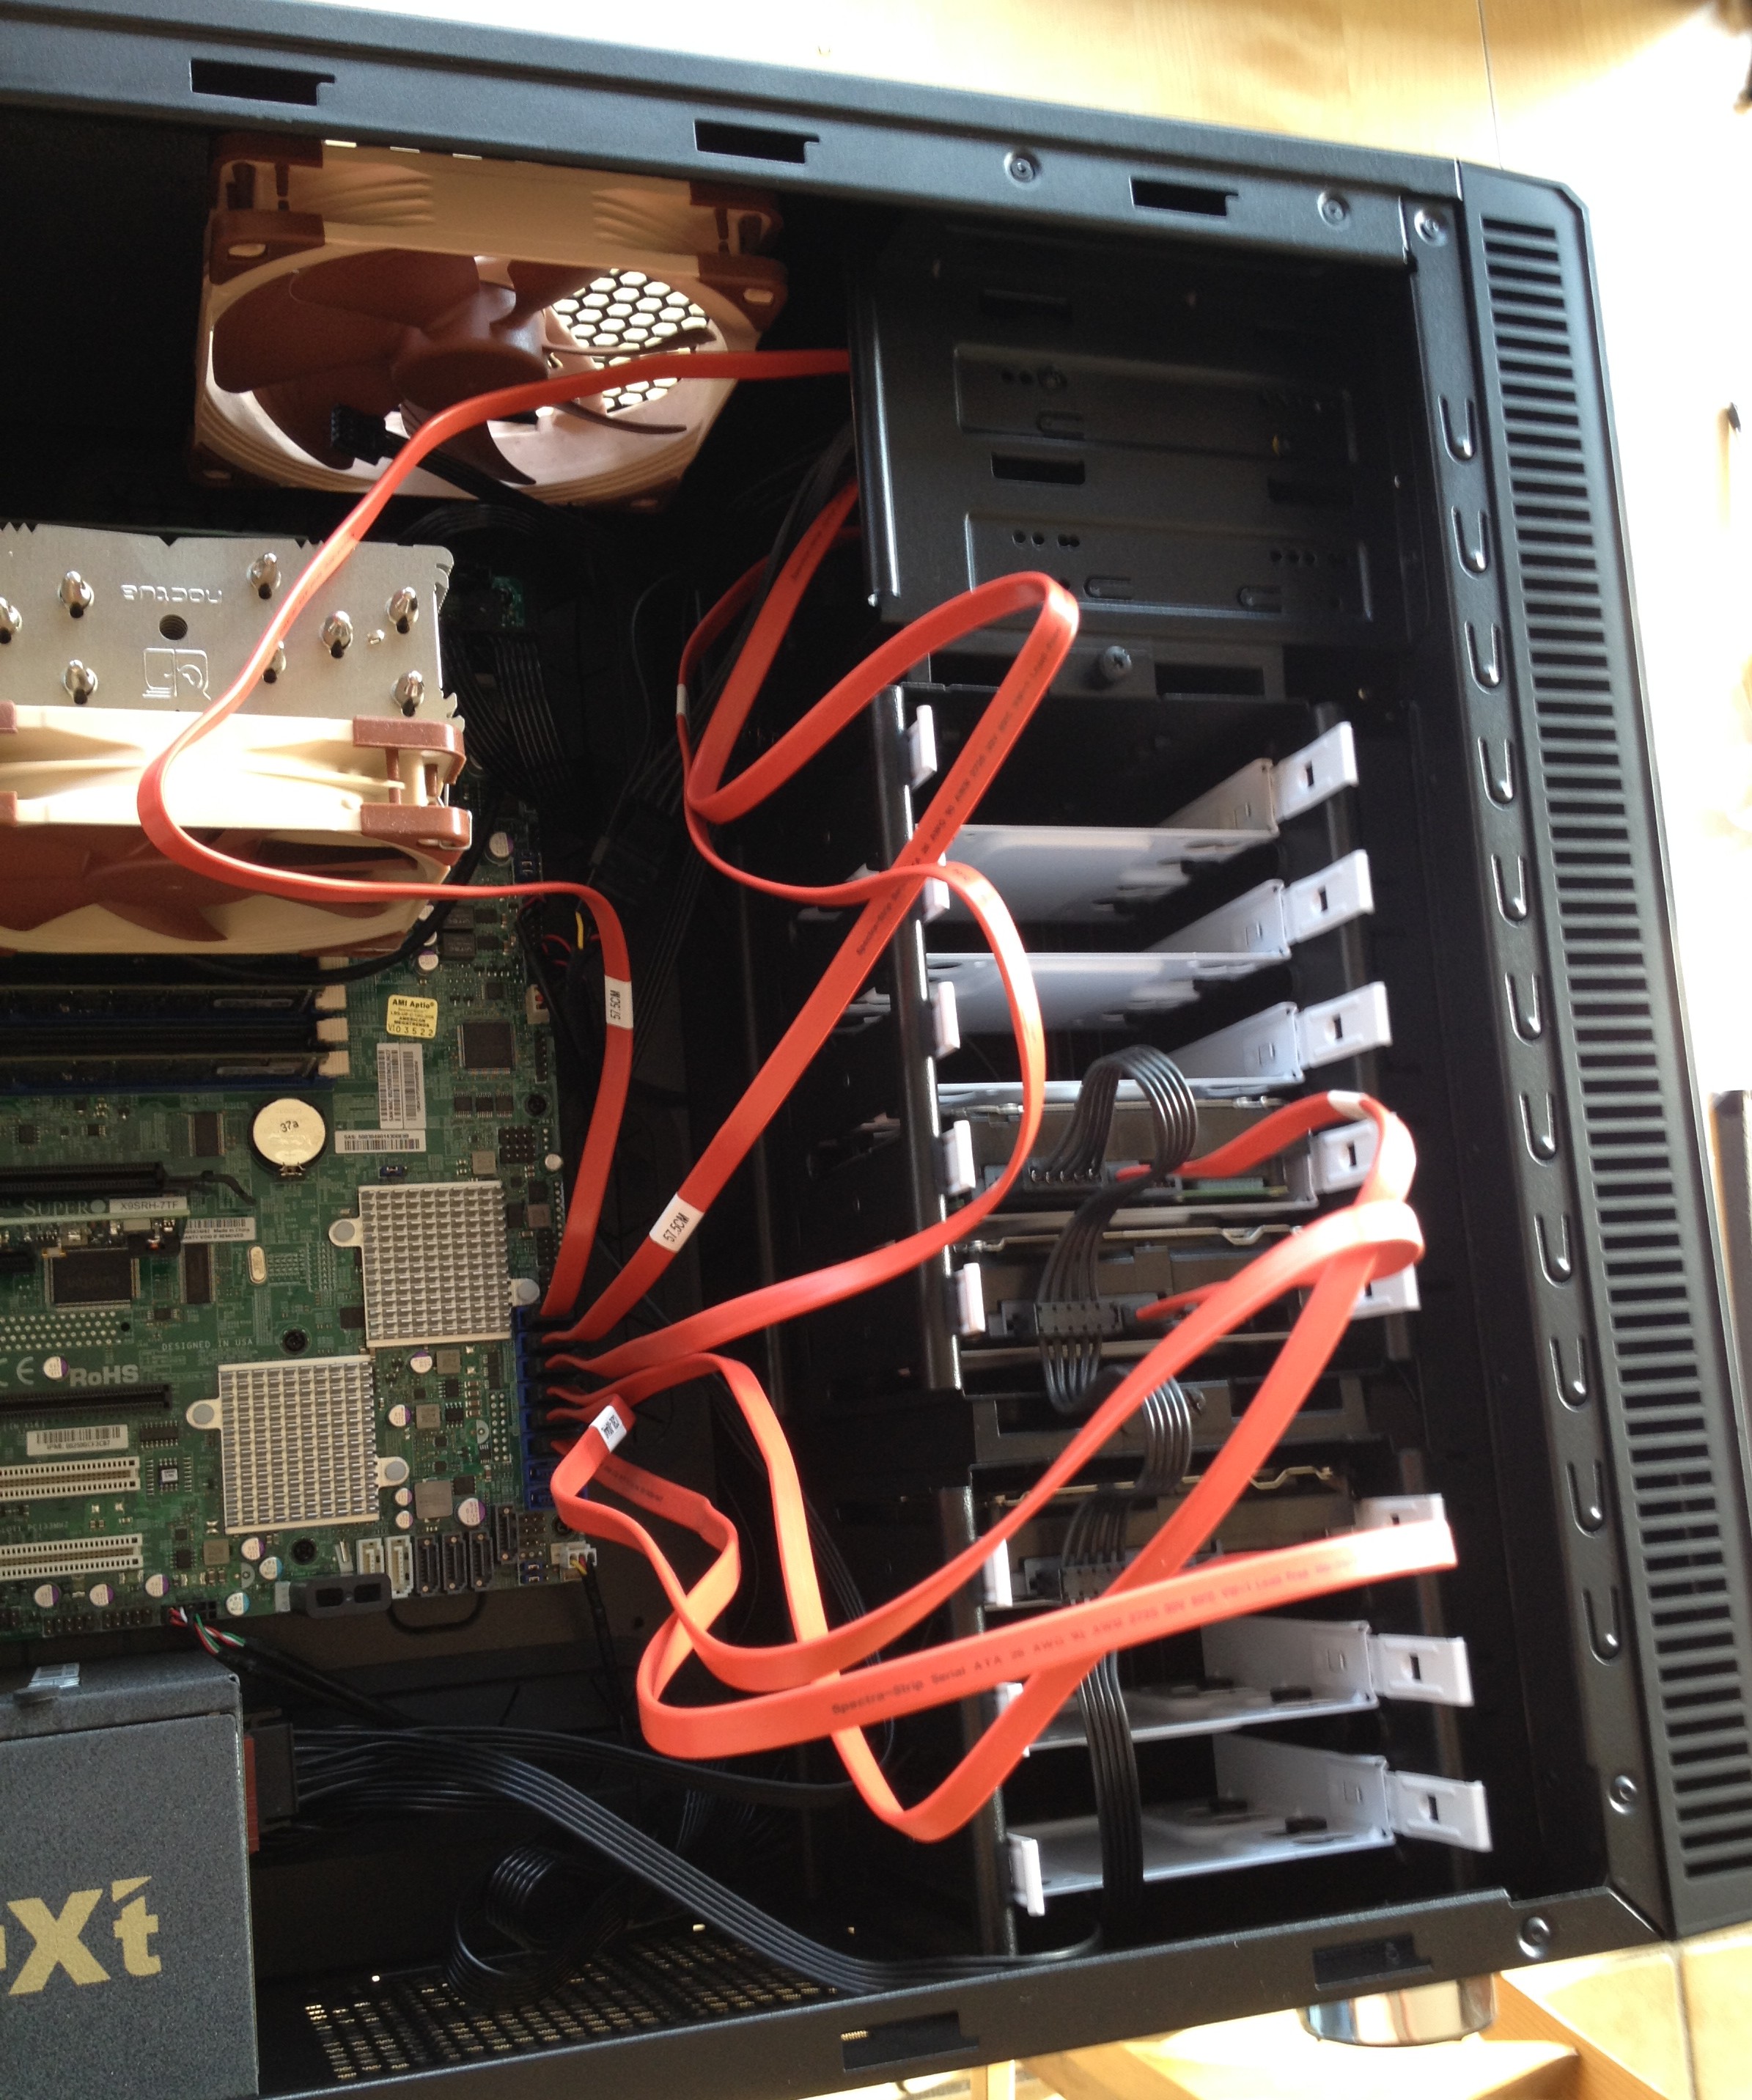
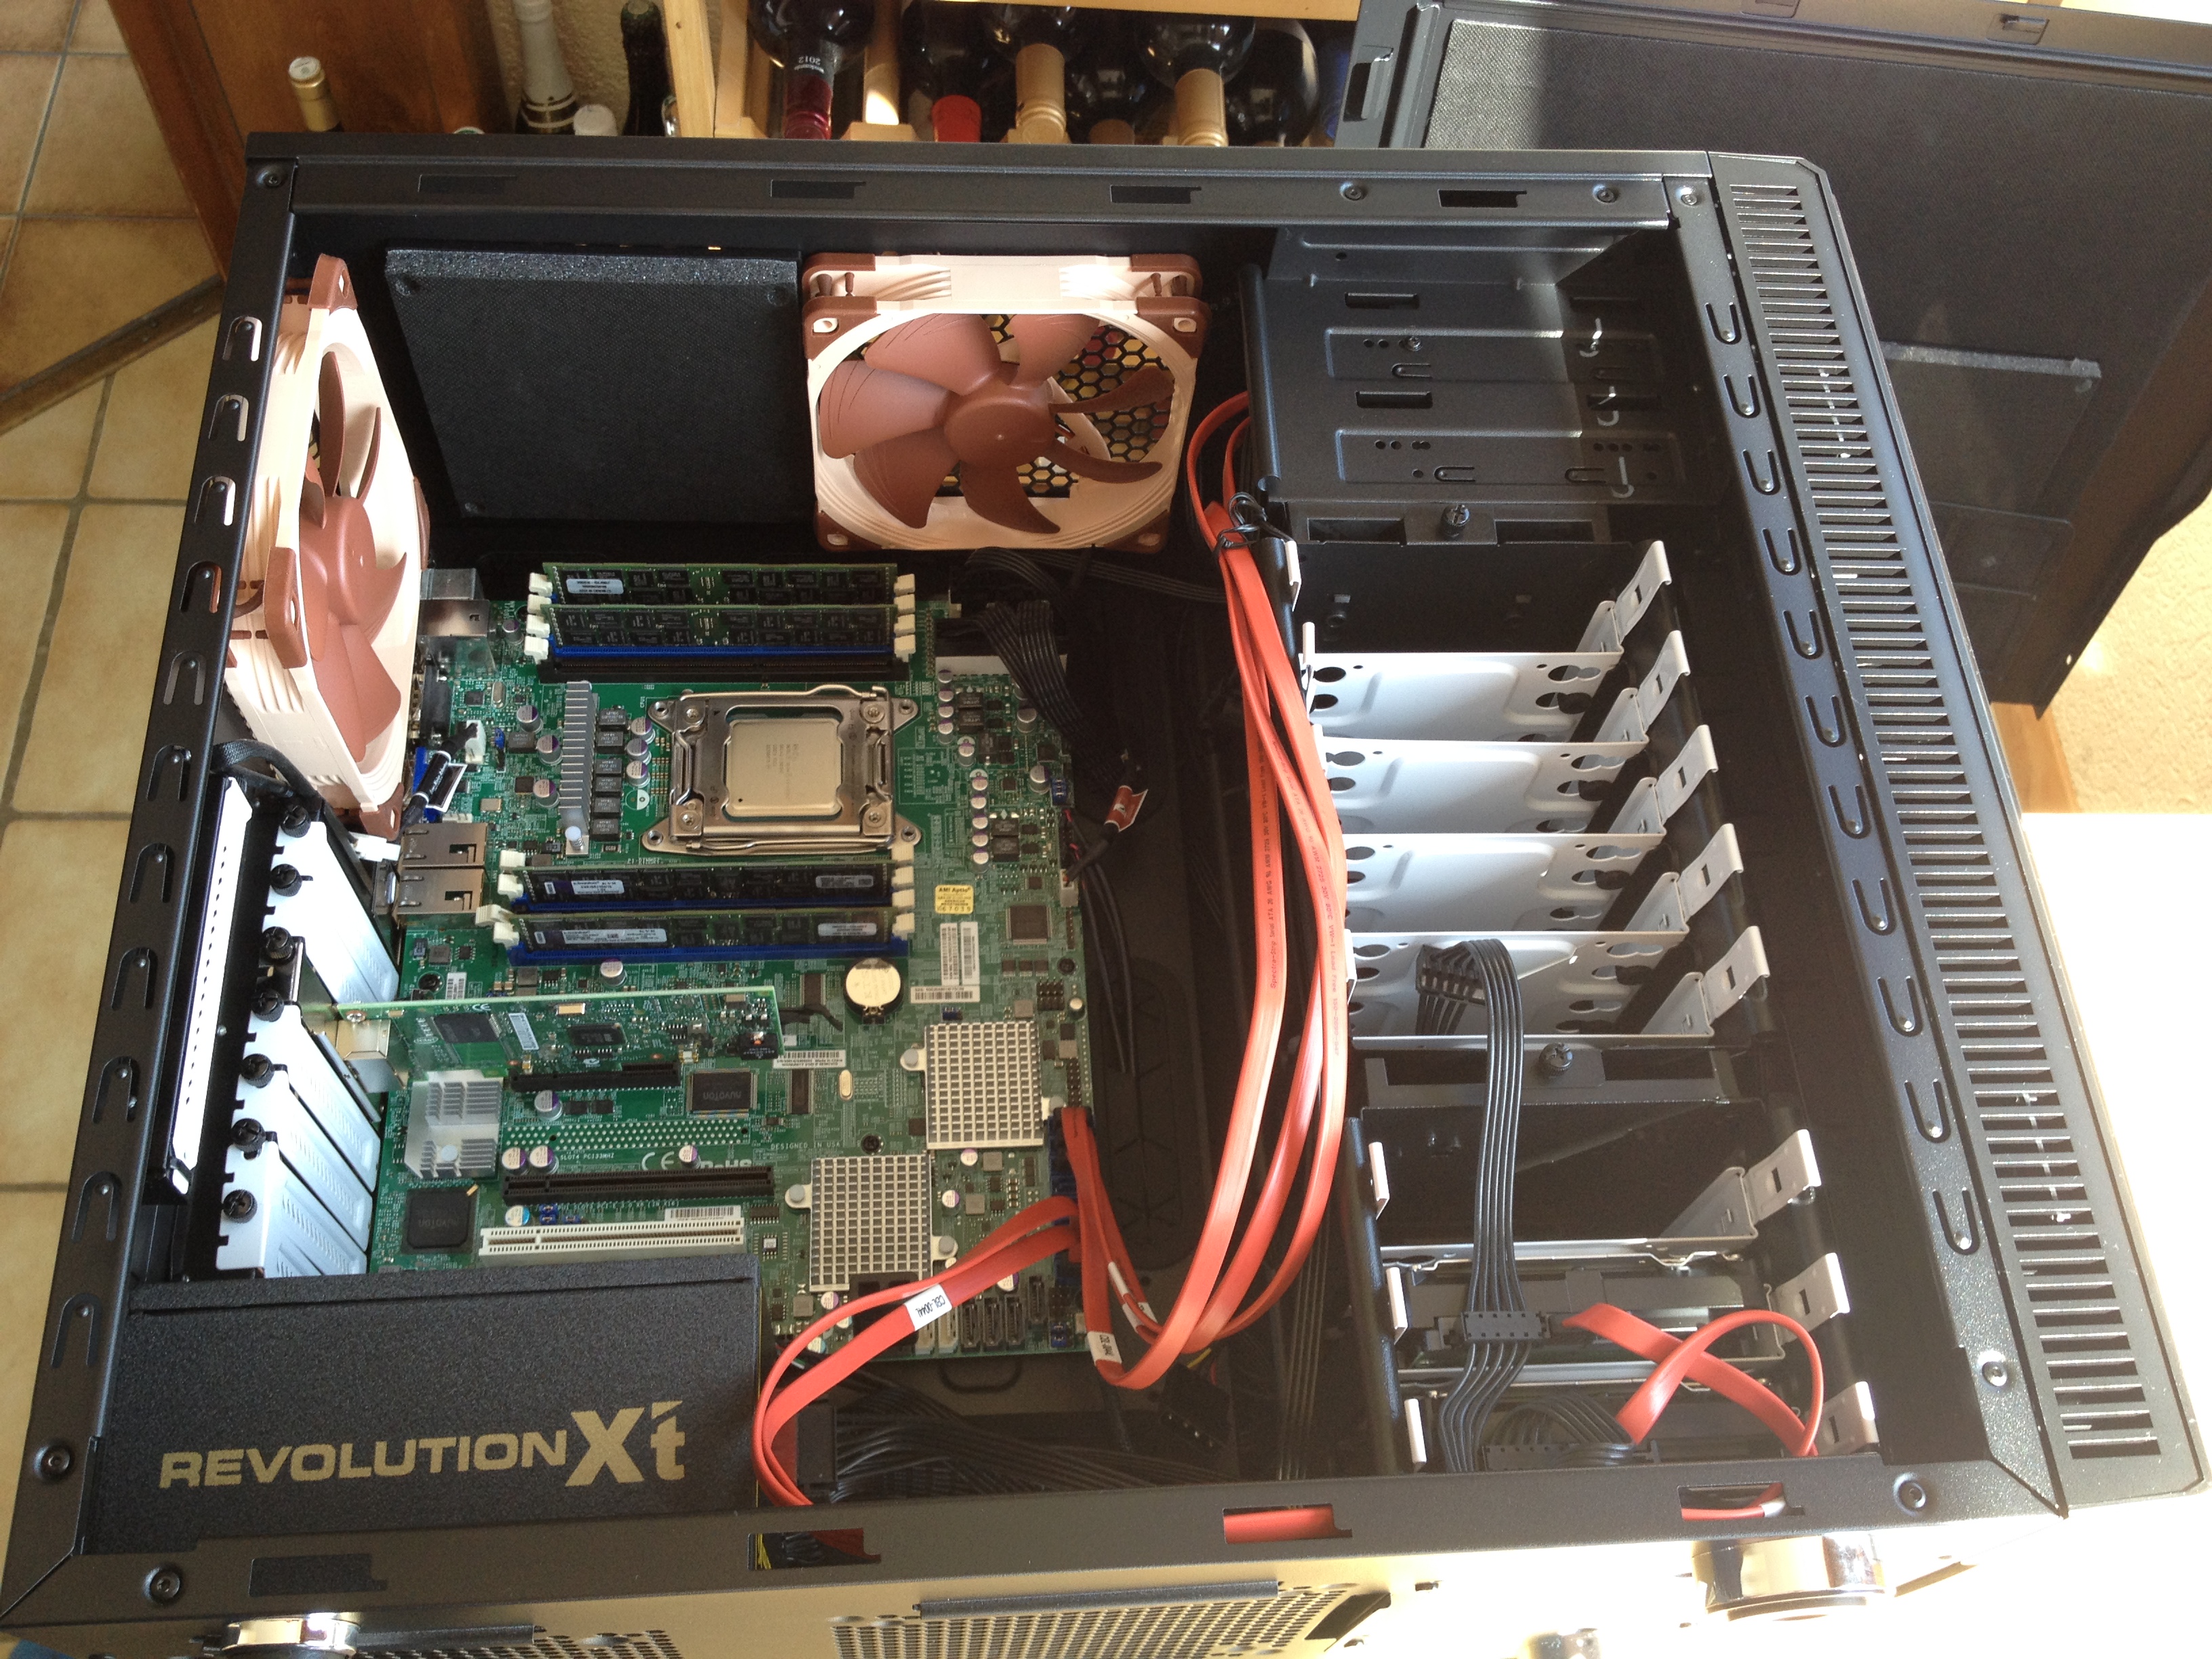
During these past two years, I have learned the hard way that network chipsets for 10GbE using RJ-45 cabling was outputting so much more heat than the SFP+ chipset. My initial Virtual SAN Hybrid implementation using a cluster of three ESXi host with Supermicro X9SRH-7TF (Network chipset is Intel X540-AT2) crashed more than once, when the network chipset became so hot that I lost my 10G connectivity, but the ESXi host kept on running. Only a powerdown & cool off of the motherboard, would allow my host to restart with the 10G connectivity. This also lead me to expand the VSAN Hybrid cluster from three to four hosts and to have a closer look at the heating issues when running 10G over RJ45.
Small business network switches with 10GBase-T connectivity are more expensive than the more enterprise oriented SFP+ switch, but they also output so much more heat (Measured in BTU/hr). Sure once the 10GBase-T switch is purchased, the cost of Category 6A cables is cheaper than getting the Passive Copper cables, who are limited to 7 meters.
The Cisco SG500XG-8F8T is a great switch as it allows me to connect using both RJ-45 and SFP+ cables.
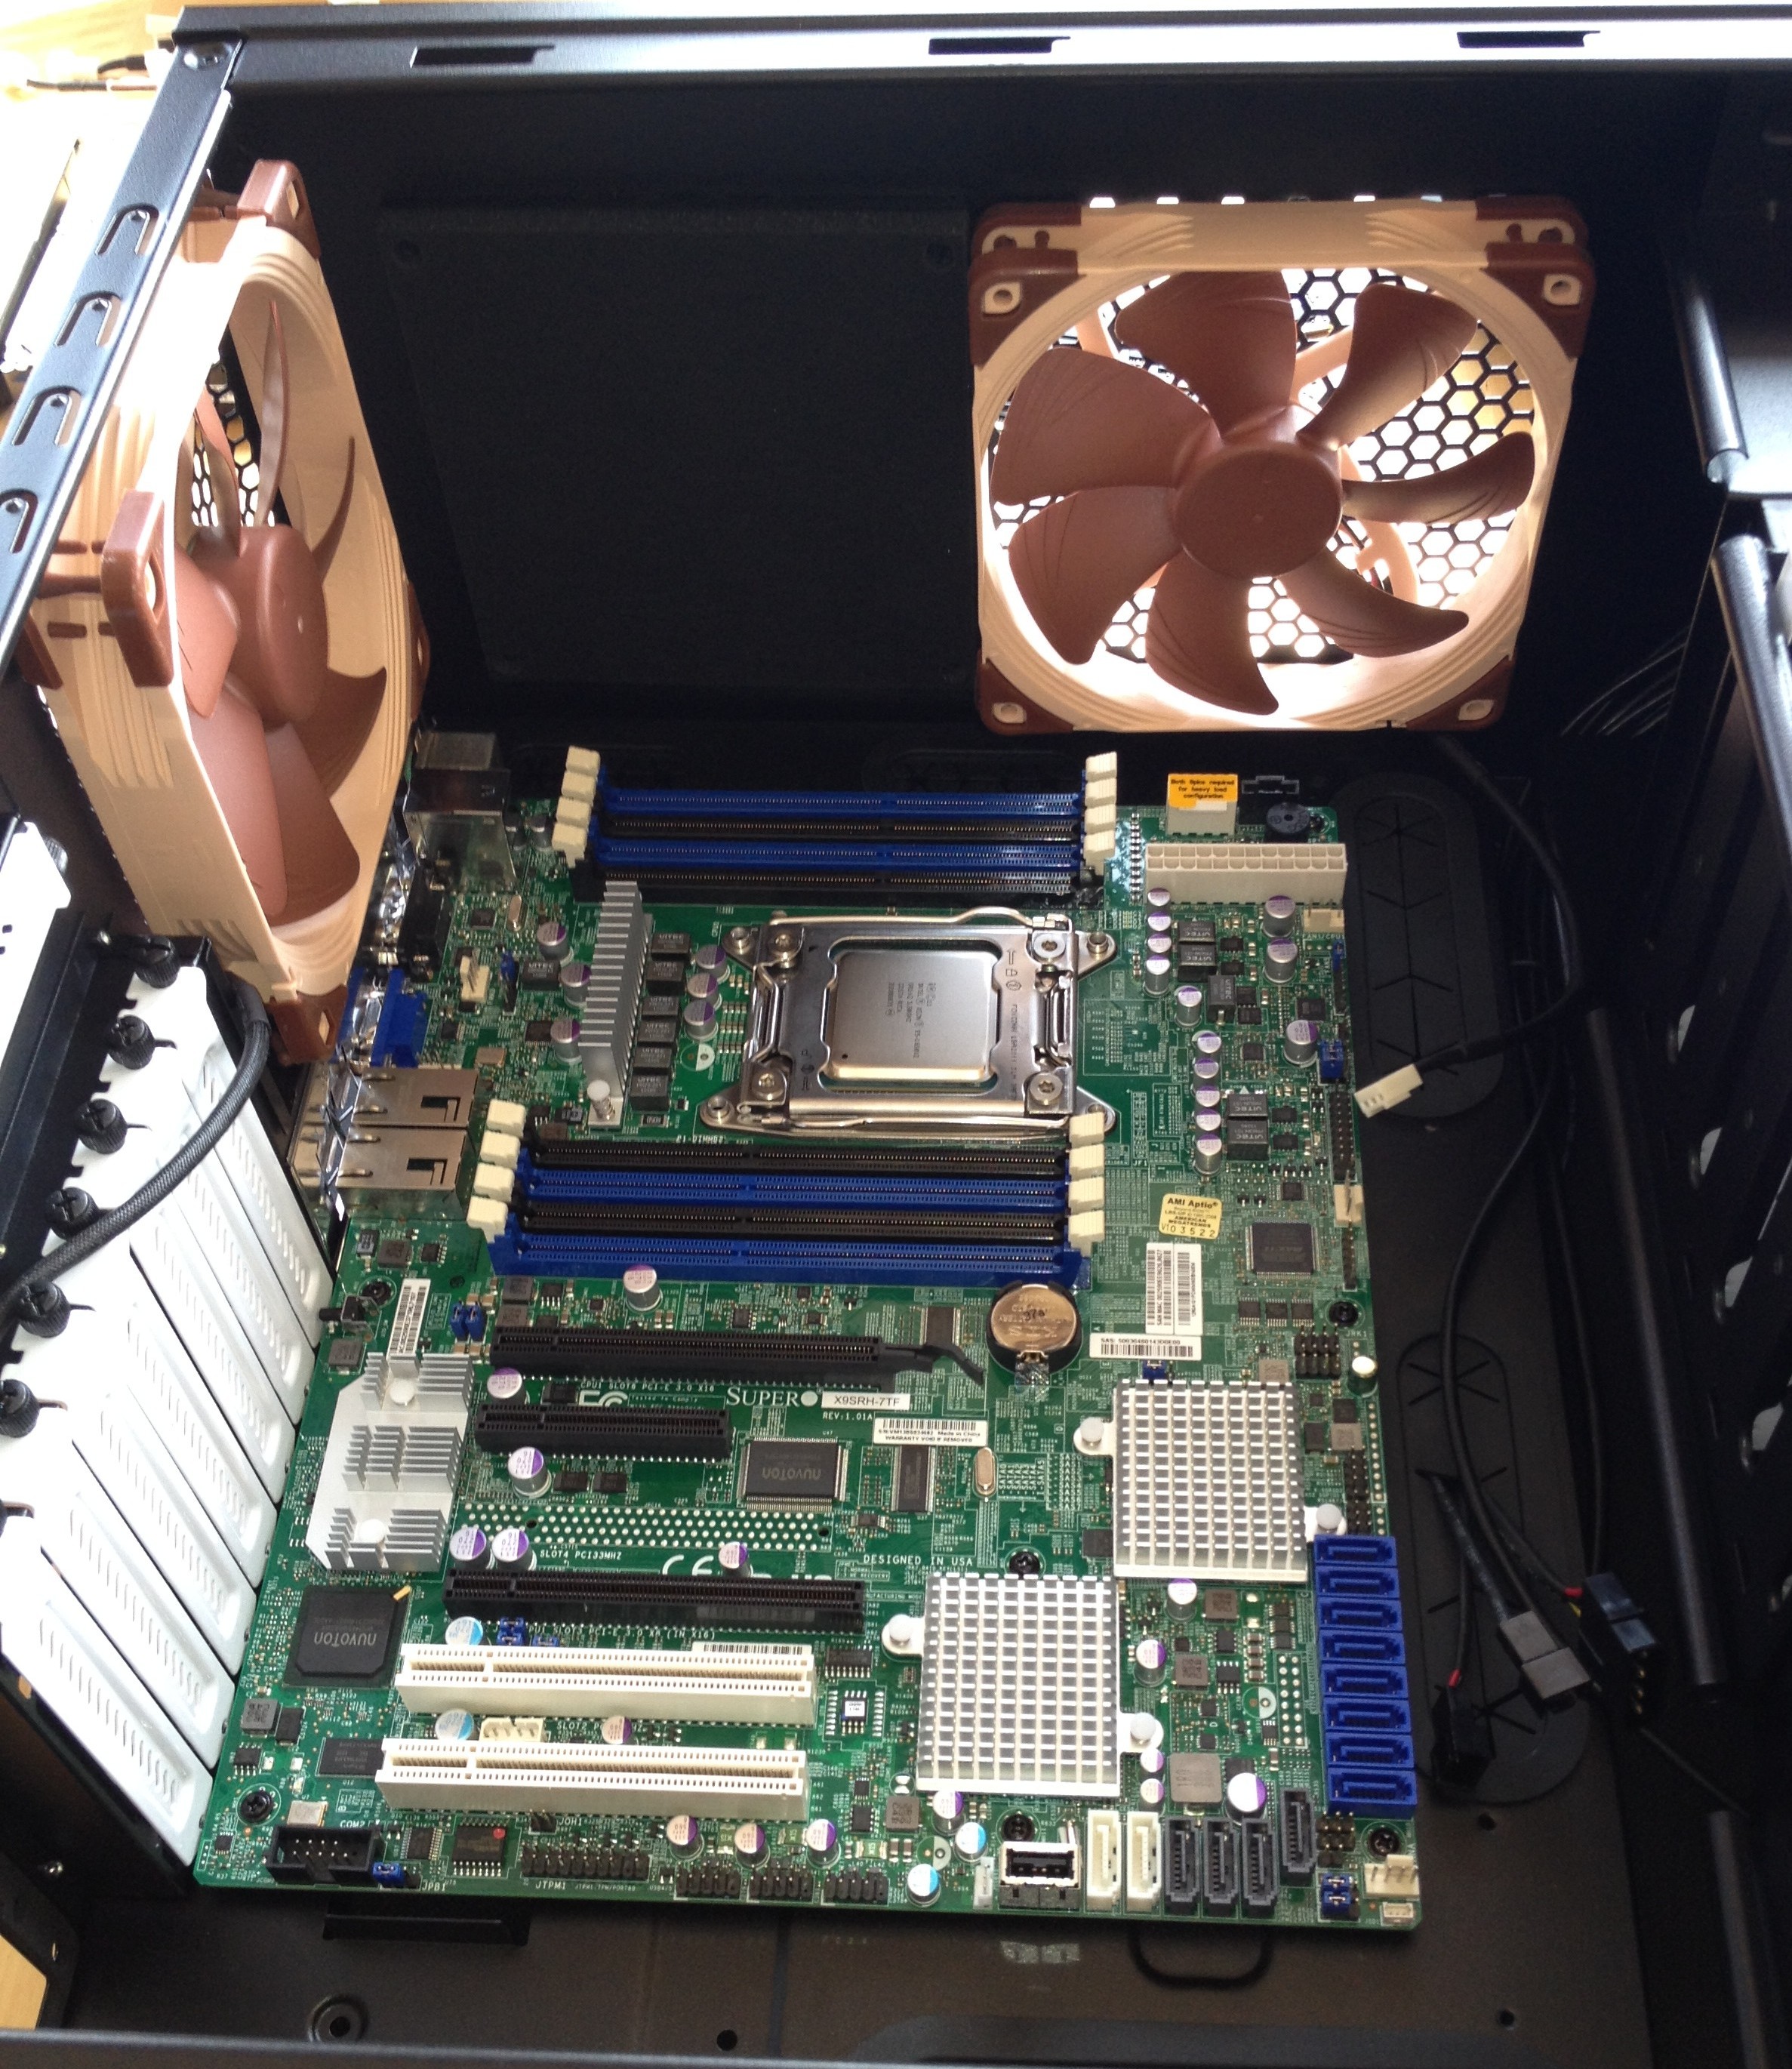
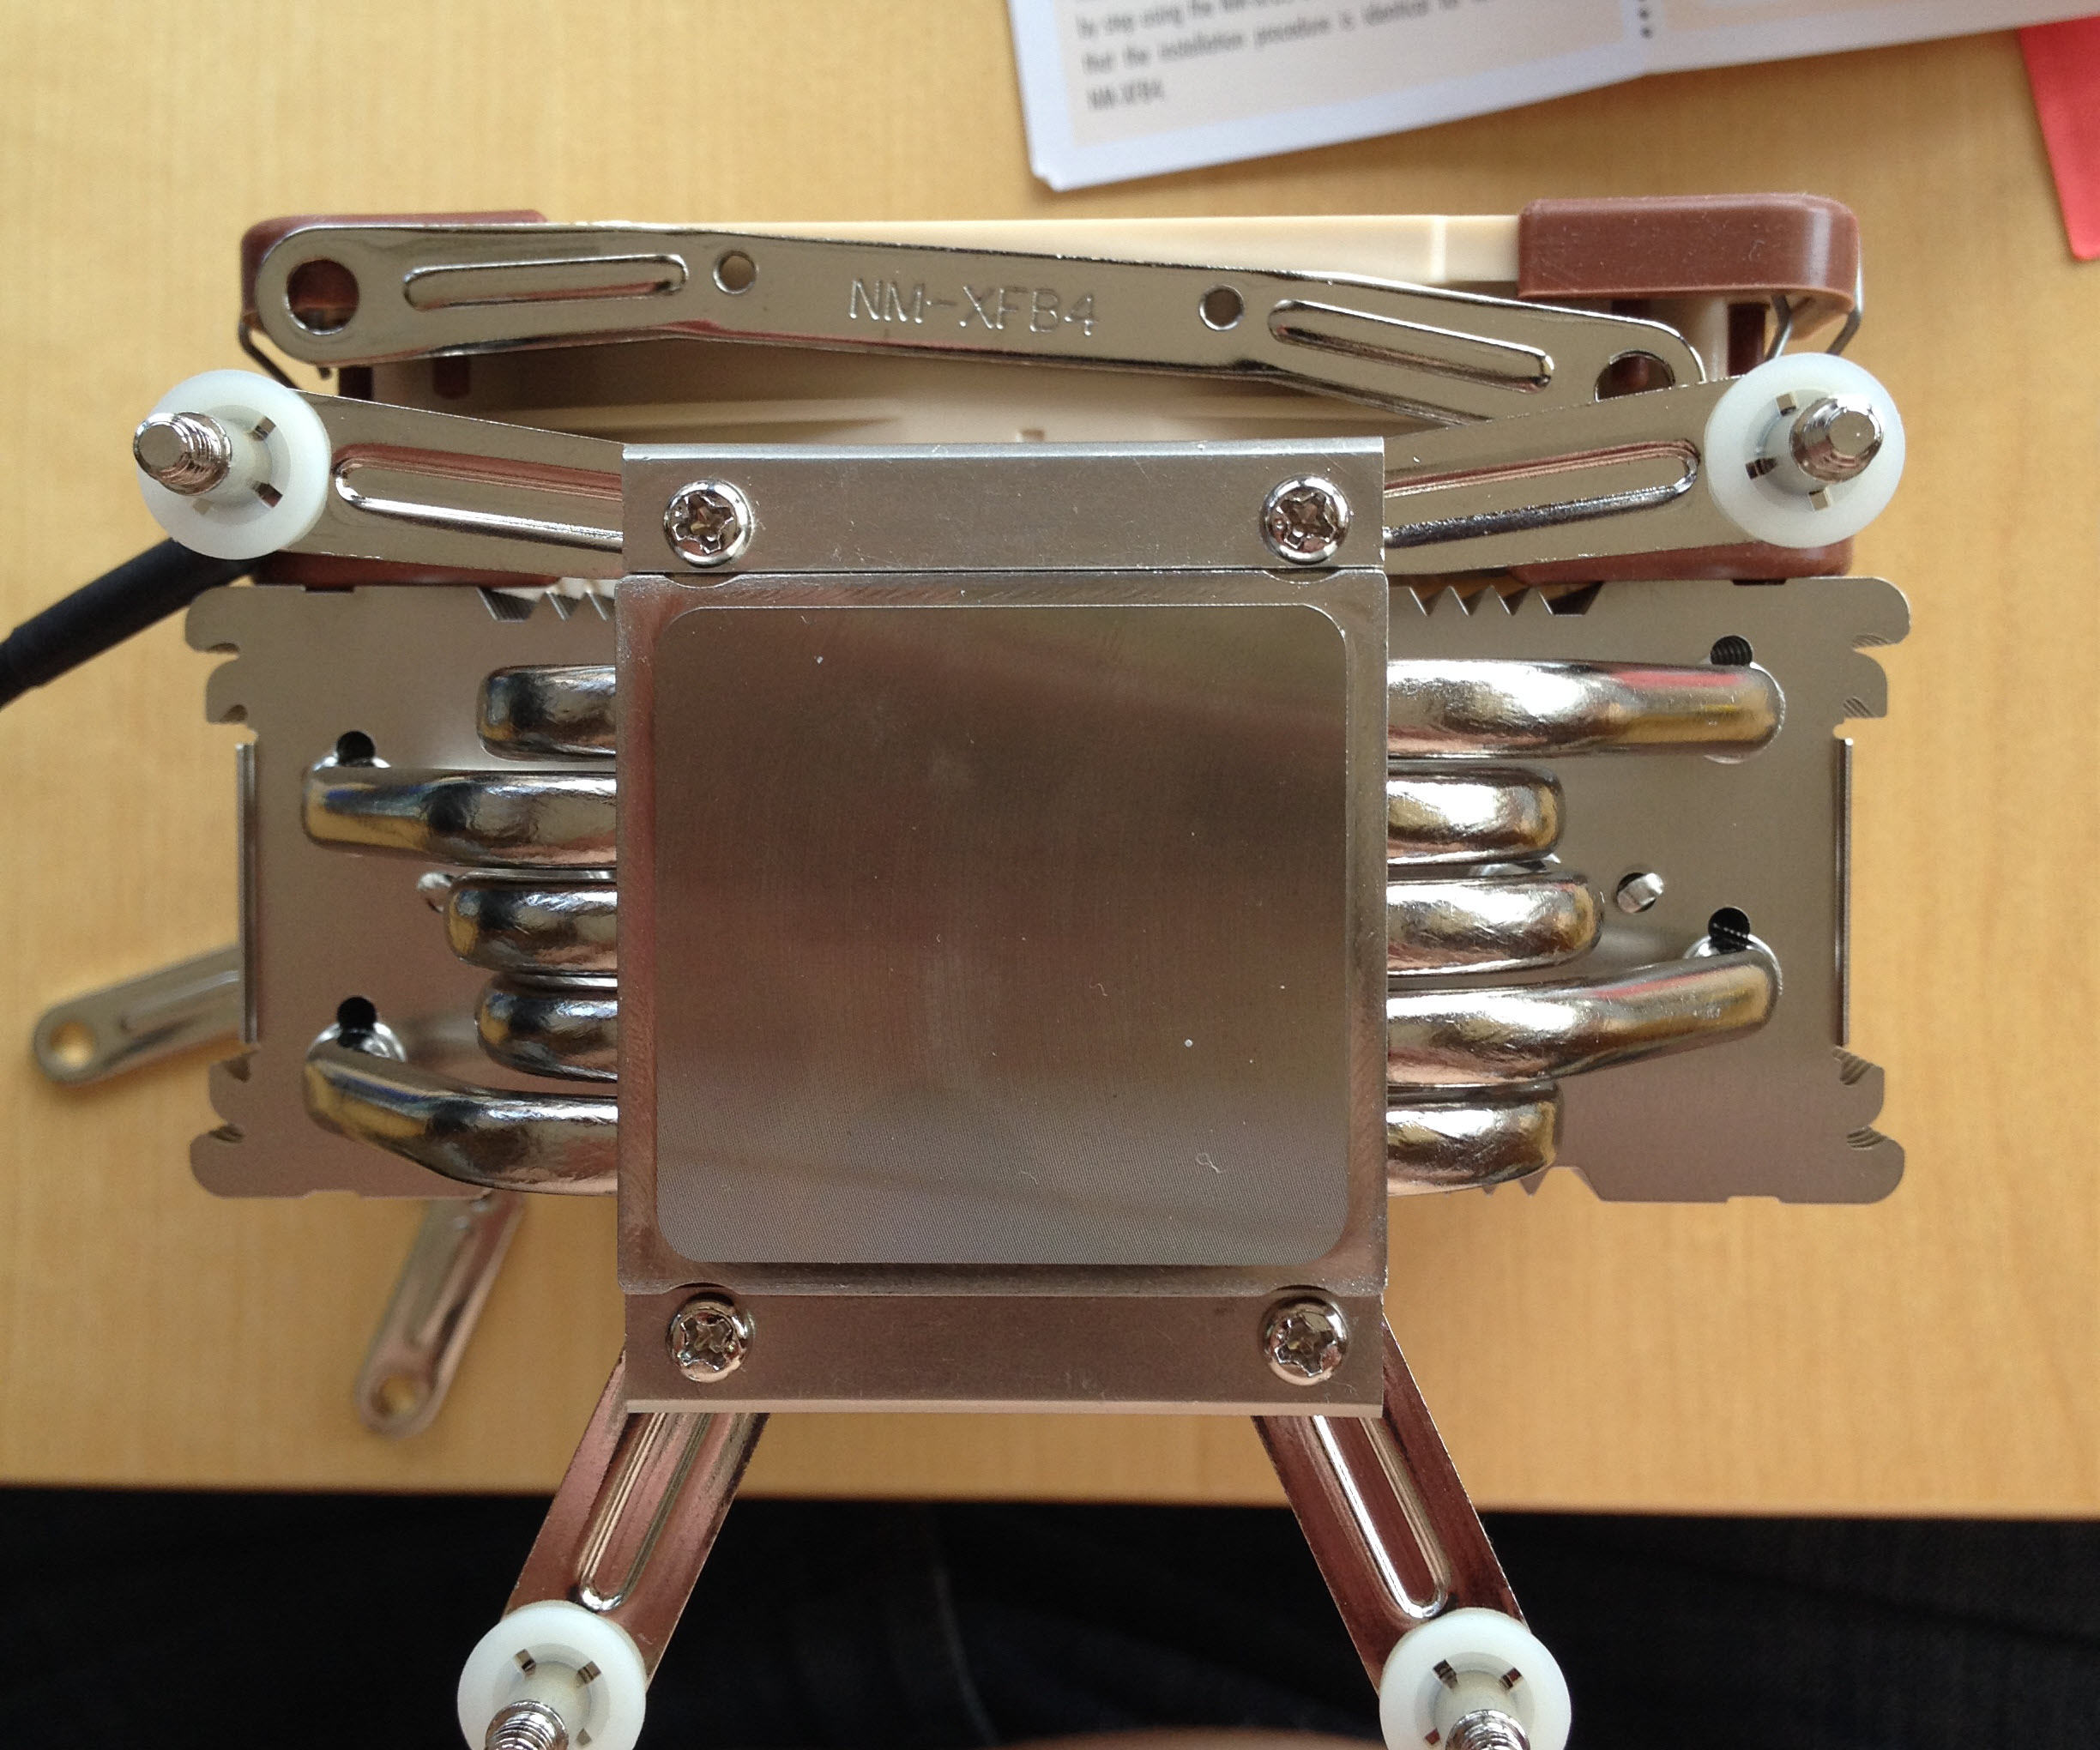
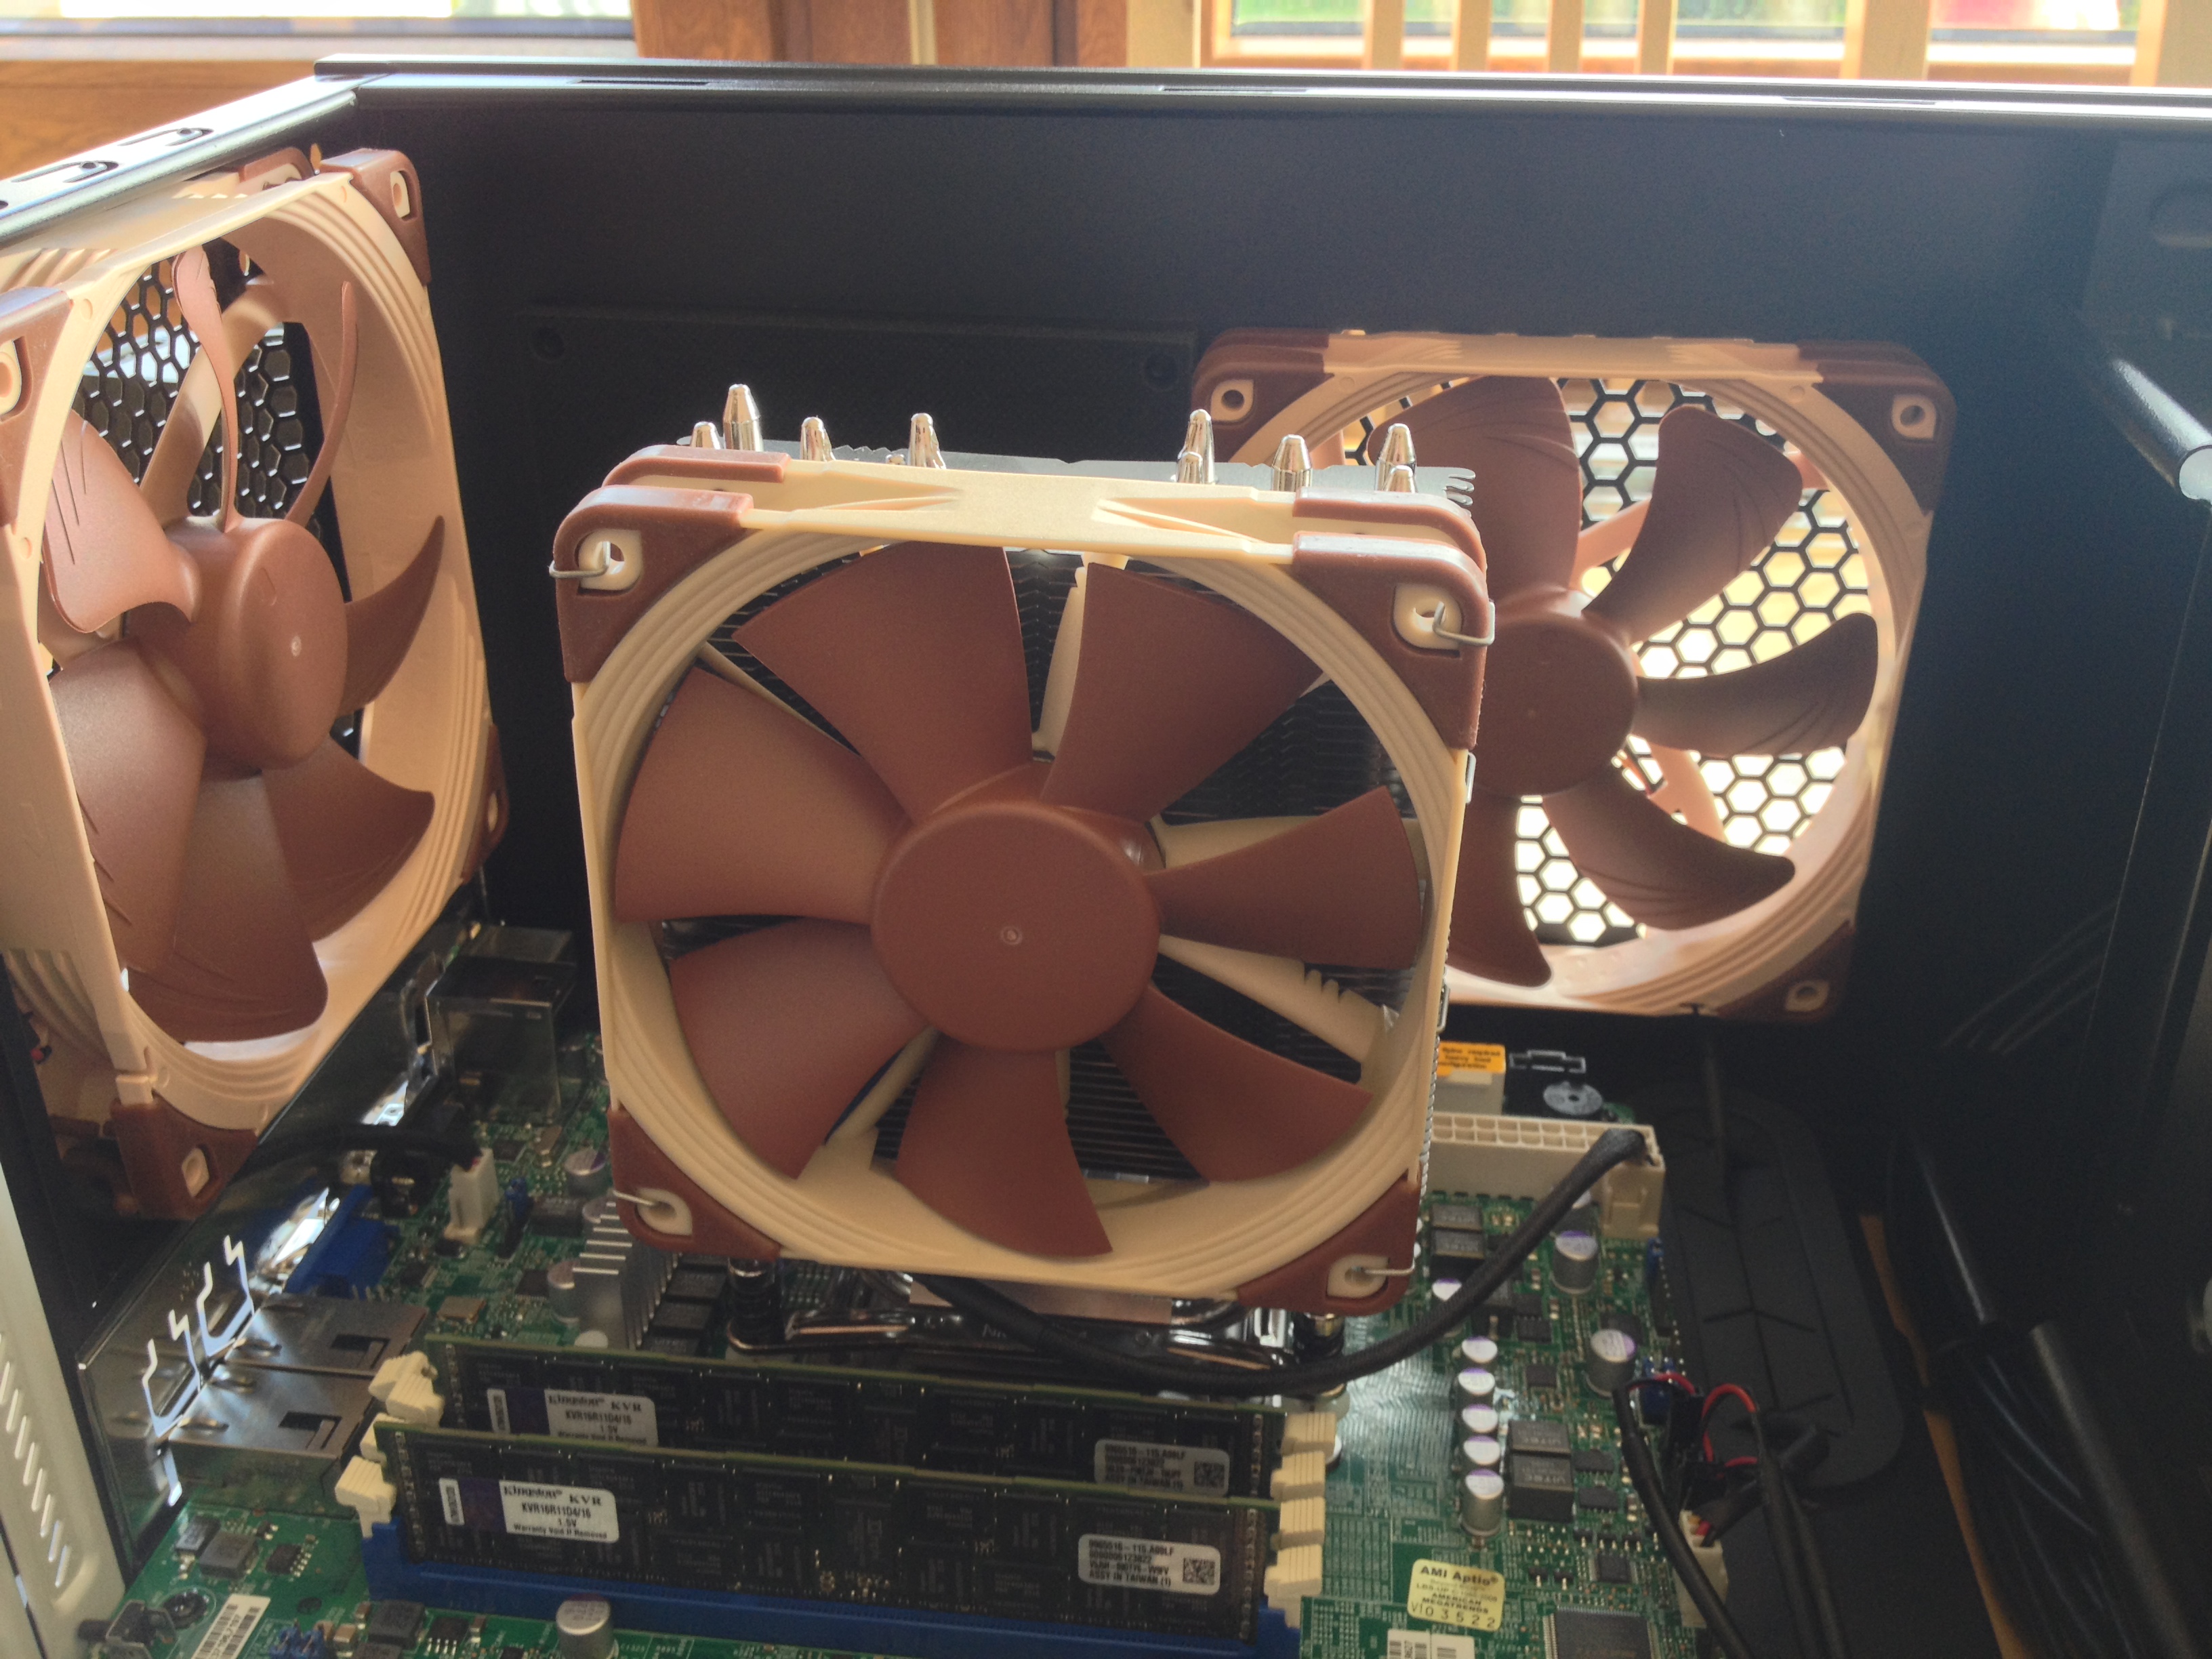
As the lab expanded, I started to ensure that my new hosts have either no 10GBase-T adapters on the motherboard, or use the SFP+ adapter (Like my recent X10SDV-4C-7TP4F ESXi host). I have started using the Intel X710 Dual SFP+ adapters on some of my host. I like this Intel network adapter, as the network chipset gives out less heat than previous generations chipset, and has a firmware update function that can done from the command prompt inside of vSphere 6.0.
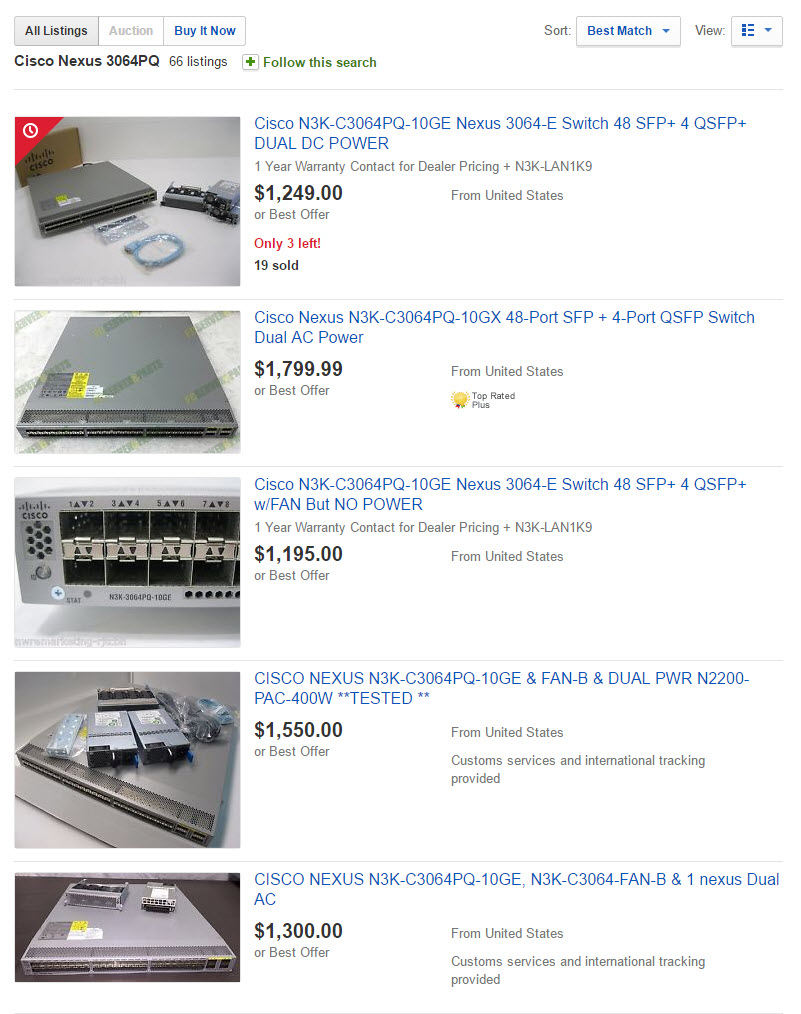
This brings me to the fact that I was starting to run out of SFP+ ports as the labs expands. I have found on ebay some older Cisco Nexus switch, and the one that caught my eye for it’s amount of ports, it price and it’s capabilities is the Cisco Nexus 3064PQ-10GE. These babies are going for about $1200-$1500 on ebay now.
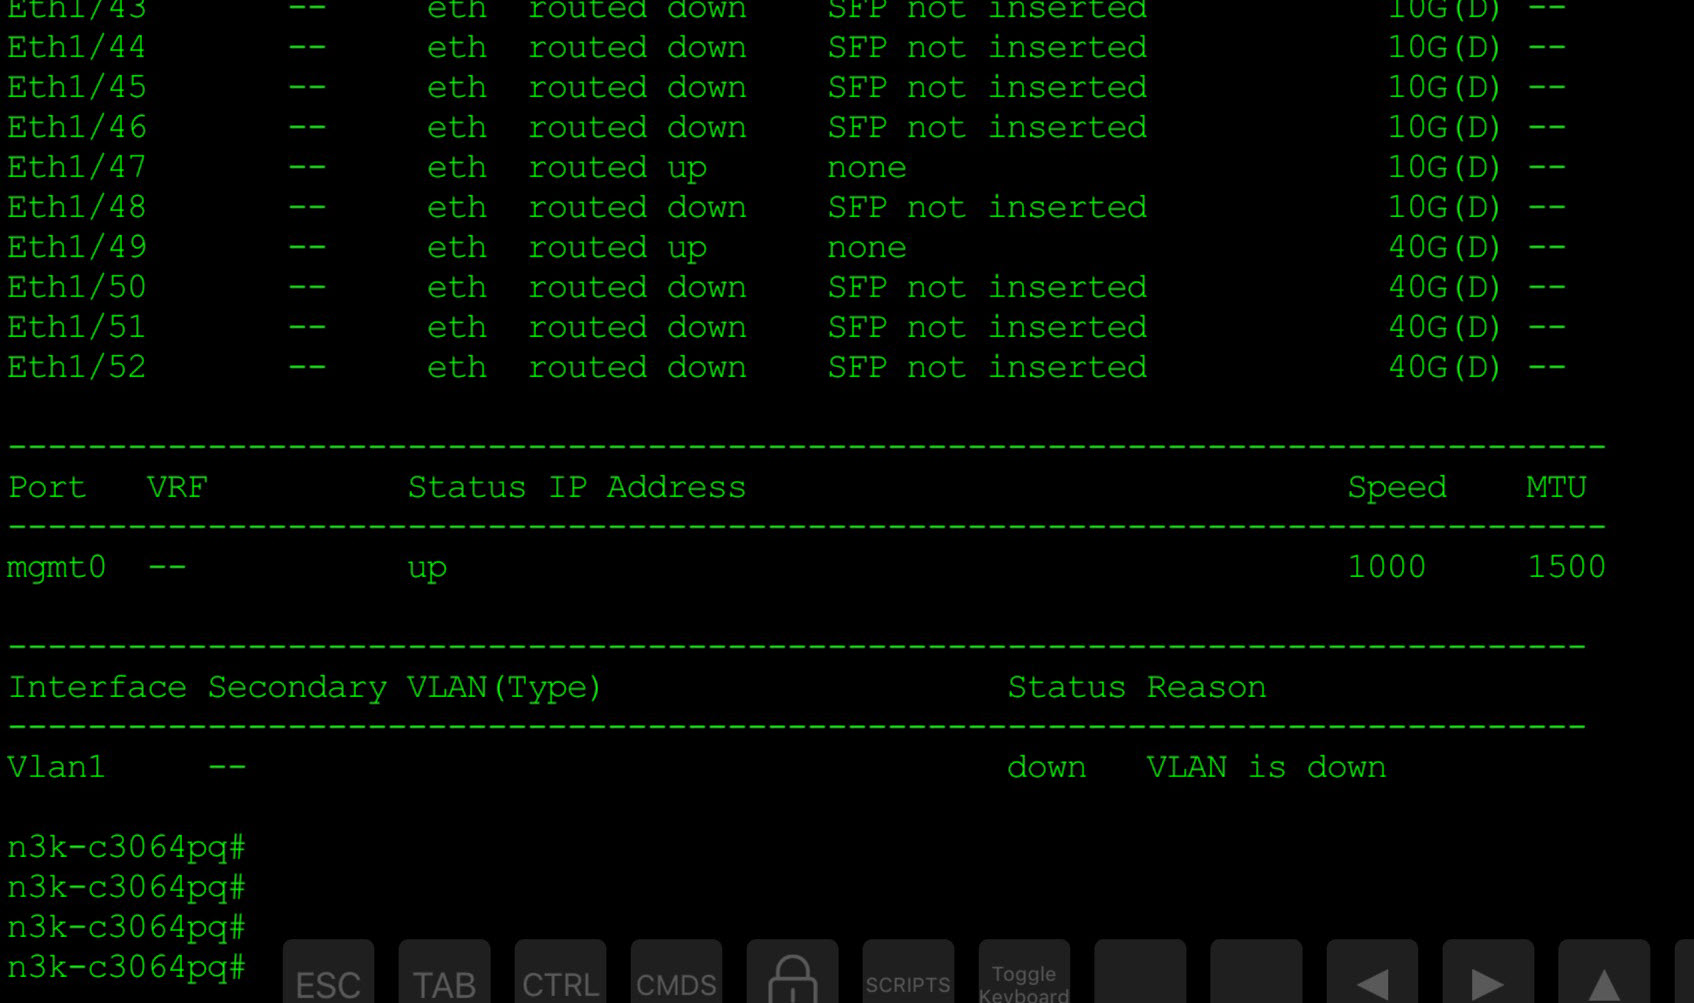
The switch comes with 48-ports SFP+ and 4-ports in QSFP+ format. These four ports can be configured in either 16x10G using fan-out cables or 4x40G. This is a software command that can be put on the switch to change from one mode to the other.
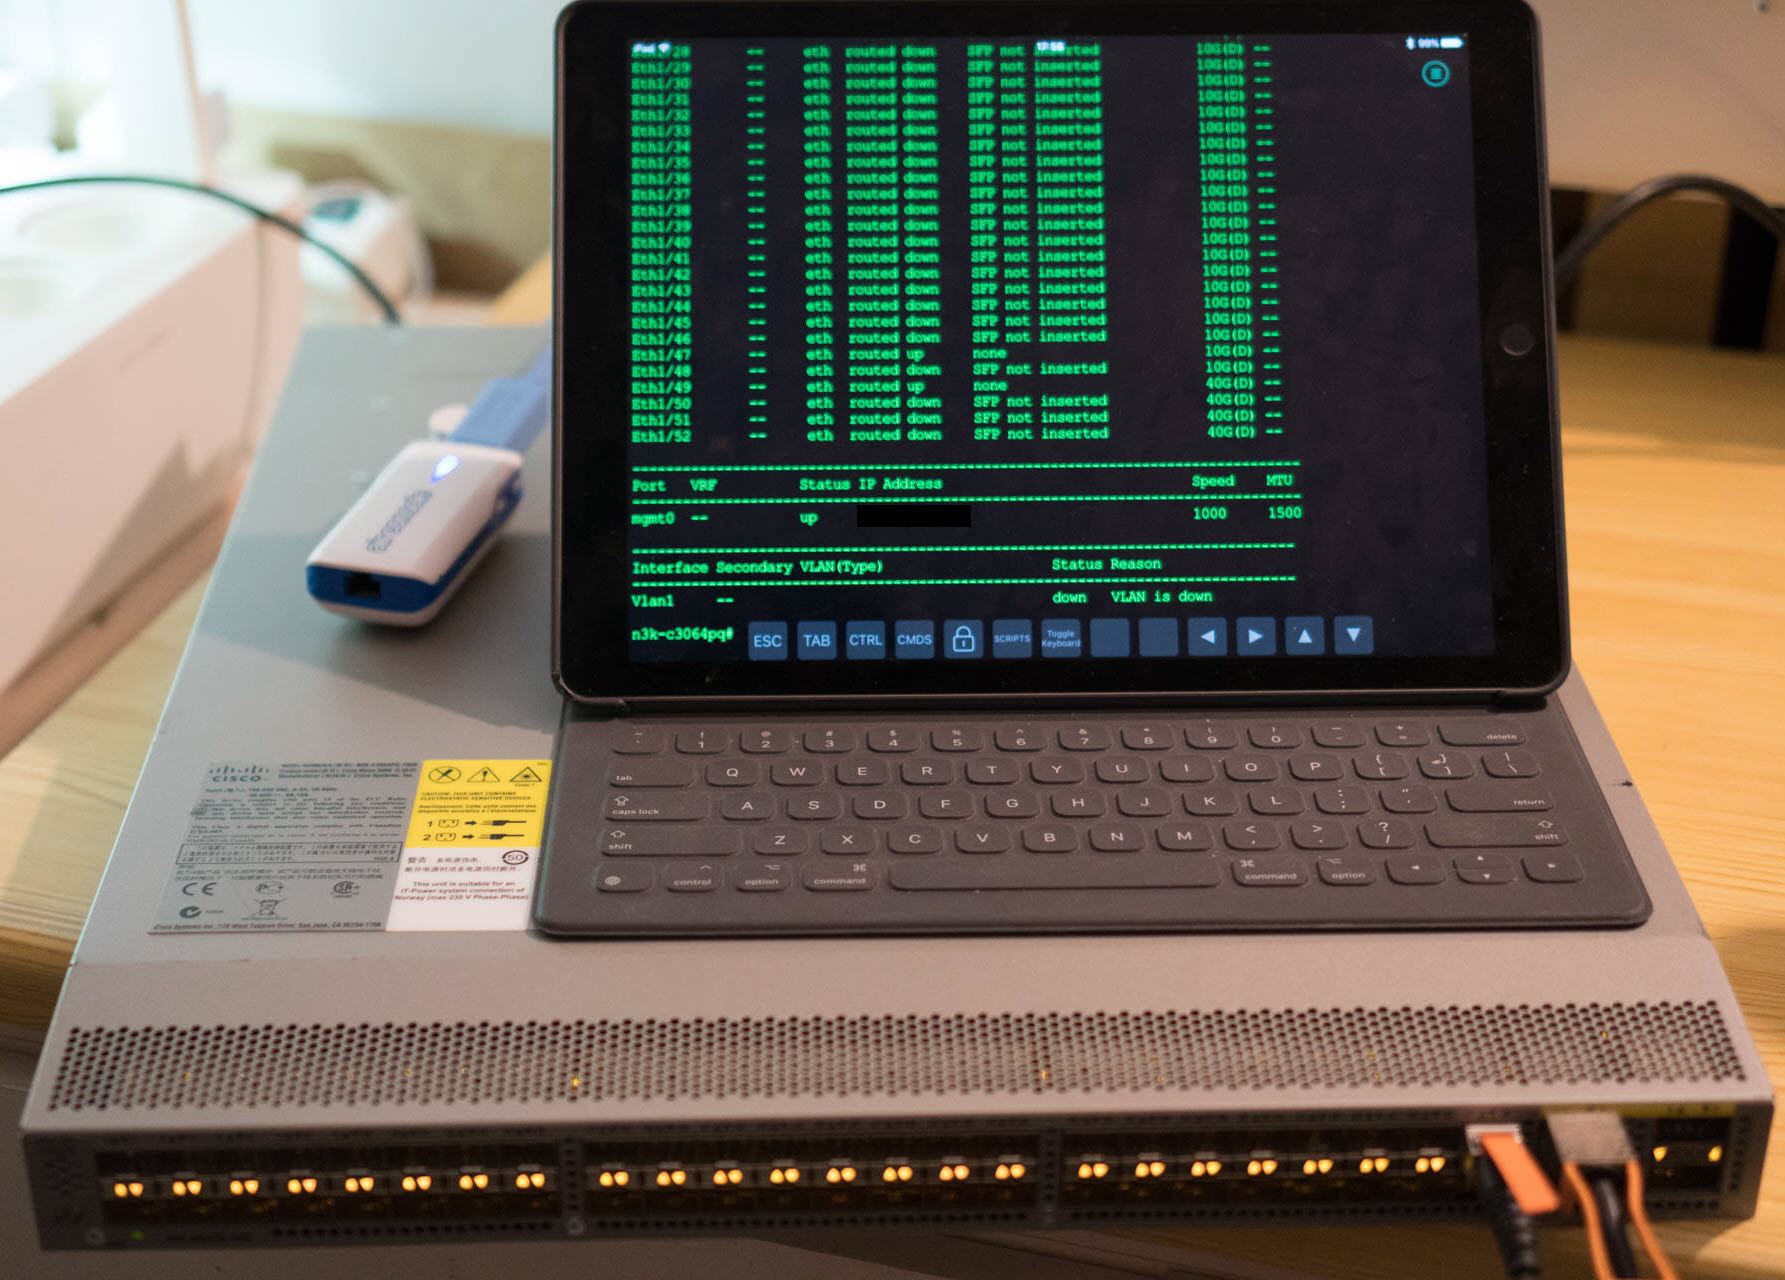
Here is my switch with the interface output. I’m using a Get-Console Airconsole to extend the console port to my iPad over Bluetooth.
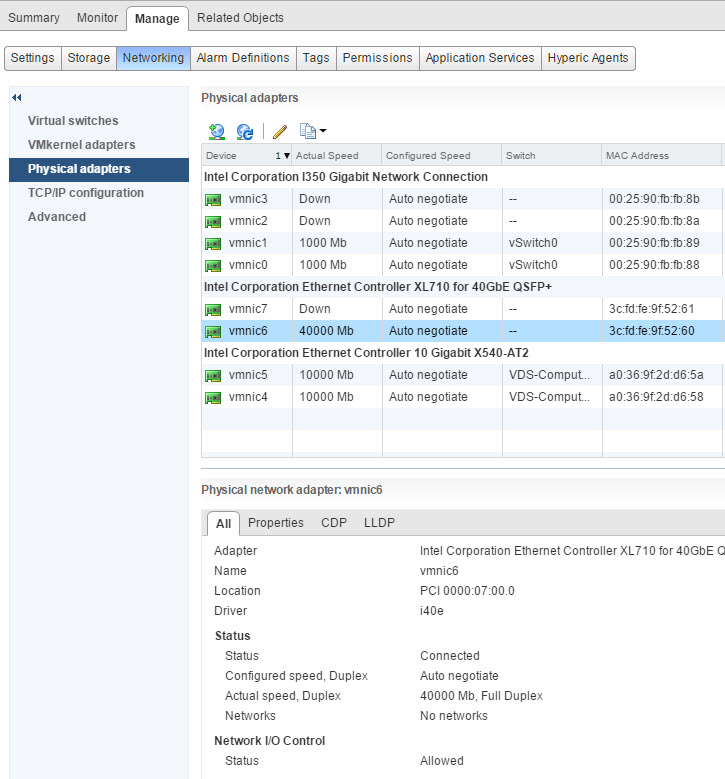
My vSphere 6.0 host is now connected to the switch using an Intel XL710-QDA2 40GbE network adapter and a QSFP+ copper cable.
I’m going to use the four QSFP+ connectors on the Cisco Nexus 3064PQ-10GE to connect my Compute cluster with NSX and VSAN All-Flash.
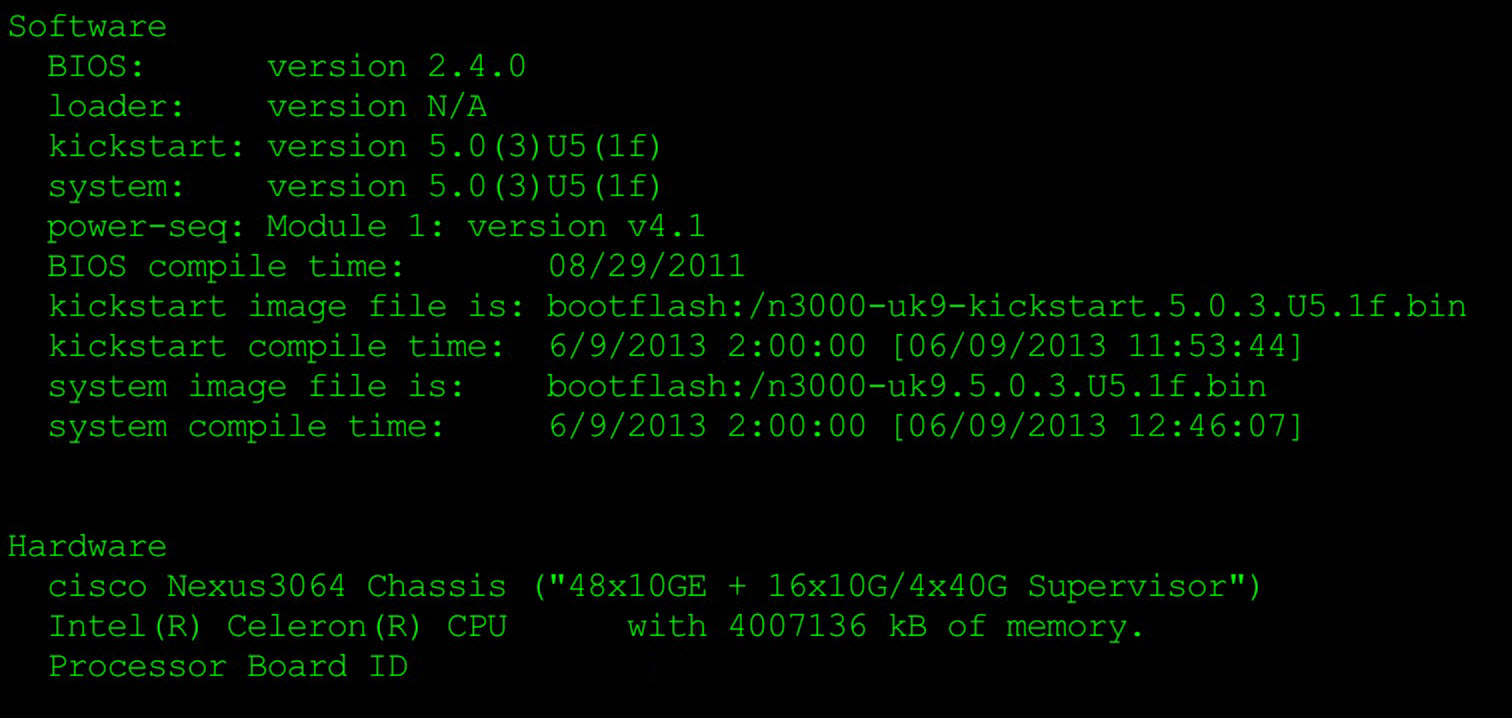
The switch came with NX-OS 5.0(3)U5(1f).
Concerning the heat output of the Cisco Nexus 3064PQ-10GE (datasheet) I was pleasantly surprised to note that it’s output is rather small at 488 BTU/hr when all 48 SFP+ are used. I also noted that the noise level of the fans was linked to the fan speed and the charge of the switch. Going from 59 dBA at 40% duty cycle to 66 dBA at 60% duty cycle to 71 dBA when at 100% duty cycle.
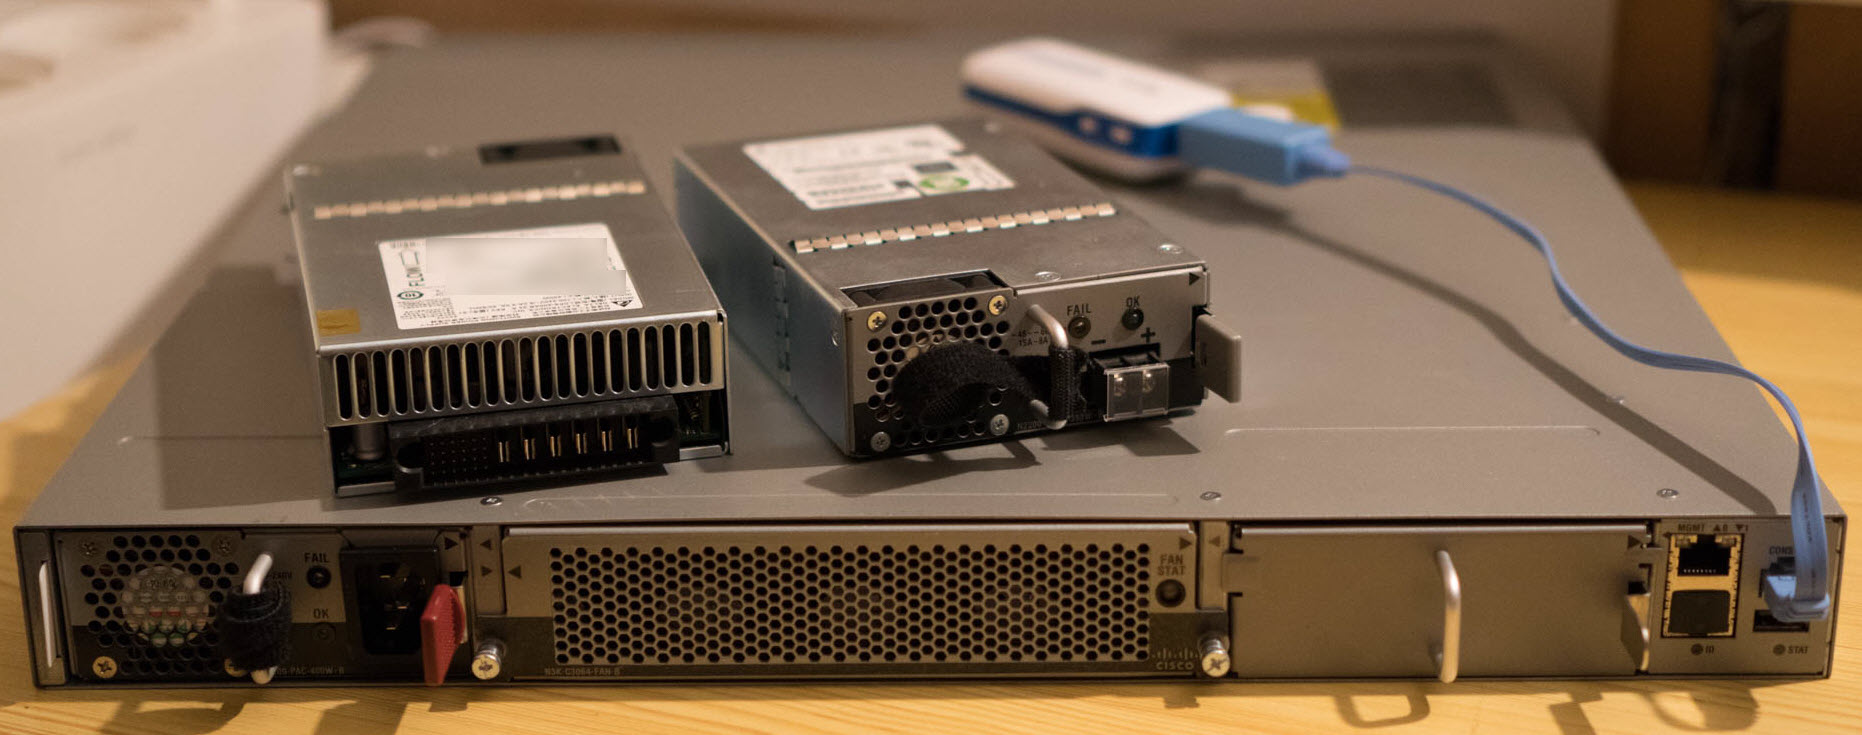
Here is the back of the Cisco Nexus 3064PQ-10GE. I did purchase the switch with a DC power (top of switch to the right), because the switch I wanted had both the LAN_BASE_SERVICES and the LAN_ENTERPRISE_SERVICES license. I sourced two N2200-PAC-400W-B power supply from another place.
Link to the Cisco Nexus 3064PQ Architecture.