Preamble
It’s now 2013, and it’s time to have a peak at my homelab refresh for this year.
Background
In the past three years, I’ve ran a very light homelab with VMware ESXi. I mainly used my workstation (Supermicro X8DTH-6F) with Dual Xeon 5520 @2.26Ghz (8-Cores) and 72GB of RAM to run most of the virtual machines and for testing within VMware Workstation, and only ran domain controllers and 1 proxy VM on a small ESXi machine, a Shuttle XG41. This gives a lot of flexibilty to run nearly all the virtual machines on a large beefed up workstation. There are quiet a few posts on this topic on various vExpert websites (I highly recommend Eric Sloof’s Super-Workstation).
I sometimes do play games (I’m married with a gamer), and when I do I have to ensure my virtual machines are powered down within VMware Workstation, as my system could and has crashed during games. Having corrupted VM is no fun.
Requirements
What I want for 2013 in the homelab, is a flexible environment composed of a few quiet ESXi hosts with my larger workstation being able to add new loads or test specific VM configuration. For this I need a infrastructure that is small, quiet and stable. Here are the requirements for my 2013 homelab infrastructure
- Wife Acceptance Factor (WAF)
- Small
- Quiet
- Power Efficient
Having purchased a flat, I don’t have a technical room (nothing like my 2006 computer room) or a basement. So having a few ESXi hosts on 24 hours a day, requires a high Wife Acceptance Factor. The system have to be small & quiet. In addition, if they are power efficient, it will make the utility bill easier.
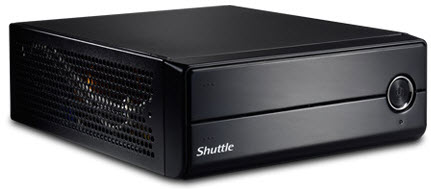
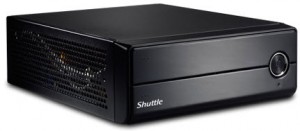
Shuttle XH61V
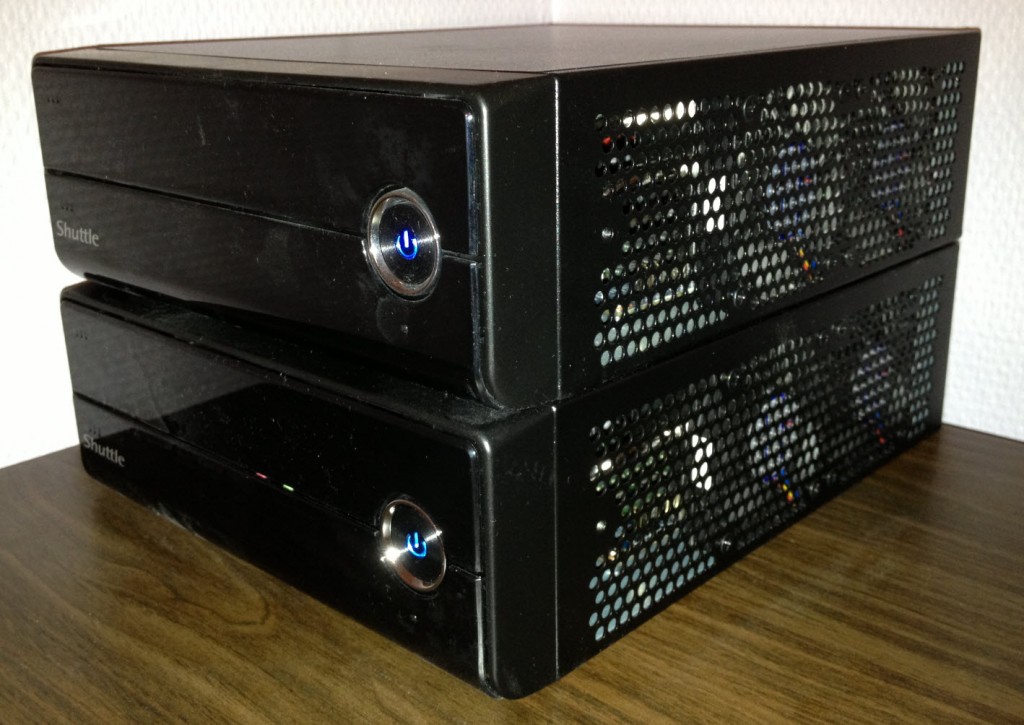
The Shuttle XH61V is small black desktop based on the Intel H61 chipset. It comes in a 3.5L metal case with very quiet ventilators. You just need to purchase the Shuttle XH61V, a Intel 1155 Socket 65W processor, two memory SODIMMs (laptop memory) and local storage. Assembly can be done in less than 30 minutes.
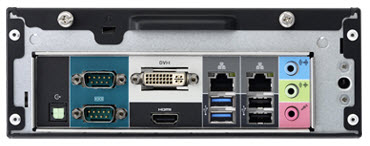
Shuttle XH61V
The Shuttle XH61V comes with two NICs and support for a mSATA (Bootable) connector, a PCIe x1 slot, and two 2.5″ Devices. The Shuttle XH61V comes with two gigabit network cards. They are Realtek 8168 cards. These work flawlessly, but they do not support Jumbo frames.
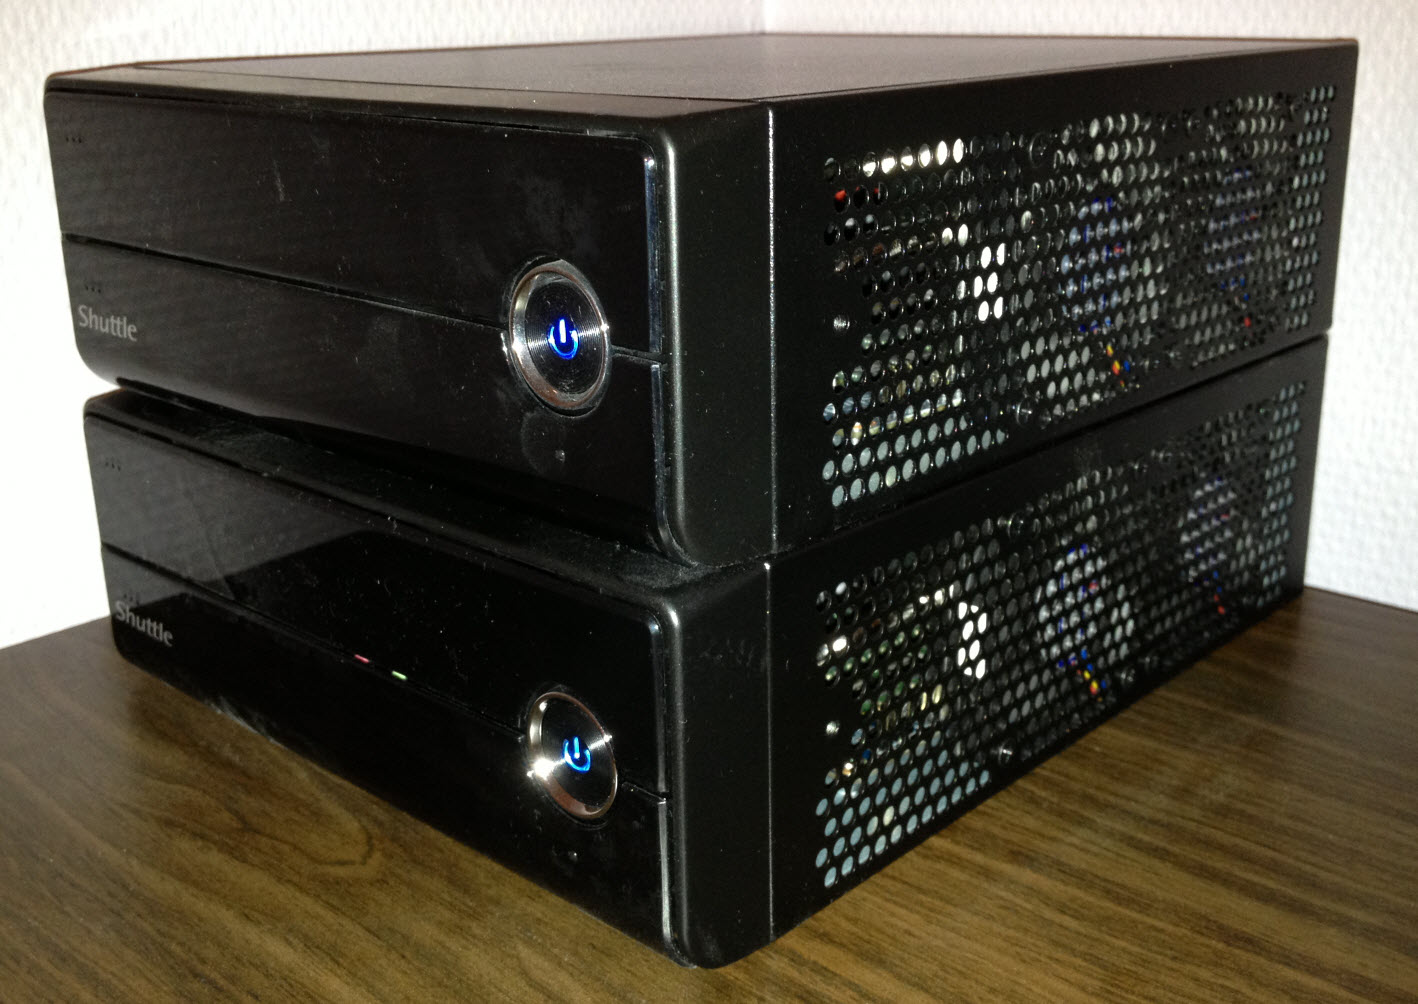
Shuttle XH61V Back
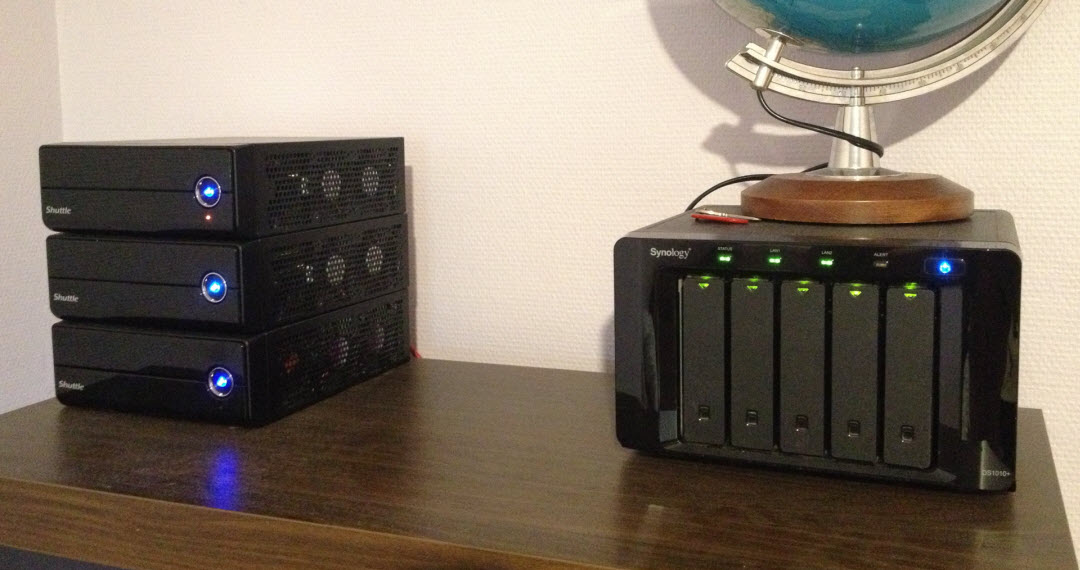
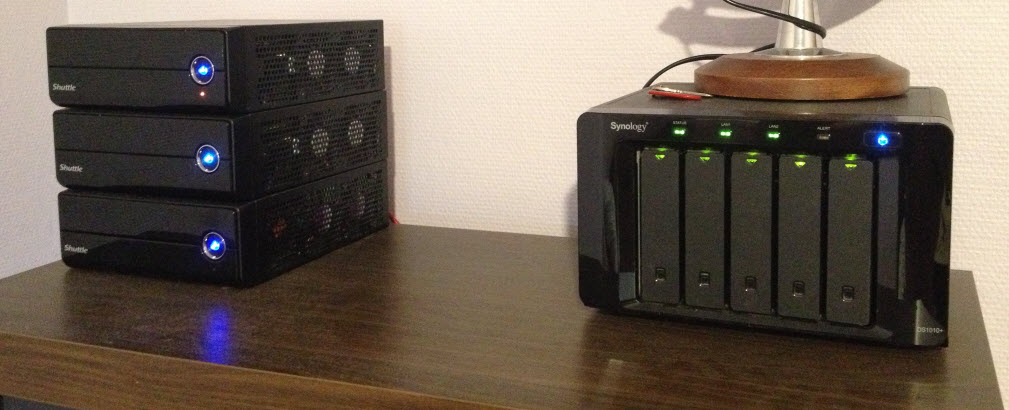
For storage, I decided to boot from a mSATA device, and to keep a Intel SSD for a fast upper-tier local storage, and one large Hybrid 2.5″ Harddisk for main storage. I do have a Synology DS1010+ on the network that is the centralized NFS storage, but I want some fast local storage for specific virtual machines. It’s still early 2013, so I have not yet upgraded my older Synology or created a new powerful & quiet Nexenta Community Edition home server. On the next image you can see that three Shuttle XH61V take less space than a Synology DS1010+
VMware ESXi installation
Installing VMware ESXi is done quickly as all the devices drivers are on the ESXi 5.1 VMware-VMvisor-Installer-5.1.0-799733.x86_64.iso install cdrom.
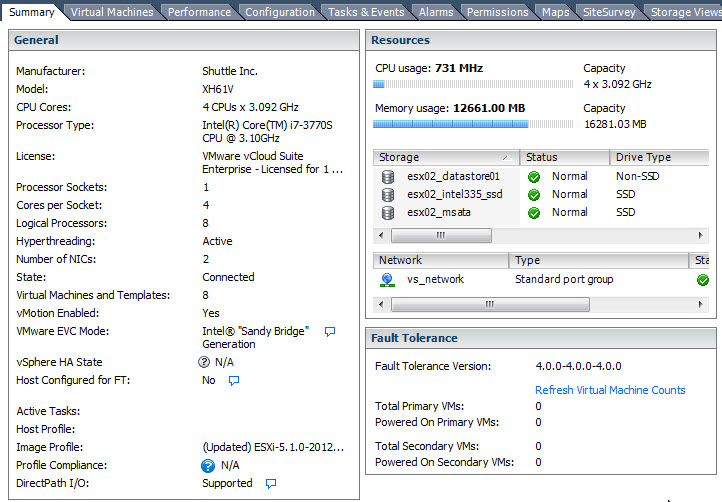
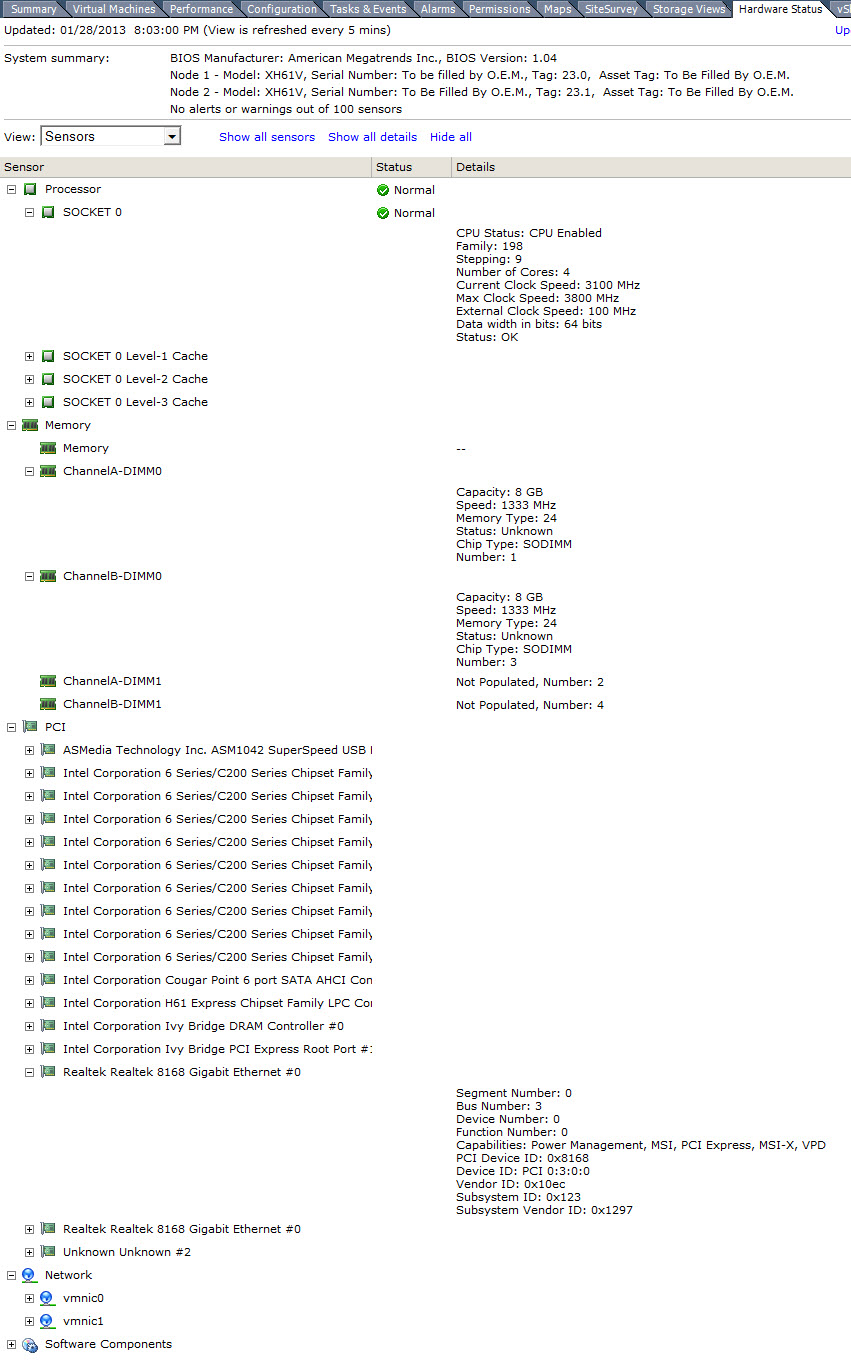
ESXi 5.1 on XH61V
Here is the Hardware Status for the Shuttle XH61V
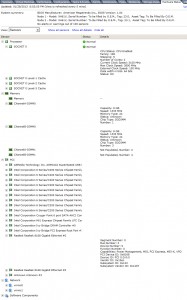
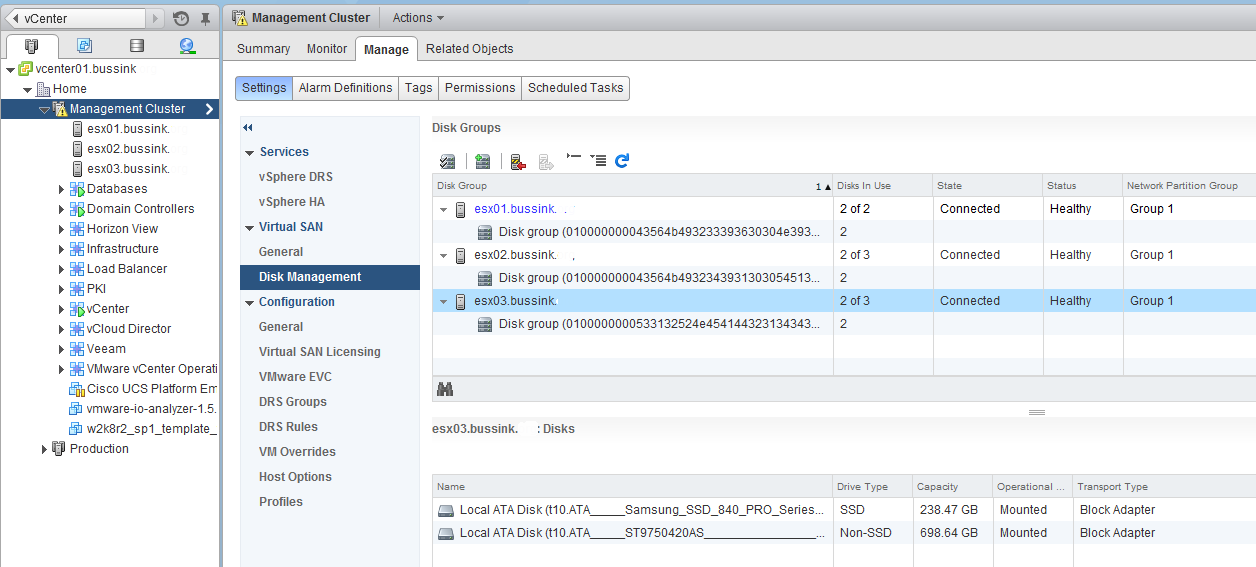
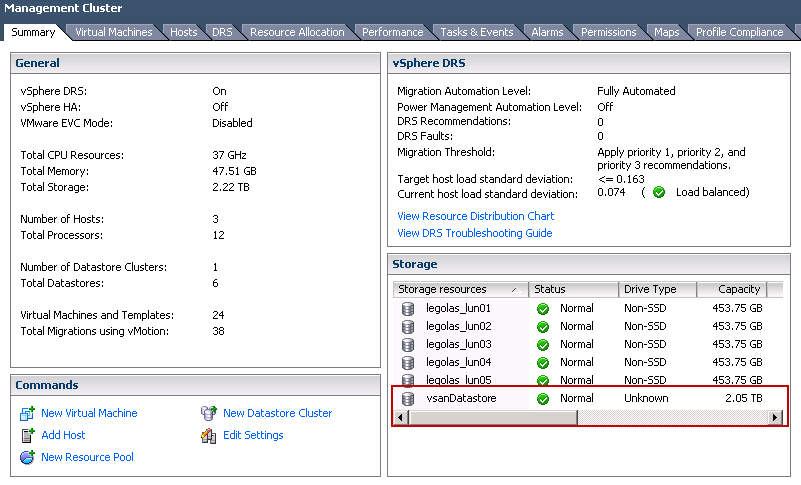
Here is an updated screenshot of my vSphere 5.1 homelab cluster.

Bill of Materials (BOM)
Here is my updated bill of materials (BOM) for my ESXi nodes.
- Shuttle XH61V
- Intel Core i7-3770S CPU @3.1Ghz
- Two Kingston 8GB DDR3 SO-DIMM KVR1333D3S9/8G
- Kingston 16GB USB 3.0 Key to boot ESXi (Change BIOS as you cannot boot a USB key in USB3 mode)
- Local Storage Intel SSD 525 120GB
- Local Storage Intel SSD 520 240GB
- Local Storage Seagate Momentus XT 750GB
Planned upgrade: I hope to get new Intel SSD 525 mSATA boot devices to replace the older Kingston SSDnow when they become available.
Performance & Efficiency
In my bill of materials, I selected the most powerful Intel Core i7 processor that I could fit in the Shuttle XH61V. Because I’m running virtual appliances and virtual machines like vCenter Operations Manager, SQL Databases, Splunk. There are some less expensive Core i3 (3M Cache), Core i5 (6M Cache) or Core i7 (8M Cache) processor that would work great.
What is impressive, is that the Shuttle XH61V comes with a 90W power adapter. We are far from the 300W mini-boxes/XPC or even the HP MicroServer with their 150W power adapters. Only the Intel NUC comes lower with a 65W power adapter and a single gigabit network (@AlexGalbraith has a great series of post on running ESXi on his Intel NUC ).
Just for info, the Intel Core i7-3770S has a cpubenchmark.net score of 9312. Which is really good for a small box that uses 90W.
The Shuttle XH61V is also very quiet... it’s barely a few decibels above the noise of a very quiet room. To tell you the thru… the WAF is really working, as my wife is now sleeping with two running XH61V at less than 2 meters away. And she does not notice them… 🙂
Pricing
The pricing for a Shuttle XH61V with 16GB memory and a USB boot device (16GB Kingston USB 3.0) can be kept to a about $350 on newegg. What will increase the price is the performance of the LGA 1155 Socket 65W processor ( Core i3-2130 from $130 to Core i7-3770S at $300) and what additional local storage you want to put in.
The sizing of the homelab in early 2013 is so far from the end of 2006 when I moved out of my first flat, when I had a dedicated Computer room.
Update 18/03/2012. DirectPath I/O Configuration for Shuttle XH61v BIOS 1.04
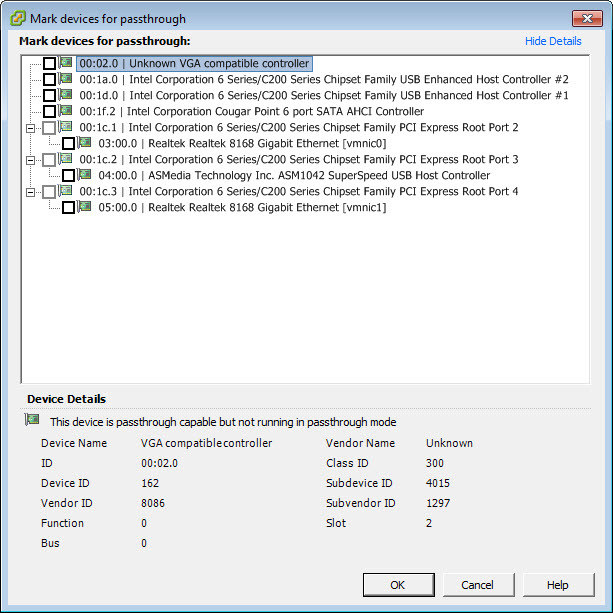
XH61v DirectPath I/O Configuration
Update 22/03/2013. mSATA SSD Upgrade
I’ve decided to replace the Intel 525 30GB mSATA SSD that is used for booting ESXi and to store the Host Cache with a larger Intel 525 120GB mSATA SSD. This device will give me more space to store the Host Cache and will be used as a small Tier for the Temp scratch disk of my SQL virtual machine.
The ‘published’ performance for the Intel 525 120GB mSATA are
Capacity
|
Sequential
Read/Write (up to) |
Random 4KB
Read/Write (up to) |
Form Factor |
| 30 GB |
SATA 6 Gb/s 500 MB/s / 275 MB/s |
5,000 IOPS / 80,000 IOPS |
mSATA |
| 60 GB |
SATA 6 Gb/s 550 MB/s / 475 MB/s |
15,000 IOPS / 80,000 IOPS |
mSATA |
| 120 GB |
SATA 6 Gb/s 550 MB/s / 500 MB/s |
25,000 IOPS / 80,000 IOPS |
mSATA |
| 180 GB |
SATA 6 Gb/s 550 MB/s / 520 MB/s |
50,000 IOPS / 80,000 IOPS |
mSATA |
| 240 GB |
SATA 6 Gb/s 550 MB/s / 520 MB/s |
50,000 IOPS / 80,000 IOPS |
mSATA |
| Show More Detailed Product Specifications > |